How to Remove Gel Nail Polish The Right Way
Not to be confused with acrylics, getting a gel manicure actually involves applying gel mixture on your nails. Almost all types of gels require curing after application under a UV or LED light. They contain adhesives that react with UV or LED light to harden and stick firmly to your nail beds. They are less durable than acrylics but due to their adhesiveness, they are really tough to remove from your nails.
The proper way to remove the acrylic gels should be to visit a nail technician since not taking care while doing it yourself can damage your nail bed. However, the following three ways work the best, whether you plan on doing it yourself, or having a professional remove it for you.

Gel Nail Polish Removal Methods
So how to remove gel nails the right way? Here are the 3 best ways for gel nail polish removal that are used by professionals.
1. Soaking

In this method, take some acetone in a small bowl, and wrap the top of bowl with a foil and a rubber band so that the fumes do not escape. Next, you should place the bowl itself in a larger bowl filled with enough warm water so that the smaller bowl doesn’t float in it. This will warm the acetone to increase the effectiveness of removal procedure. Keep the smaller bowl place in the larger one for 3 – 5 minutes and then take it out.
Since acetone is flammable you should take care not to overheat this chemical. Then, take a cotton swab and use it to apply and spread petroleum jelly to the edges of your nails to protect your skin from dehydration caused by acetone. You should try to avoid getting petroleum jelly directly on your nails since the gel needs to be in contact with acetone for the dissolving process.
Dip cotton balls in acetone and wrap them around each of your fingers using aluminum foil to secure them in place making sure that acetone is in direct contact with your gel nails. You can also dip your nails in acetone if your skin is more resilient against irritation caused by acetone. Soak or wrap for not more than 30 minutes and then remove the wraps carefully.
The gel should have lost nearly all of its adhesiveness by then and with little peeling effect, it should come off with the wraps.
However, if it is still stuck to your nails, then give the wrapping process another 10 minutes and then unwrap your nails. Finally, you should wash your hands with soap and warm water and file your nails to get them in shape. You may also need to buff the nails to get rid of roughness.
Read: Acrylic Nail Removal Process
2. Filing
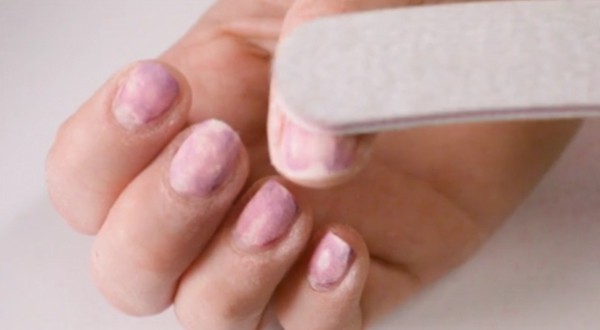
In this gel nail removal method, you should first use a nail clipper to trim and clip your gel nail extensions as much as possible. After that, use a buff tool to coarsely file your nails from the top of your nail bed, until some part of your natural nail is visible. Filing the gel off from your nails in this manner will take some time, since all the layers of the gel need to be removed.
Therefore, you should take care to not file your nails hurriedly to avoid damage to your natural nails. File your nails in intervals and in between wipe and blow away the gel dust so that you can have an idea of how much more filing should be required till you see the nail bed.
Once your natural nail ridges are visible, you should stop filing so as to avoid damage to your natural nail. You should then use a finer grit file to gently file off the remaining finely stuck gel to your nails. This step needs to be done with great care to minimize the damage. Finally, use a buffer to smooth out the appearance of your natural nails.
Liquid Gel Nails Vs. Powder Gel Nails
3. Peeling
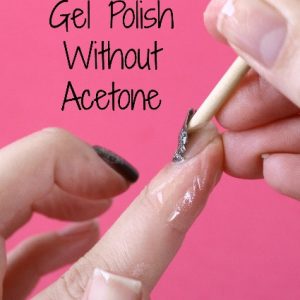
Since gel manicures last more than a week on average, this method is safe and works best with minimum damage to your natural nails.
However, you should note that this method only works when your gel nails have started to chip, crack and tear across the surface and are already almost off on their own. If not then it is recommended to use the above two methods, that I have mentioned. You should start by using a cuticle stick and pry open an edge of gel near your cuticle. Remember to take it easy and gently dig inside when you are trying to pry open the edge of your gel nail.
Once you have an edge, grip it gently with your fingers or use tweezers for maximum effect and peel from the cuticle to the nail tip. If peeling is tough then use other methods for removal since even an easy-peel will also peel some part of your natural nail layer.
Finally, you should buff, file and give shape to your natural nails and apply moisturizers and cuticle oil. Since a thin layer of your nails is also peeled off with the gel, you should give time to it for regeneration for about a week before applying another set of gel nails.
It’s best to be protective of your nails after the gel nail removal procedures by wearing gloves for household chores since surely these three methods will have a negative effect on your nail beds on the minimum level, making them weaker and susceptible to damage.
