DIY Nail Glue: Can You Make It Safe at Home?
Making nail glue may be a task that you want to conquer on your own. But before you start doing it know that it can get really messy and hectic. If you are, however, determined into achieving this, heads up, we got you.
How To Make Nail Glue
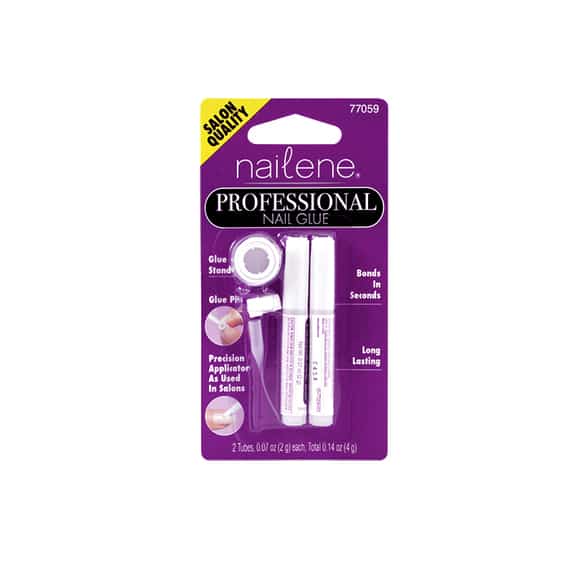
First off know that a better solution may be for you to buy it. These nail glues are roughly $5 almost everywhere. But as always that depends on the brand, their expiration date, and the place you live in. In case you are still determined into crafting it on your own, you better gather the right supplies.
1. You Will Need
- A small cup or even an empty and clean nail polish bottle
- PVA glue
- Nail polish (clear one)
You don’t need a lot if you want to make a nail glue, and the main ingredient is your PVA glue. That is actually a typical white glue for those of you who weren’t informed. You may have one of these hanging around your house, that is your dad should have it since you know; men are always building and crafting something. In case you don’t own it, you can buy it. But what is the point then when you can buy your regular nail glue instead?
2. Pour It
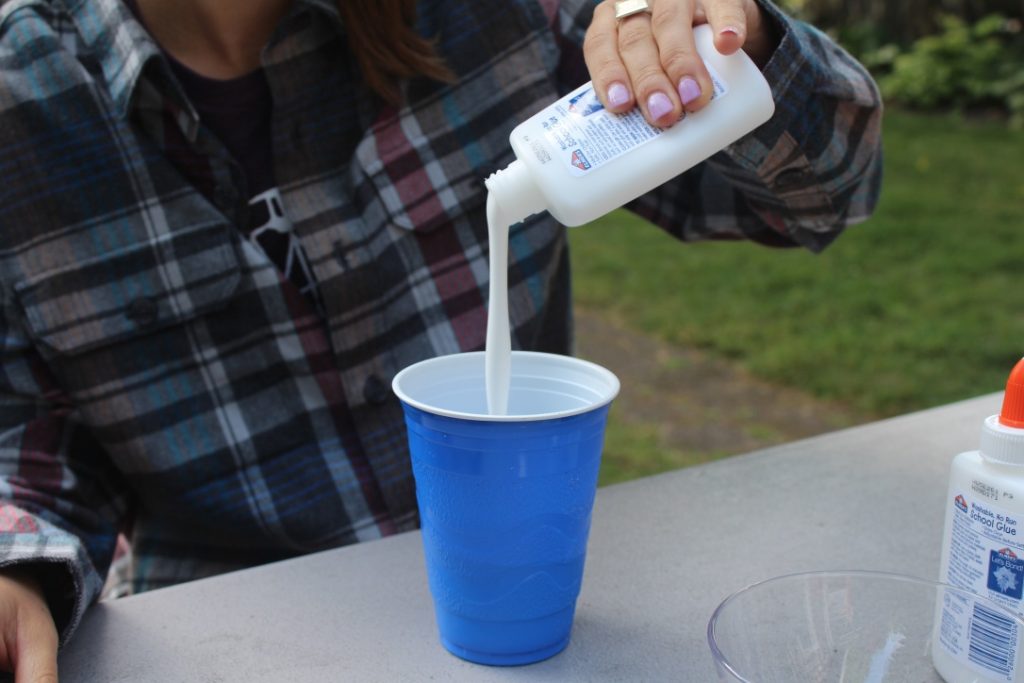
Pour your white glue into a small bottle (or even a nail polish bottle), or a cup/container. Make sure everything is sterile and clean before you go. Pour the glue until you’ve reached the middle part of the nail polish bottle. In case you are working on the container or a bigger cup squeeze it and pour it for 10-20 seconds. Then, apply at least half of the bottle of your clear nail polish into the cup. You need to make a lighter and more durable option for your natural nails. If you added straight up glue to them it would cause you trauma and misery for your natural nails.
3. Mix It
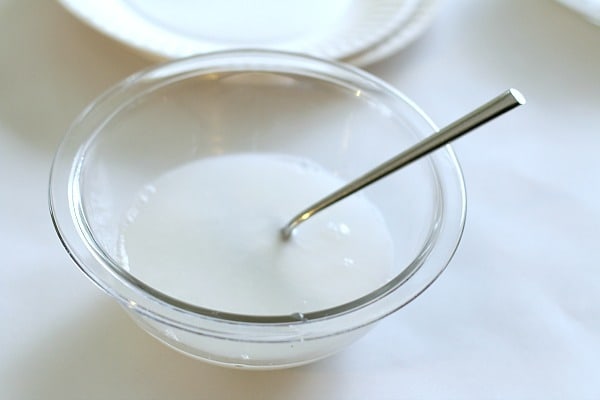
If you want to make a nail glue you got to put some effort into it. Mix it, stir it and shake it, until everything is evenly distributed and until it looks usable. If you’ve poured your substances into the polish bottle you can stir it with the polish brush. You can as well use some wooden or metal spoons that you will have to throw away later.
4. Apply It
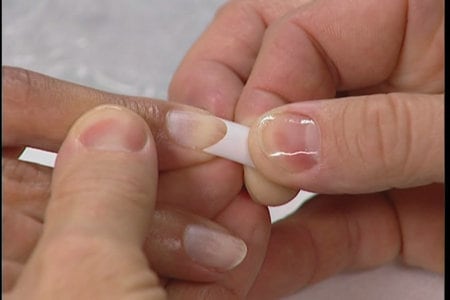
Take your nail tips and glue them down with your homemade nail glue. You can use your cotton swab or anything that has some metal or wood that can use you as a little spatula. Or if you believe you are precise just pour the glue directly onto the tips. With these nails, as well as with this process, it will take you a little longer than you are used to. You should hold your tip in a place for a minute or even a little longer. They will dry down completely and harden in 5-10 minutes. At that point, you may continue with your further shaping and coloring process.
This nail glue video will help you understand better:
Since now you know how to make a nail glue will you do it on your own? Our advice is that you stick to the drugstore one. This little chemistry scientist that awakens up inside of you may be curious enough, but is he precise and handy enough?