DIY Peel-Off Base Coat: A 4-Step Home Hack
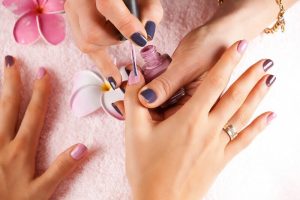
By now we all know that a base coat is a must. But have you heard about the peel off base coat? It is super fun and practical. You just need to paint on the base coat, apply your wanted nail polish and have fun with your manicure. When you feel like it’s time for a new look and other fun colors just peel off the previous nail polish in one movement. You will get a super healthy and clean nail in a blink of an eye!
How To Make Peel Off Base Coat
Luckily for you, no scrubbing, soaking or fussing will happen with this one. One of the first peel off base coats came out in 2012 and it was the Essence one. Nowadays there are many on the market, such as Sally Hansen which is a very popular one. But for some of you out there, these peel off base coats might not look that appealing, or you just feel like they have let you down in the past. Or who knows, maybe you are just searching for a quick DIY method. Luckily for you, here’s all about how to make peel off the base coat.
Step 1: PVA Glue
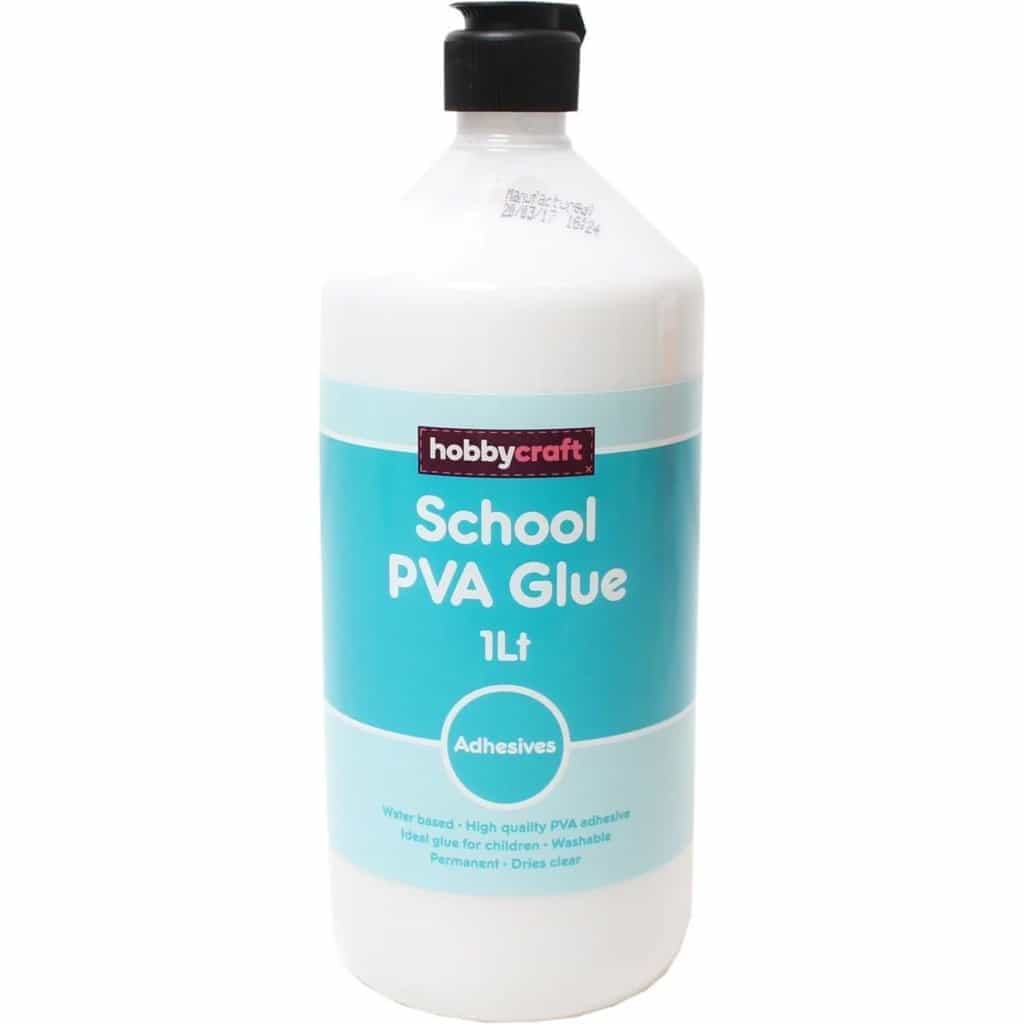
Before you start with your homemade peel off base coat make sure you have all the right ingredients. One of them is the PVA glue which is also known as Elmer’s glue. This is a type of the water based glue which you can easily find in almost any classrooms or at most homes. For your peel off base coat go to the nearest store and buy a PVA glue. Besides the glue get yourself an empty nail polish bottle.
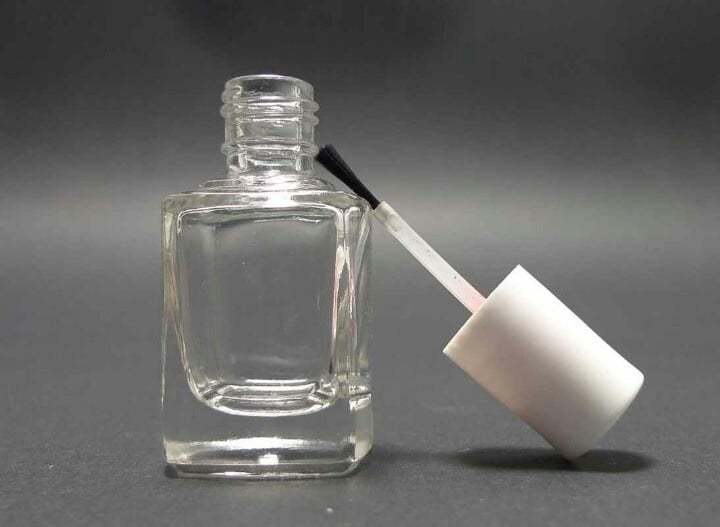
Step 2: The Bottle

You can use any plastic bottle, preferably a smaller and a cheaper one. The nail polish bottle may be just right for your needs. If you don’t have any empty bottles or you would just prefer a fresh and new one, you can buy them online on eBay or ultra cheap at Ulta.
Step 3: Clean It
However, if you are stuck with a dirty bottle you will need to clean it. Get a pure acetone because that is the only way you will be able to get all of the previous nail polish out of the bottle. Fill your bottle almost half way full with acetone and shake it. The polish that’s left in there will melt away and pour down the drain. In the end, clean your bottle with a warm water and rinse it until everything is nail polish free. Also, make sure that the neck of the bottle is clean.
- Make sure that your bottle is completely dry before proceeding.
How to Make a Nail Polish That Glows in The Dark
Step 4: The Glue
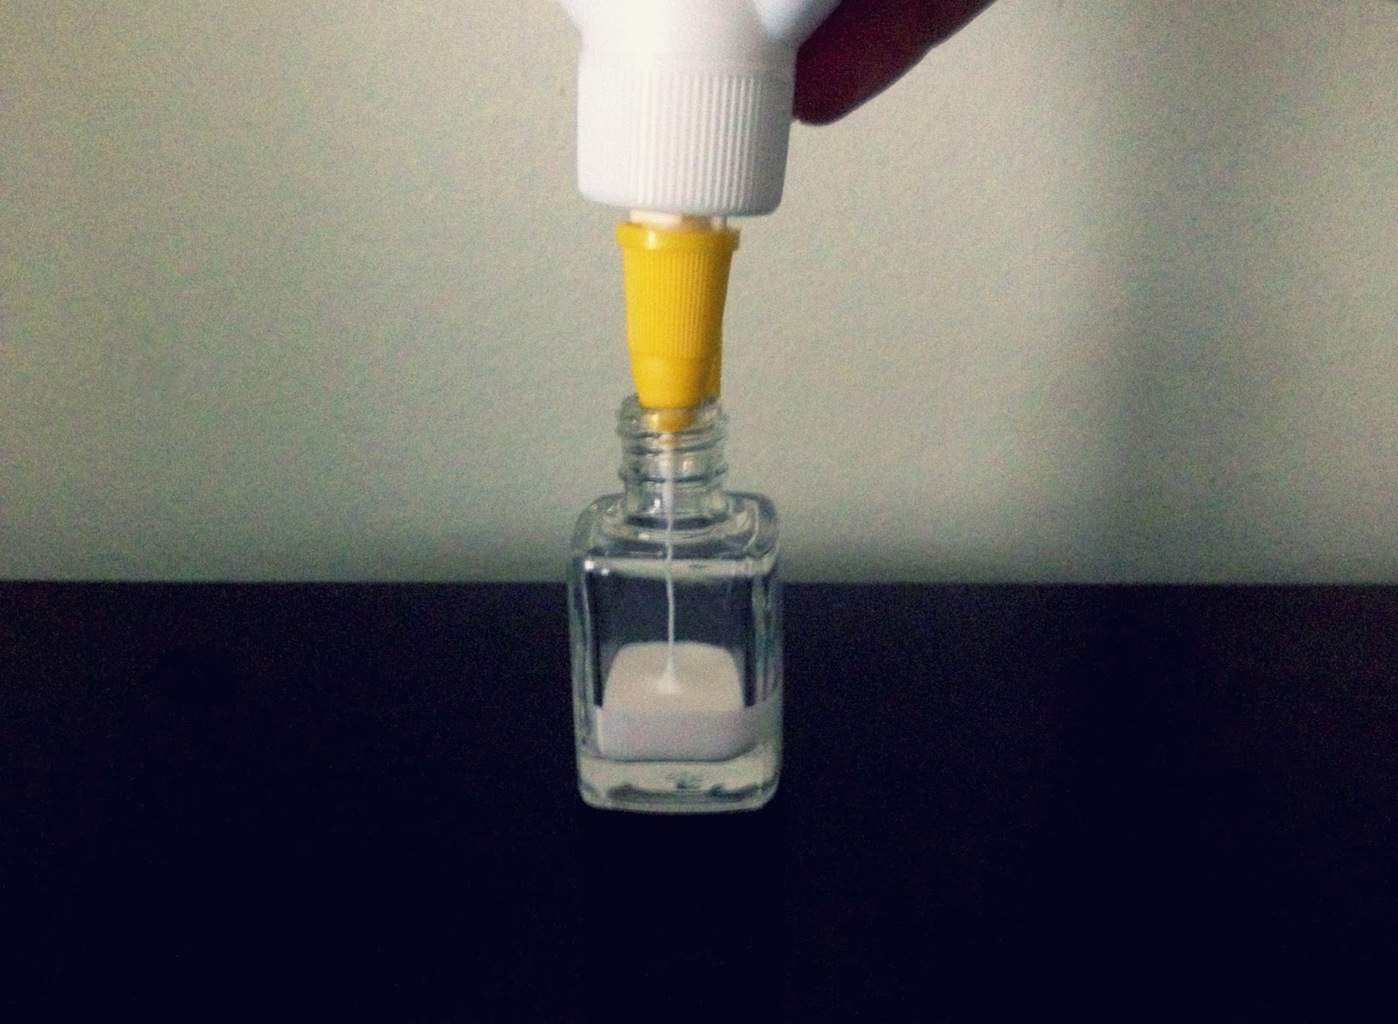
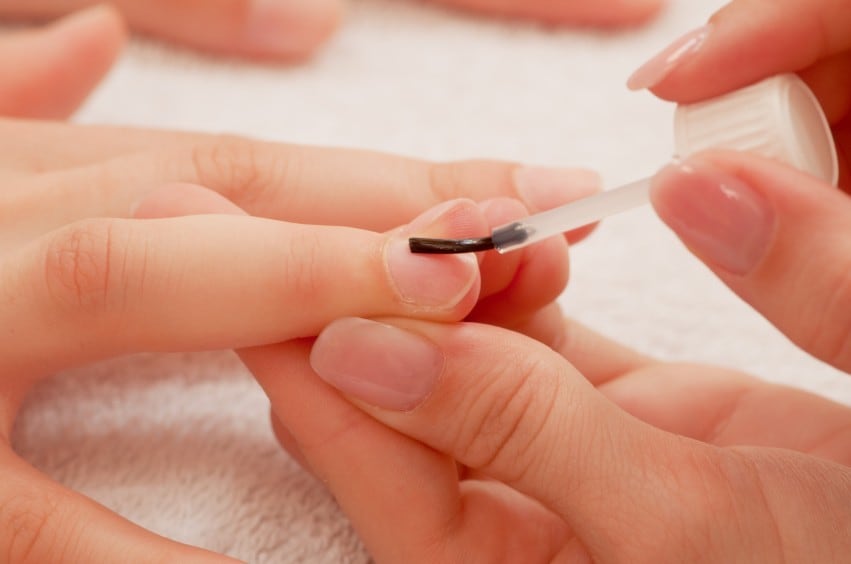
After everything is clean and dry take your nail polish bottle and fill it with the PVA glue. Also, make sure you’ve replaced the brush since there can be nail polish residue on it. Instead of a normal base coat use two coats of this homemade peel off base coat. That simple.
Tips & Tricks
Be sure that you have the situation under control, and don’t let any of these things happen to you:
- Always make sure that the glue is dry before you start applying your nail polish color.
- You will know that it is dry since the color will become clear instead of white.
- There also may be a possibility that the consistency is too thick, in that case, add some water to your bottle. You will notice that the color can easily be applied to your nails once you get it thin.
Best peel-off base coats:
Bet you didn’t know it is this easy to make a peel off base coat. Now if you run out of your everyday one you could take the matter into your own hands and just save the day. However, be careful once you start playing with the glue.