How To Do a Salon-Quality Pedicure At Home in 5 Easy Steps
Well-groomed feet can add glamour to your overall outlook, where pedicures come in handy.
However, you cannot always afford to go to the salon to get one, maybe because you have tight schedules or are looking to save money. Therefore, it would be helpful to know how to do a pedicure at home so as not to neglect your feet.
This article will provide a step-by-step DIY guide to a pedicure.
Required Tools for an At-Home Pedicure
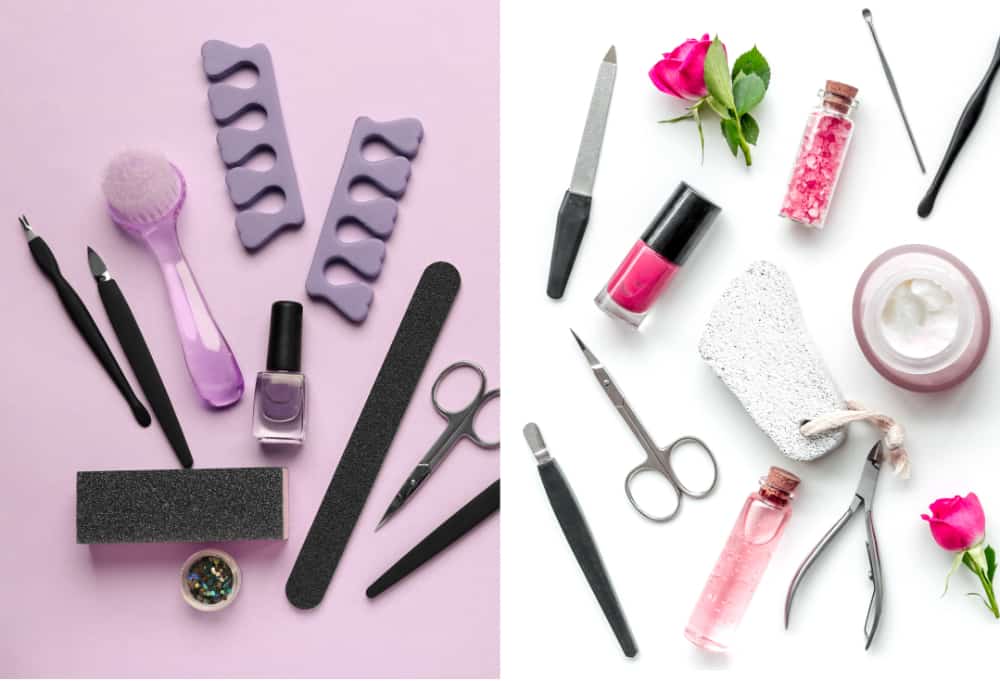
When you decide to do your pedicure at home, it is essential to have the right tools to ensure the outcome is as good if not better than one received from a professional pedicurist.
Here are some tools you will need for a pedicure:
- Nail clippers
- Nail file
- Foot file
- Cuticle pusher
- Cuticle nipper
- Cuticle oil
- Exfoliating scrub
- Foot lotion
- Nail polish remover
- Cotton
- Base coat
- Nail polish
- Top coat
- Toe separators
How To Prepare Your Feet for a Pedicure
Pedicures have numerous benefits; for example, they improve the appearance of one’s feet, which boosts confidence. Moreover, it has health benefits like improving blood circulation in the feet and preventing infections.
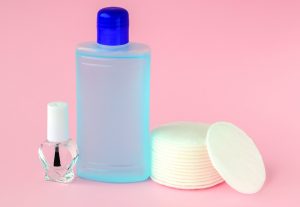
Before starting, you should remove remnants of the previous pedicure. That means getting your nail polish remover, preferably one that does not contain acetone since it weakens nails by extracting natural oils. Dip a cotton ball in the polish remover and rub it over your nails.
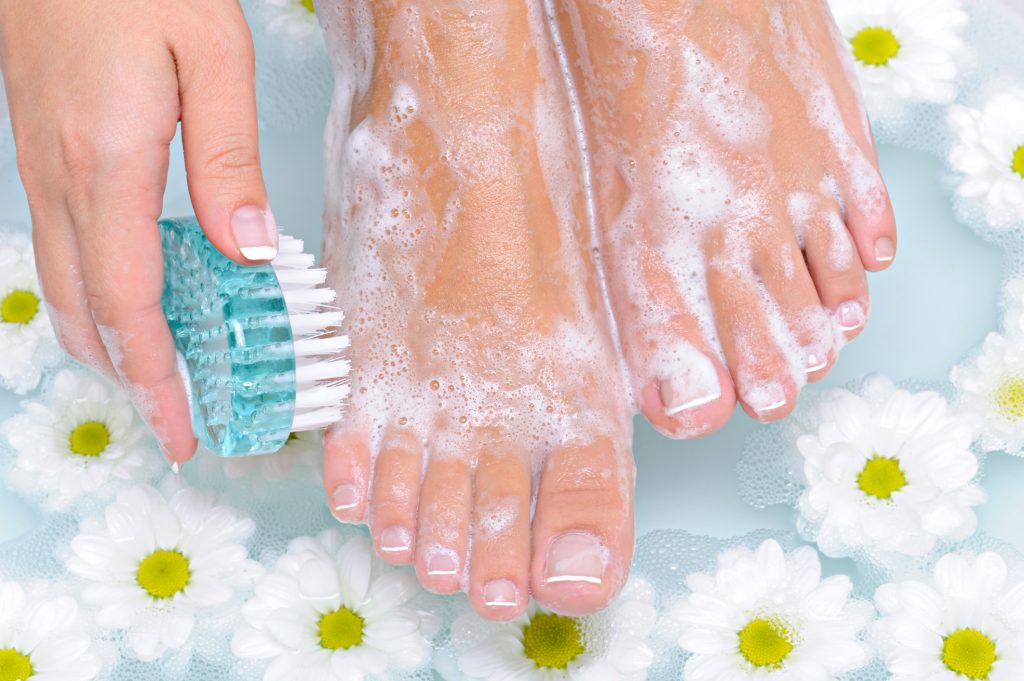
Afterward, shower or soak your feet in a tub of warm water. The warm water will help soften layers of dead skin on your feet, making it easier to remove them. Next, apply the exfoliating scrub and massage your feet for two minutes before rinsing them off. Alternatively, you can use a foot file to remove calluses and dead skin on your feet.
How To Do a Pedicure at Home
After removing old nail polish, and exfoliating, follow these steps:
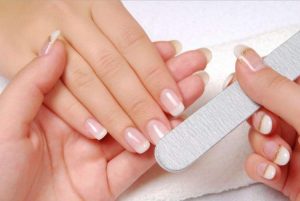
Trim and File Your Toenails
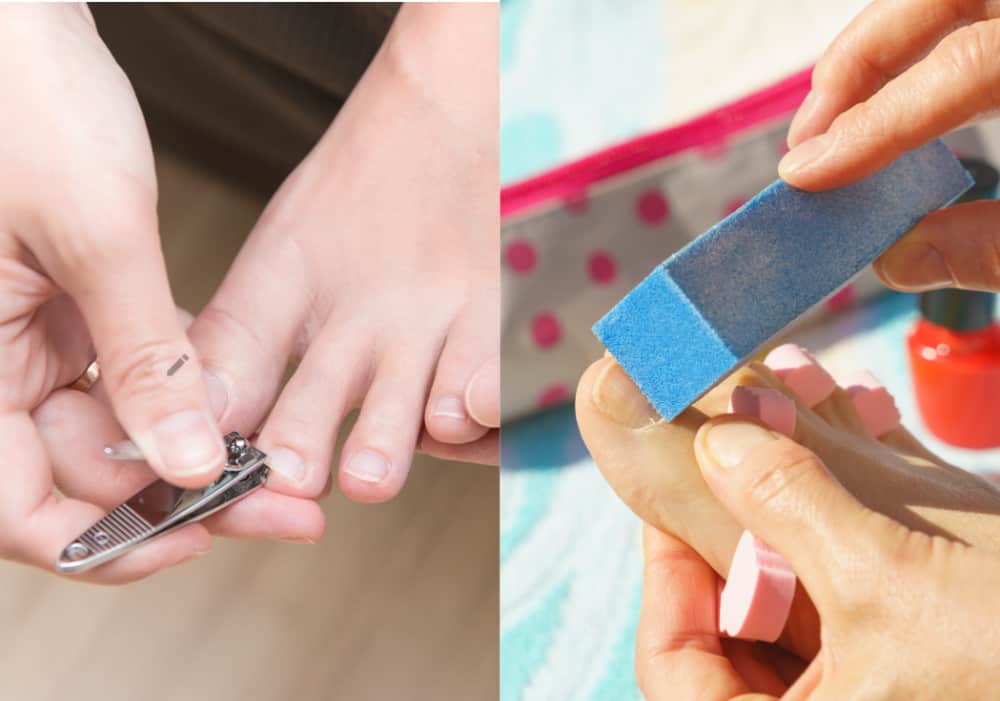
Before trimming your toenails, ensure your toes are dry since cutting nails while wet increases the chances of breakage or splitting. Use the nail clippers to trim your toenails but do not cut them too close to the skin to reduce the chances of ingrown nails.
After the trimming, round the edges using the nail file to give your toenails the desired shape.
Work on Cuticles
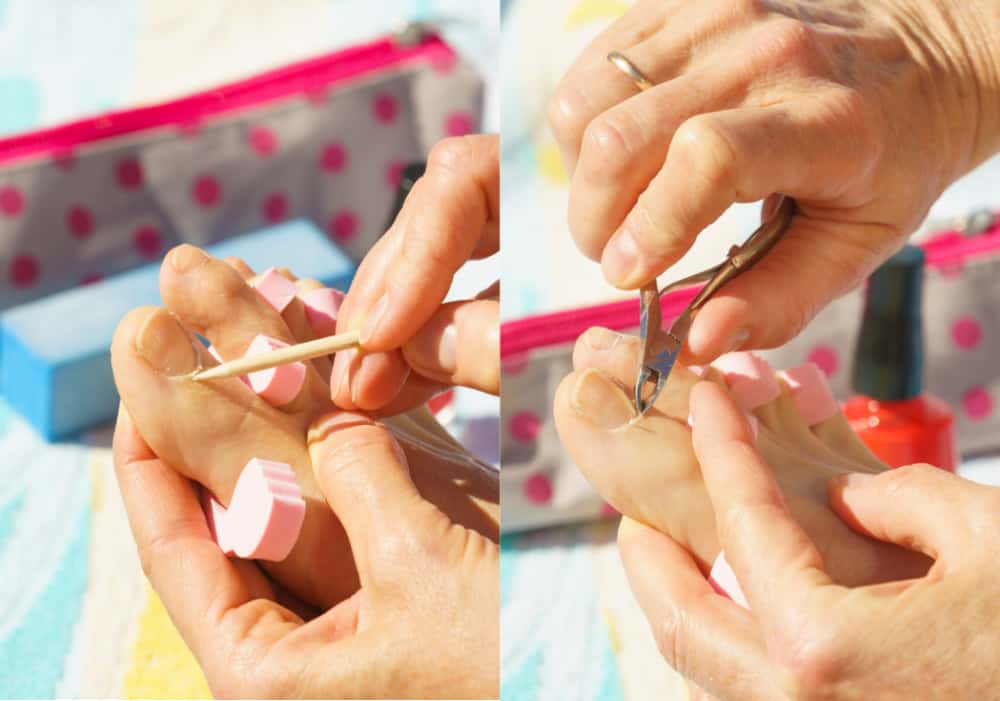
Use a cuticle pusher to push back any dead skin that has formed around your cuticles and the toenails. Work with a gentle hand to avoid causing damage to the cuticles.
Use the cuticle nipper to remove the material detached from the toenails. Lastly, apply cuticle oil to protect the cuticle and nails against damage that can lead to infections.
Moisturize Your Feet
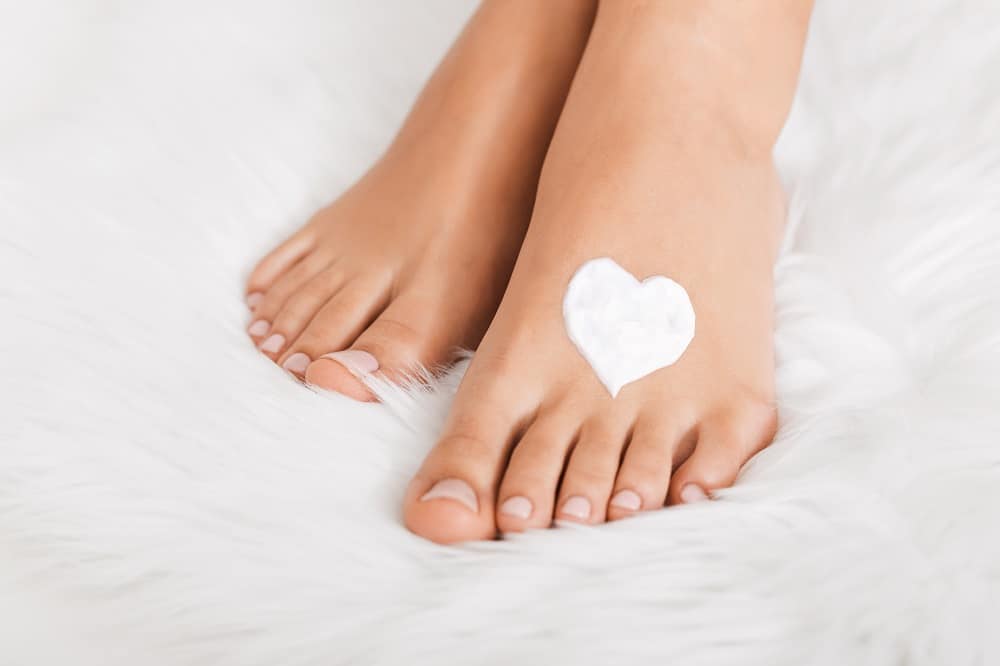
The soaking, scrubbing, and nail polish removal processes of pedicure often cause moisture loss. Therefore, you should use foot lotion to help increase moisture content.
You can massage your feet while applying the cream to help you relax and also boost blood circulation.
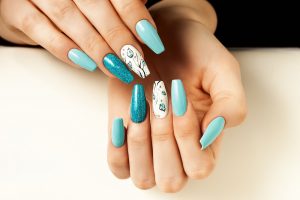
Apply Nail Polish
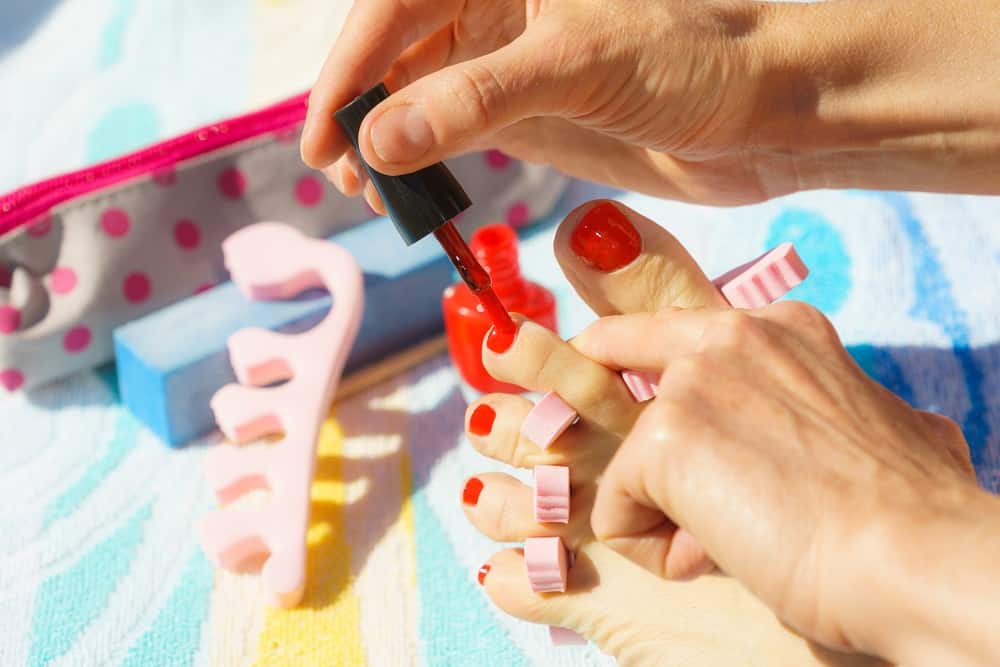
Use a cotton ball with nail polish remover to remove any oils that can affect how the nail polish adheres to the toenails. Place the toe separators between the toes to avoid a mess when you start painting your toes and place your foot on a raised platform like a table.
Proceed to apply the base coat to protect your nails against the effects of nail polish on natural oils. Then apply two layers of nail polish, allowing the first layer to dry before applying the second. Finish by using a layer of top coat to protect the nail polish.
FAQs
The following are some popular questions people ask about home pedicures:
Is a DIY pedicure safer than a professional pedicure?
Yes. At-home pedicures are safer than professional ones. You are more likely to develop a bacterial, fungal, or viral infection after a professional pedicure than when you do it at home. Bacteria and fungi often accumulate in the jets of spa tubs used in nail salons, to which you will be exposed during your appointment. If you have cuts on your feet, you are more likely to get athlete’s foot and warts in a beauty salon than at home.
In addition, nail spas have numerous customers; hence they might not get enough time to properly sterilize their tools, unlike at home, where you sterilize your tools personally. Some beauty parlors also reuse porous tools like nail and foot files, while at home, you do not share such tools with anyone else. Overall, home pedicures reduce the chances of exposure to harmful microorganisms.
DIY or professional pedicure – which lasts longer?
A professional pedicure will last longer than an at-home one. A professional pedicurist has training and more experience doing pedicures meaning they are more likely to achieve your desired outcome and ensure it lasts longer.
Is an at-home pedicure cheaper than a professional pedicure?
Yes, an at-home pedicure is cheaper. The only time DIY is more expensive than going to a beauty salon is the first time you do it. That is because most of the expense goes towards buying the tools for doing the pedicure.
However, it is considerably cheaper after the initial purchase than a beauty parlor pedicure. Beauty parlor treatments are more expensive since they need to make revenue to pay for utilities, leases, and employees and earn profits.
Doing a pedicure at home is not a difficult task. However, ensure you have enough time to go through the entire process since doing it in a hurry will not have desired results.
After the pedicure, ensure you take care of your feet by constantly moisturizing them and using cuticle oil to guarantee that it lasts at least two or three weeks.