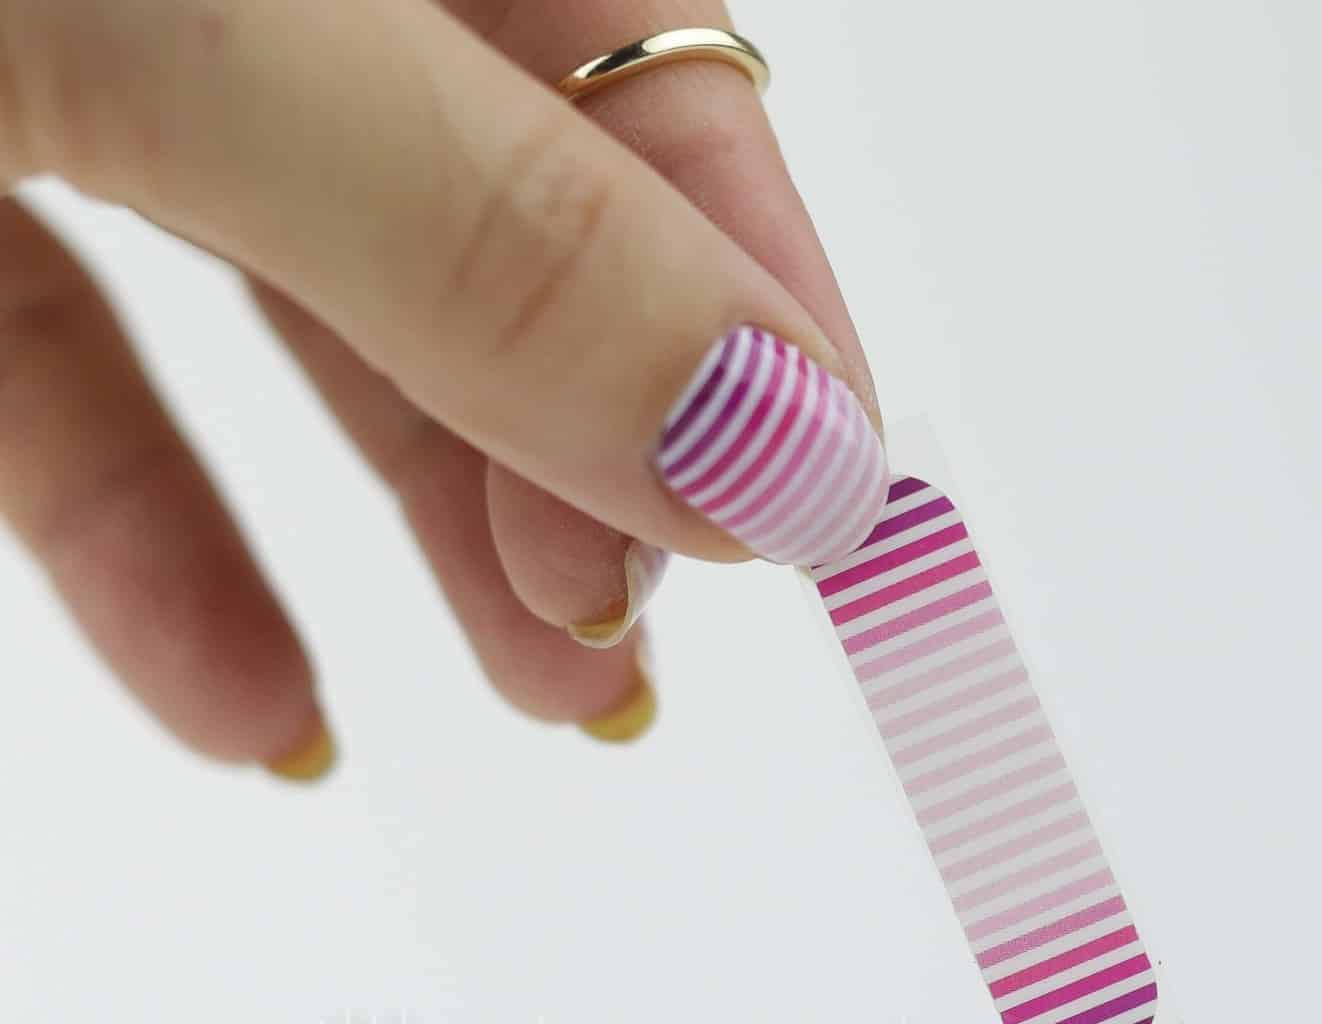
Shellac Nails at Home: 5 Super Easy Steps
There has been a real buzz about shellac nails in the nail industry. Everyone is talking about them. A large number of girls are planning to get their nails done with shellac nail polish. But, they are also thinking about the extra money they have to invest for a manicure.
That’s where you need us. I am going to discuss how to do shellac nails at home here. All you need is the supplies, the salon part is covered by us. If you are a french manicure lover. Good news for you too. You’ll know how to create the shellac french manicure from here.
Shellac Nails at Home: The Right Ways
Never compromise with the quality of the products you are using on your nails. Nails are sensitive parts of our body as they protect our fingertips from getting hurt or infected. So, you have to take measurements to protect nails.
When doing shellac nails, you have no option except using Shellac products created by Creative Nail Design (CND). Because they are the only verified producer of shellac nail polish.
The supplies you need for shellac nails are as follows. Make sure you have them to get the optimum result. You can also buy a shellac nail at home kit from online shops such as Walmart, Amazon, and eBay.
- CND Shellac Nail Polish
- UV Lamp
- Nail Wipes
- Cuticle Pusher
- Cuticle Oil
- Alcohol (99%)
- CND Shellac Base Coat
- CND Shellac Top Coat

Let’s move forward as you’re done with the necessary tools to get your nails done with shellac nails. You’ll be able to do shellac nails at home by following the below steps.
#1. Prepare the Nails
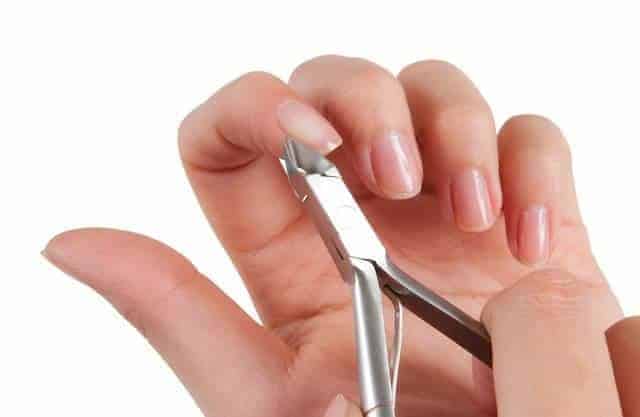
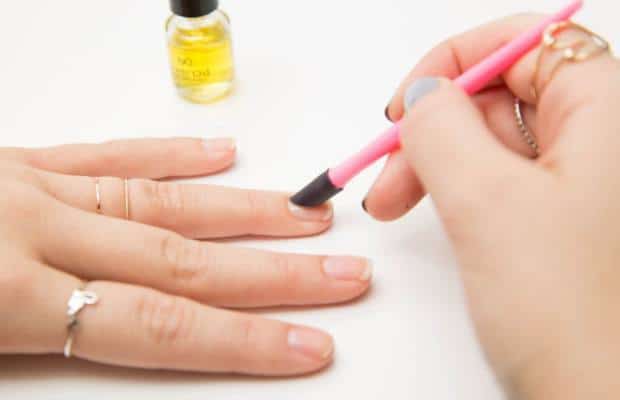 Before applying anything to your nails, prepare them to get the maximum output. File your nails to give them the right shape. Use a cuticle pusher to push the cuticles back. You can use cuticle oil to soften the cuticles before pushing them back. When your nails are prepared, clean the nails using nail wipes.
NexGen Nails Vs Shellac Nails: Which One Is Actually Better?
#2. Apply the Base Coat
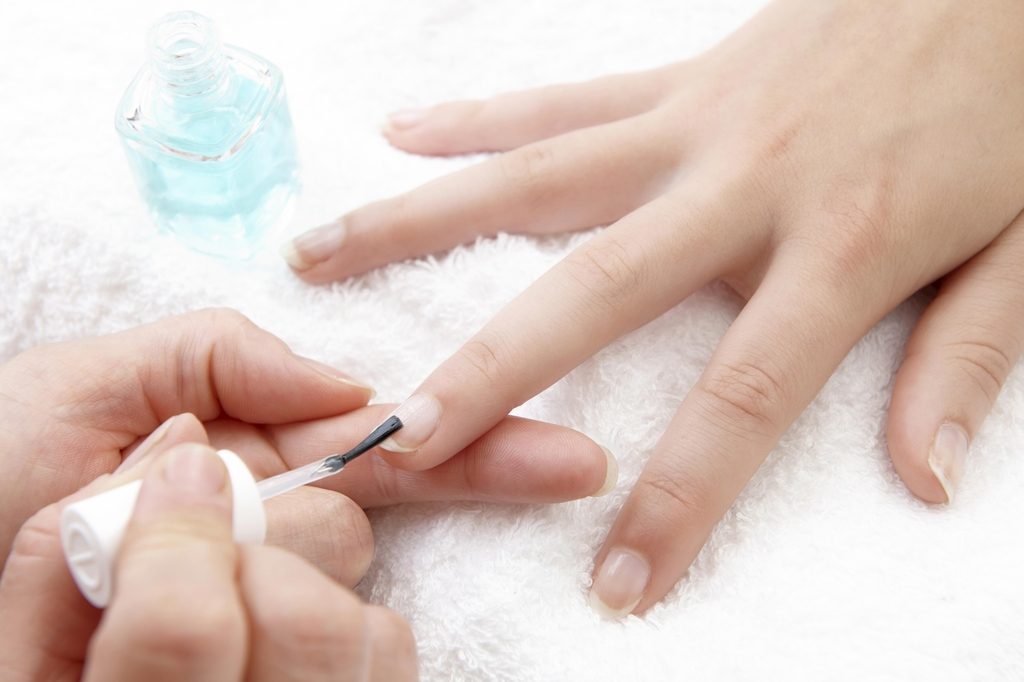
There is nothing fancy in the process of having shellac nails. Simply apply a very thin CND Shellac base coat to your nails. Before that, roll the nail polish bottle keeping it between your palms to mix the color. Cure it under 36-watt UV lamp for 10 seconds.
#3. Apply Shellac Nail Polish
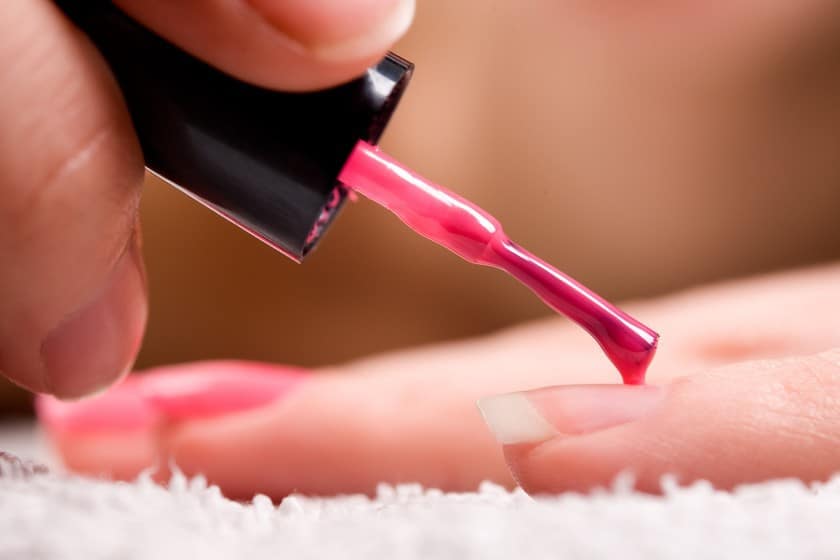
This is the part where you have the scope to customize your nails. Use your favorite colored shellac nail polish. Apply a thin layer of shellac nail polish and let it cure under the UV lamp for about 2 minutes. Apply another thin layer of nail polish to have an even and smooth surface. Cure it again for 2 minutes.
Shellac Vs. Gel Nails: Which One to Get?
#4. Seal the Design
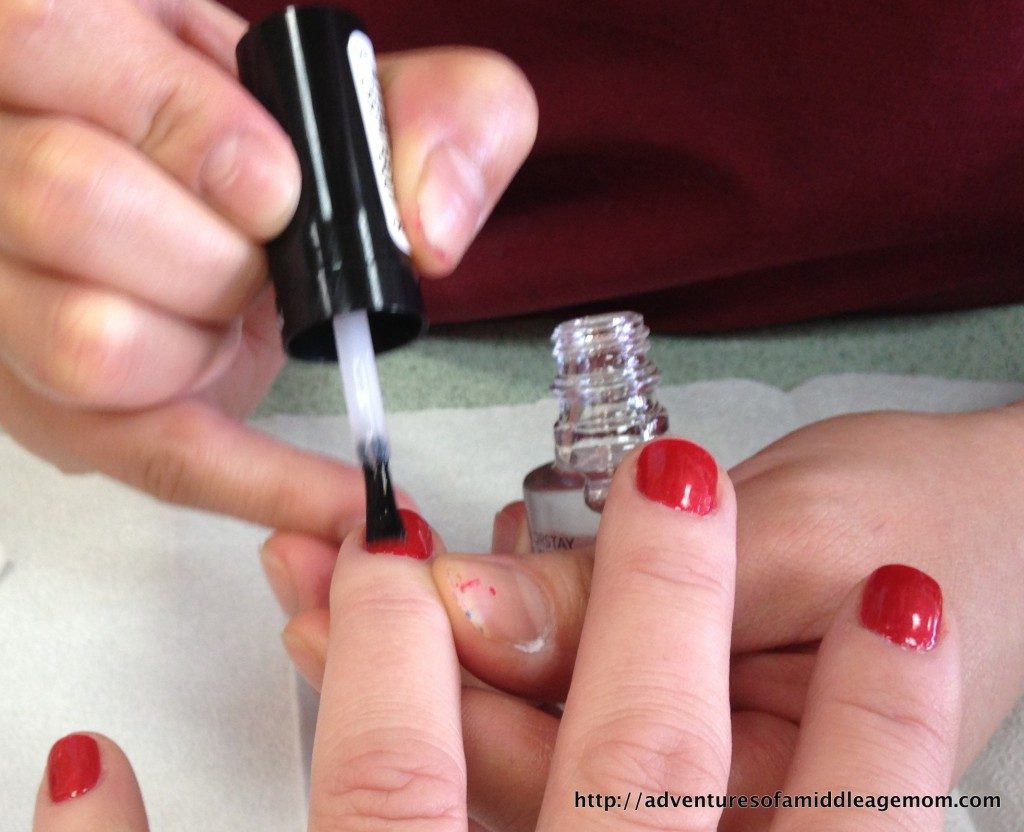
Like every other manicure, you have to seal the deal with a quality top coat. Apply a CND Shellac top coat to protect your shellac nails. Cure it under the UV lamp for 2 minutes.
#5. Clean the Residue
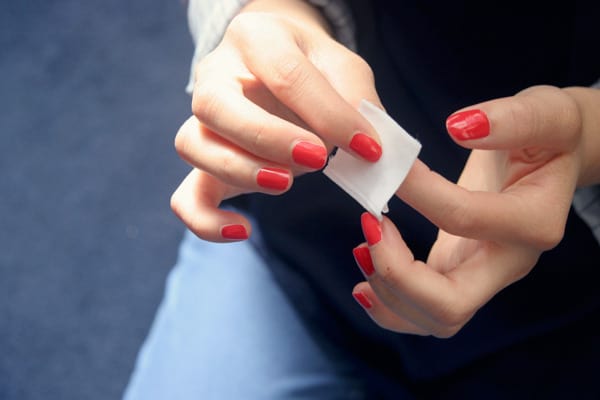
When the nails are done completely, clean the extra nail polish that is hanging out around your nails. You can soak a cotton ball in 99% Alcohol and use it as a nail wipe. Clean the nails using this and you’re finished doing shellac nails.
How to Create the Shellac French Manicure
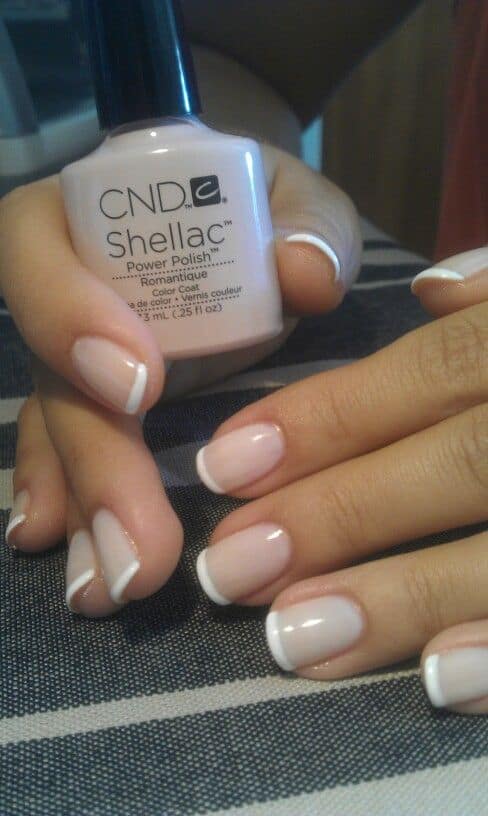
While doing french manicure you have to choose a particular shellac nail polish that resembles nude color. After applying the top coat, apply a layer of sheer pink shellac color over the surface and along the edge of the nail and cure it for 2 minutes. Now, draw the smile line with white shellac color to create the french manicure.
When the tips are drawn, cure them under the UV light. Apply a top coat to seal the design. Clean the residue and anything that is unexpected around the nails. You’ll have a super shiny shellac french manicure after this step.
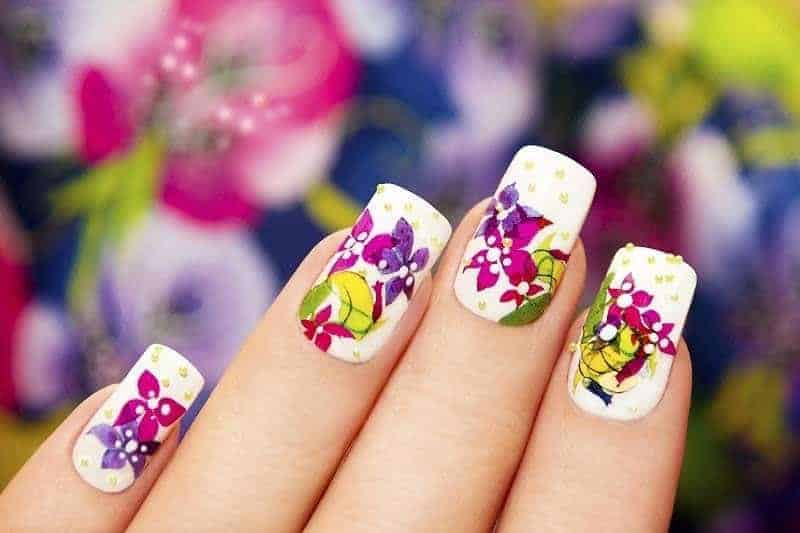
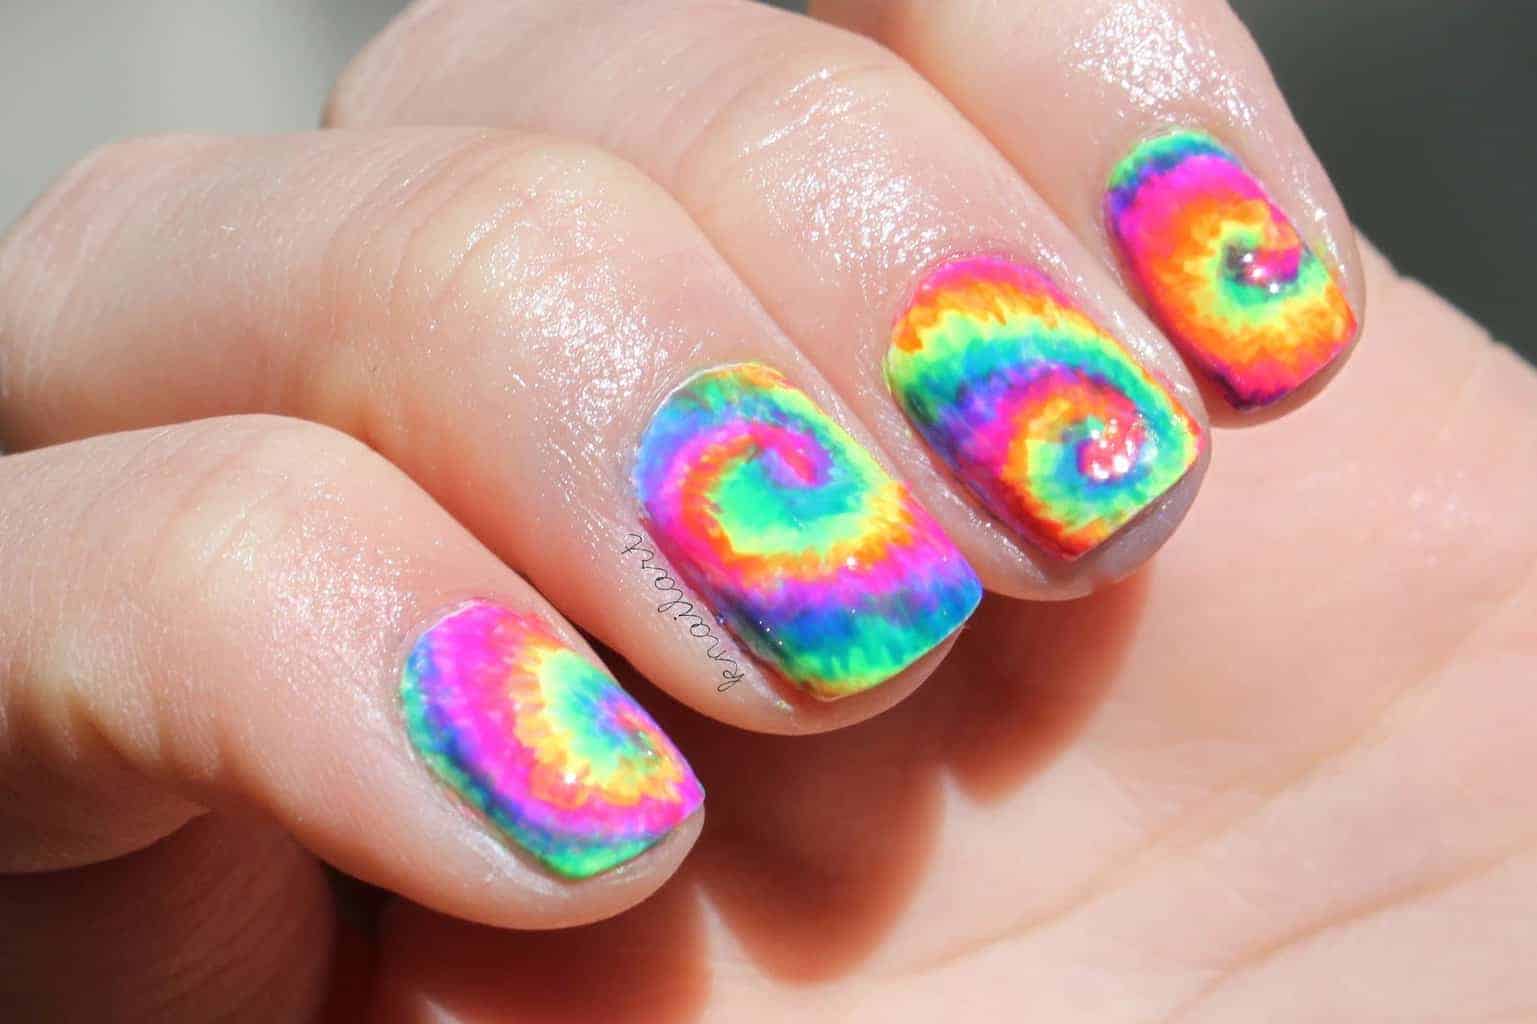
Get Inspired from Our List of Shellac Nails
As shellac is a variant of gel nail polish, you need to cure it under UV light. Yet, some girls are looking for how to do shellac nails without UV light. A simple solution for them. Use a gel top coat that takes 4-5 minutes to dry. You don’t have to cure it under a UV light, it’s completely air-dry. Let’s adorn your nails with the glamour of shellac nails.
