Acrylic Nails for Beginners: A 6-Step Application Guide
Are you eager to learn how to do acrylic nails? Every woman likes acrylic nails, that is an undeniable fact. It is just about the preferences, so you may like to get them short, long, matte, shiny, clear or jeweled up. But some women find them to be scary because they don’t know how to apply them on their own. However, if you are willing to learn how to apply them, you could save some bucks and be your own nail lady for the day.
How To Do Acrylic Nails?
Acrylic nails are artificial nail extensions (as you know by now) that are applied on top of your nails. Women like them because they are very long lasting and sturdy, so they don’t have to worry about breaking them for a whole month. If you have short and weak nails you may want to throw on a pair of acrylics. Or if you are just feeling a little fancy and extra you may want to get them. Whatever your reason is that is fine, you should only know how to apply them properly. And you will see, as time passes, that your natural nails will grow underneath the acrylic nail.
Where To Find Them?
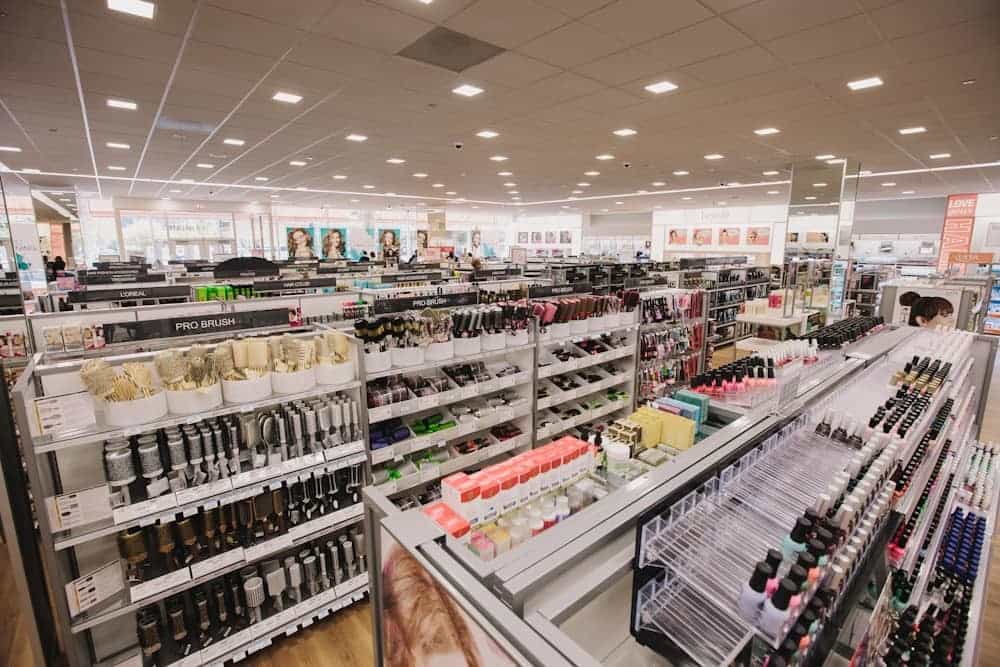
Acrylics can be in many sizes as well as shapes, colors and jewels. Luckily, they can be trimmed per your wish. You can find them online, on eBay, at Ulta or any drugstore. So once you jump into the process, you will be needing a precise hand, right tools, and at least a spare hour. You can always go to the salon to have them done, but why not take the matter into your own hands this time? If you do choose to do them yourself, gather the following items:
- Acrylic nail
- Acrylic nail glue
- Nail file
- Nail clippers
- Nail forms
- Nail polish/gel
Step by Step Guides to Do Acrylic Nails
Hate going to saloon every time want to do acrylics nails? Hop on with us we will show you the way to get your acrylics nails done sitting at the comfort of your home.
#1: Clean It
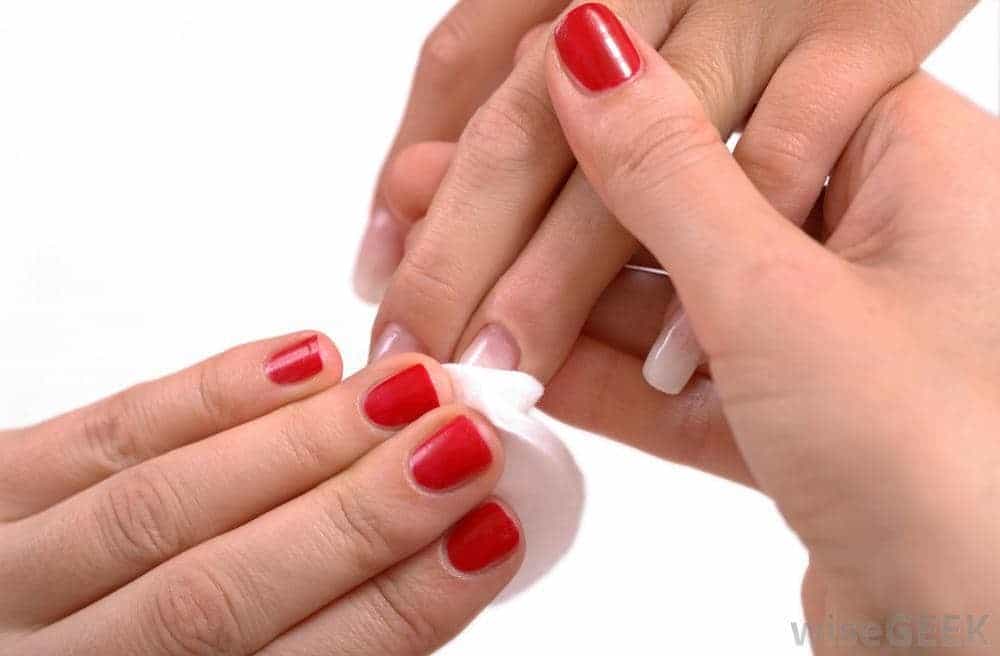
You need to start off with a clean and firm base. Remove any old nail polish you’ve had on with the acetone and a nail file.
Acrylic Nails 101: Know everything
#2: Trim Them, File Them
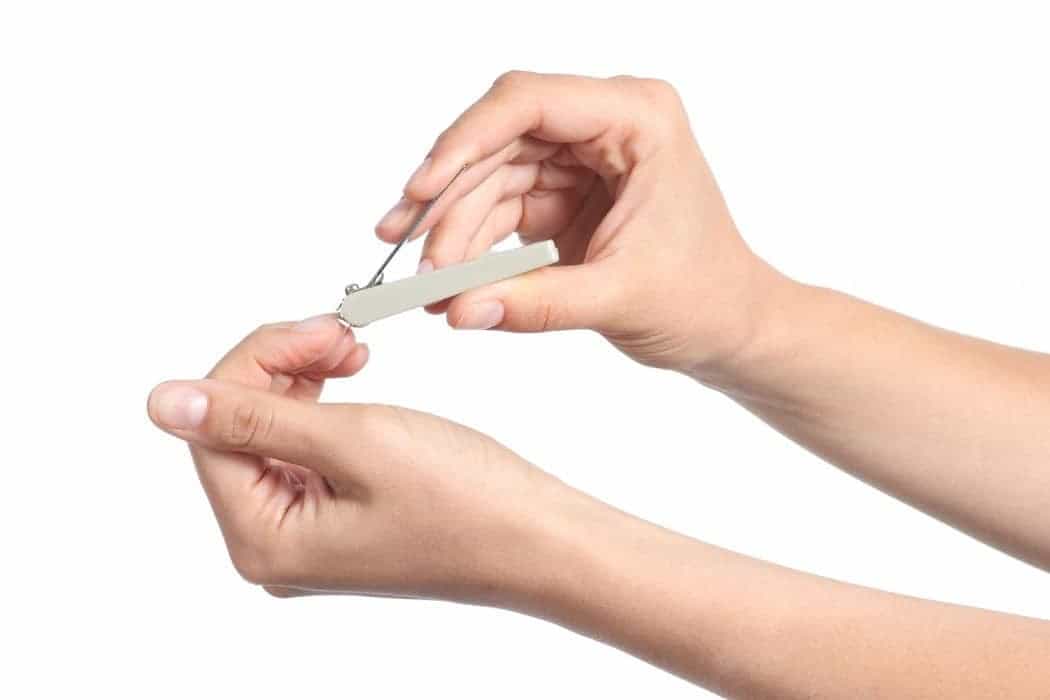
Trim your nails up to a normal size so that you can work with them in a proper way, and make sure that they are all even. File your nails and buff them across the center so that the glue applies easier. Be sure not to go hard on your nails, because aggressive actions may damage your natural nails.
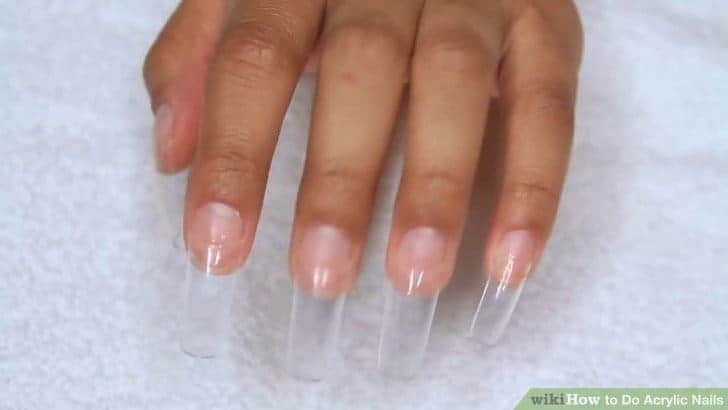
#3: Your Beloved Size And Shape
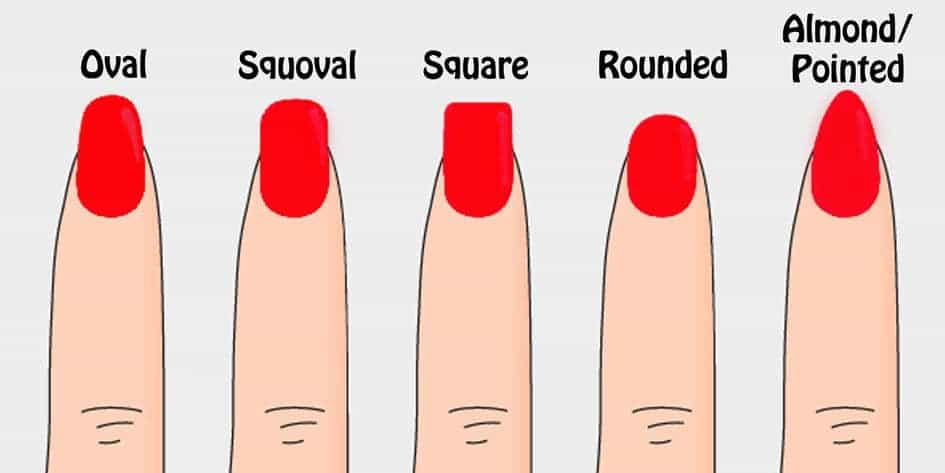
Choose a nail tip from your set which you think will best suit each of your nails. They come in different sizes so you should test out which tip is for which nail. They all have different widths, don’t let that confuse you. Shape your nails as you want them to. Apply your nail on the top and press it down a little harder. You will notice that the tip can even expend some more, so be aware of that fact before you glue them all down. Determine all 10 of your nails and place them right next to you, leaving the box somewhere on the side so you don’t get things confused.
#4: Apply Them
Apply the glue on your first nail. When applying them directly on, don’t apply them all the way down to your nail bed. Do it as the picture above is showing you. That way, the glue will stick better and apply everywhere evenly. After your glue has been applied, place the nail down one by one and don’t give them a chance to dry. Hold your nail for up to 10 seconds. Then shake your freshly placed nail a little, just to check if it glued down perfectly.
#5: Cutting And Filling
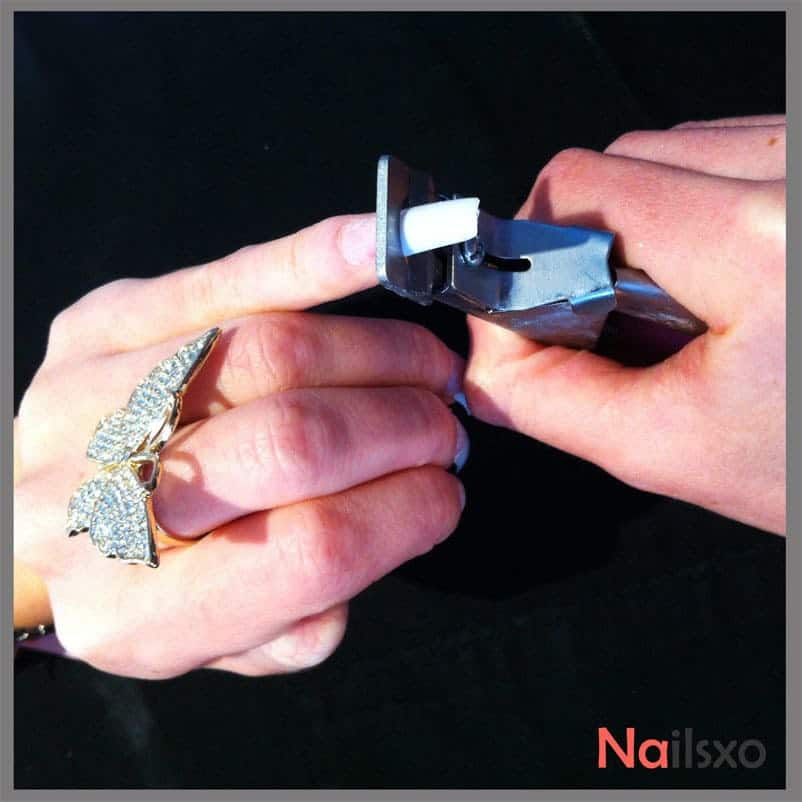
Now, this is where the fun starts. Cut your acrylic nails with the clippers to your wanted length. Cut all 10 of your nails and then with the nail buffer, buff down the ugly transition between your fake tips and your natural nails. That line will be quite obvious, so you better buff it hard. Next, take the nail file and file your nails into a wanted shape. This part will take the most of your time to complete, so don’t be nervous and rather do it slowly but precisely.
#6: Gel/ Nail Polish
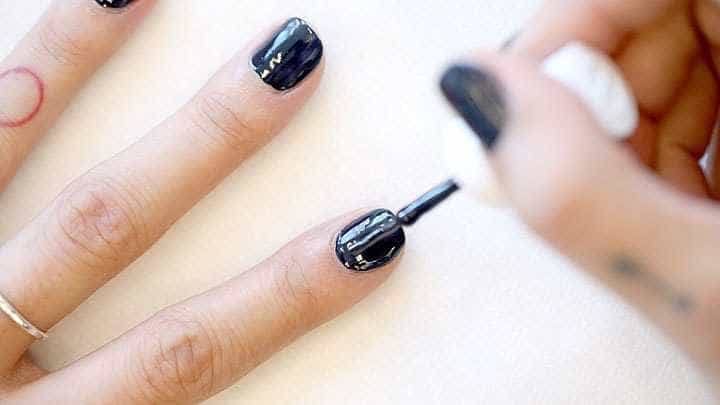
Now, add your preferred colored gel, or nail polish on top of your nails. It can be any color you choose, just make sure you let it dry properly. At this point, it would be the best if you had a UV lamp so you can dry them under it a lot faster. If not, work your way with a nail polish rather than with a gel because they can take forever to do and to dry.
Create natural looking Acrylic nails At home. Watch out the video tutorial!
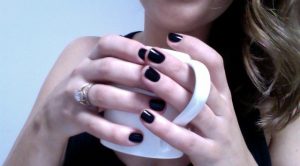
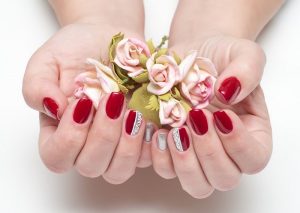
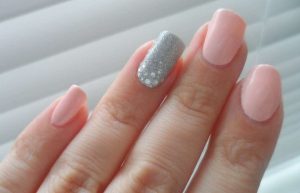
You will Love These Acrylic Nails
Voila, there you have it. Now you know how to do acrylic nails on your own. Ultimate and easy slay manicure for your night out, and all of this in only six steps? Count me in!