Nail Wraps 101: Application, Removal, and Best Brands
Have you ever heard and do you know what are nail wraps? But let’s be honest, can you keep up with all the manicures that are trending and popping at the moment? One of those popping designs is shorter nails which are being loved more these days than ever before. That’s why many nail technicians use these nail wraps to give short nails the stability and their beloved natural look. It is time for you to know more about the upcoming trends, as well as about the nail wraps.
What Are Nail Wraps?
Believe it or not, they were created in the ’80s. You can find them in a silk form, linen, fiberglass and even resin. Some of these are more appropriate for the acrylics, and some for a regular nail polish. Either way, they will provide an amazing long lasting effect.
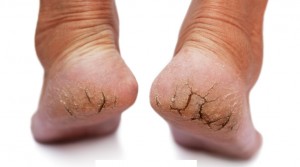
Who Should Get Them?
Women who are feeling uncomfortable about the appearance of their short natural nails and their brittleness should get nail wraps. The wraps help with the natural nail overlay and can create a beautiful tip at the end of the nail, in case your nails are that short and you need that tip. Also, if you got tired of fake nails you should get the nail wraps. All the glue that you’ve been using on top, as well as the harsh chemicals, are not good for you. Therefore any type of a wrap will help you in the recovery process.
How Much Do Nail Wraps Cost?

When getting nail wraps, the prices can vary. It just depends on the type of a salon, as well as the time investment that the nail tech will put in. Mostly they are $10 pricier than the acrylics. The applying process takes 30 minutes, which is perfect if you are in a rush.
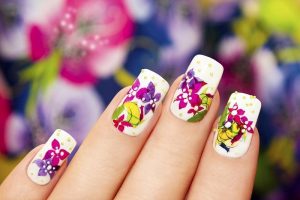
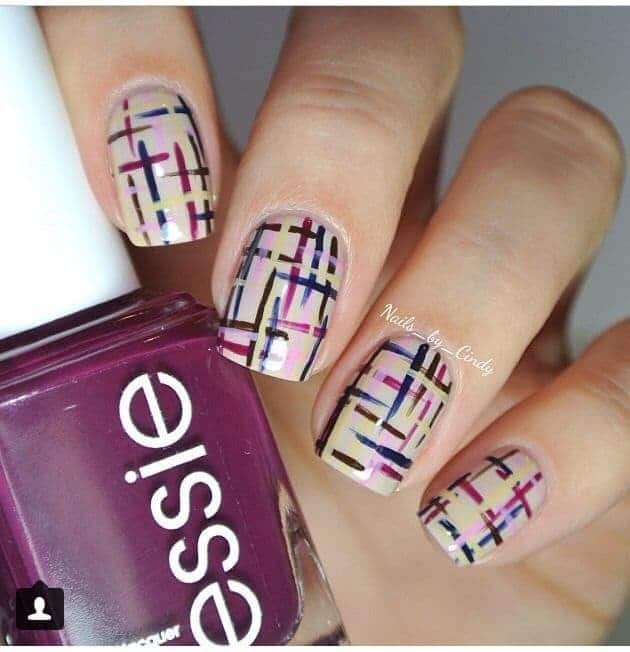
Art
Linen or silk wraps can also be used for creating beautiful nail art. Just look at the upper picture. However, if you are not a professional nail tech you will not be able to do this. But this is just a great example that even your natural nails can be stunning.
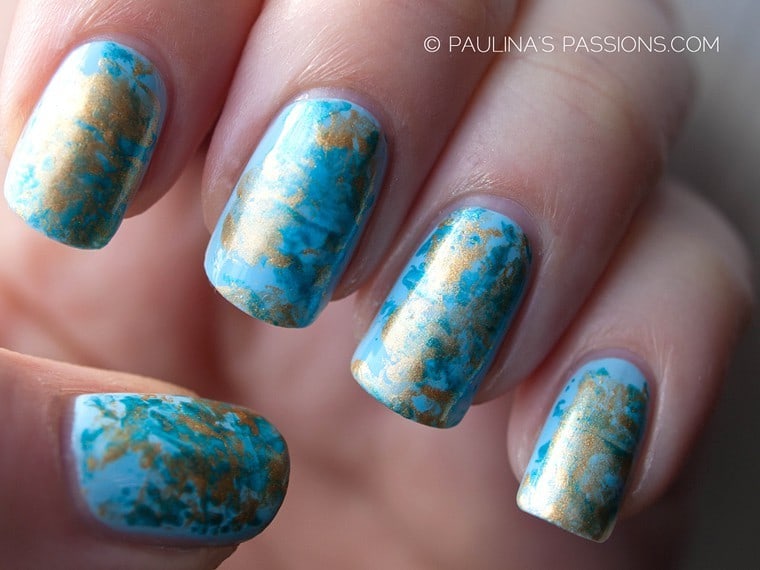
How To?
You will get super easily hooked on this wrap nail design, and literally in a blink of an eye. This wrap is made out of a few layers that will guarantee you support. Women mostly go with silk since it lasts a long period of time. Your natural nails will grow along with the silk, and you will notice that they are getting healthier.
Preparation Time
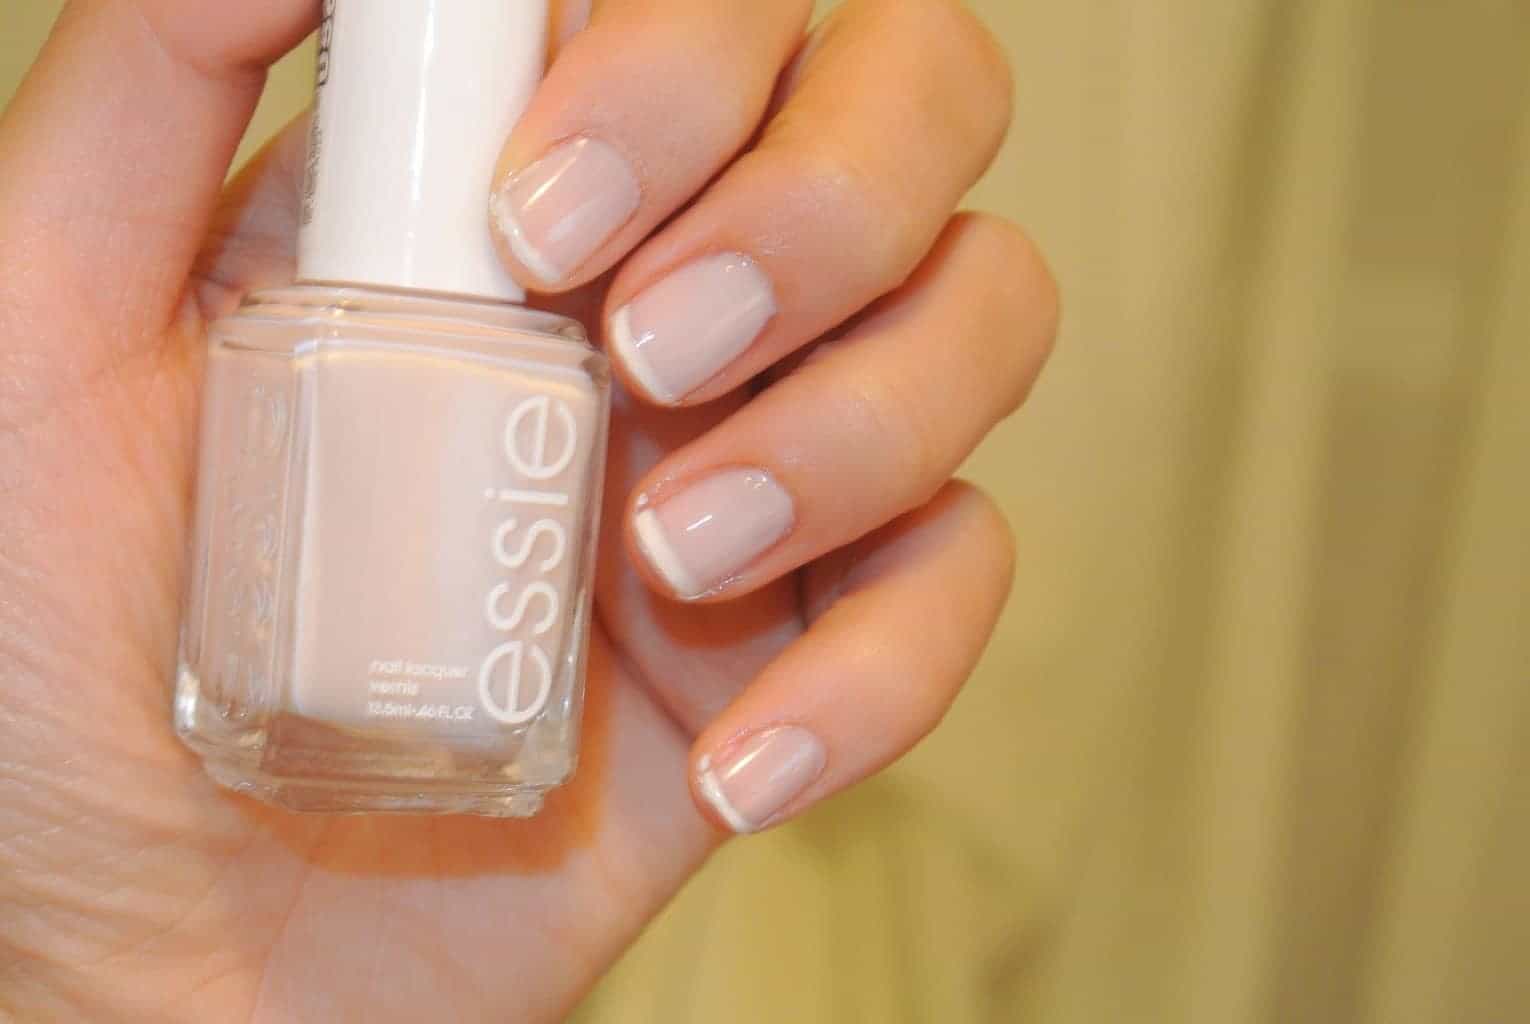
Enough of chit-chat let’s get down to business. In order to have wrap nails, you need to apply a sheer base coat to all ten of your nails. Use whichever one you typically would use. Any polish which is see through will do.
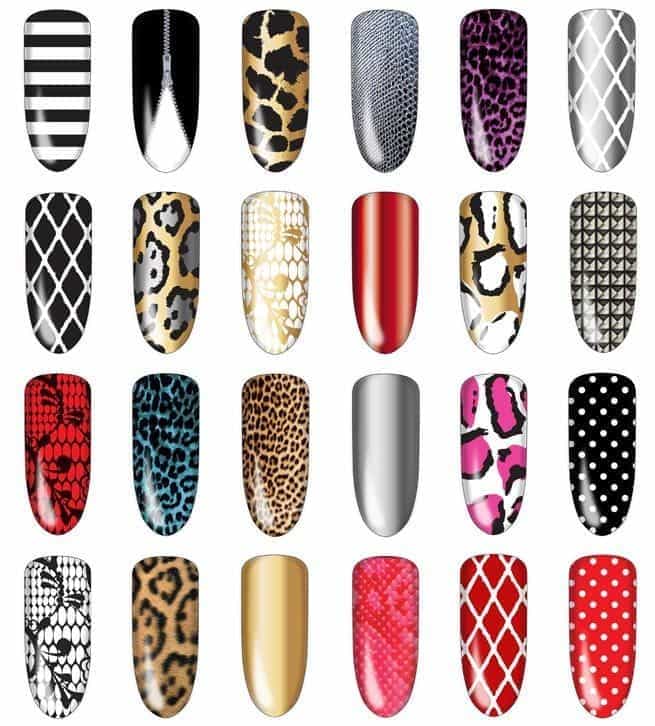
Size
Choose those wraps that will fit onto your nail bed correctly and fully. In the packages, you purchase you will notice that there are, mostly, around 30 wraps that are in different sizes. Spend some time figuring out which size fits each of your nails perfectly.
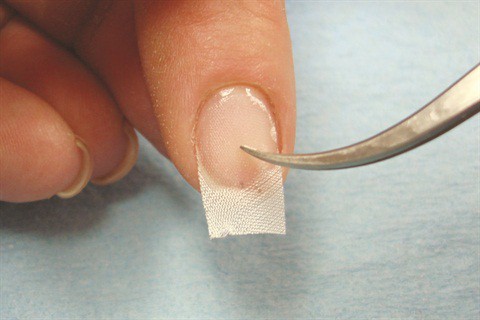
Cuticles and Files
Make sure your cuticles are not in the way once you start applying the wraps. Push them a little so you can work with some extra space. Press down the wrap to the tip of your nail working one by one. Push it firmly and make sure it looks bubble free. If you mess that up they will look uneven and bubbly. Then, with a file shape them super slowly in your wanted shape.
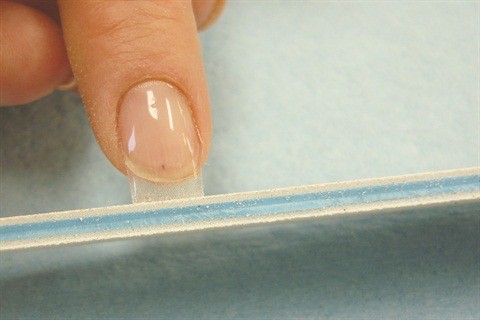
Buff It Away
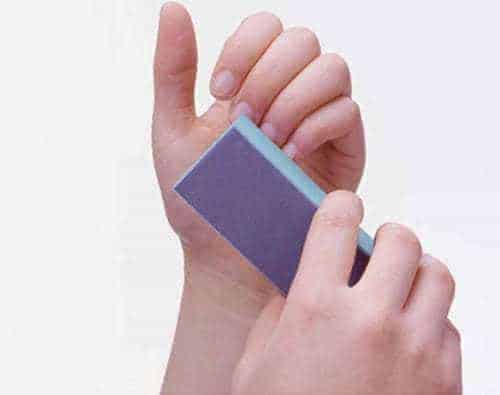
With a regular nail buffer to buff out any excess material and smooth out your wrap. Don’t go too hard on it so you don’t rip it in half. Just do one nail at the time per the middle part of your nails.
Set It
As always and as with any nail designs, you need to set your design with a top coat. Go for something sheer tho, because if you go with the one which has a resistant formula you will see that your creation will lack in the shine department. And you want your nails to look shiny and fresh as new.
And there you have it. Some basic knowledge about the nail wraps. Hopefully, once you get tired of you acrylics you will give them a chance. Who knows, maybe you’ll fall in love.