Marble Nails Made Easy: A 6-Step Water Marble Tutorial
Innovation is an integral part of fashion world. Style and trends can change overnight. You have to be flexible in order to cope up with the current trend. Two types of marble nails have become very popular recently, water marble nails and stone marble nails. Water marble nails look like colorful swirls on your nails but the other marble nails look like stone and granite. It’s a new addition to the nail design sector. But, using water seems very troublesome. That’s why a new way of having marble nails without water has been invented. The procedure is much easier and you will love the marble nails resembling the exact textures of a granite or stone. Let’s have a look at how you can have marble nails done at home.
Simple Ways of Having Marble Nails at Home
Marble nails give your nails the look of a very hard rock having patterns like squiggles or cracks. But the output of this design is unpredictable. Sometimes, you may not get the look what you expected. This process is the most effective to have marble nails, there are other methods too. Things you need:
- Base Coat
- Top Coat
- Nail Polishes
- Thin Paintbrush
- Cosmetic Sponge
- Acetone or Nail Polish Remover
If the materials are arranged already, let’s get to work. You can follow these simple steps given below to have marble nails done.
Follow video tutorial below to create realistic marble nail art. Read on to get a more detailed idea!
https://www.youtube.com/watch?v=q0mdhVRYEZM&t=27s
#1. Polish on the Base
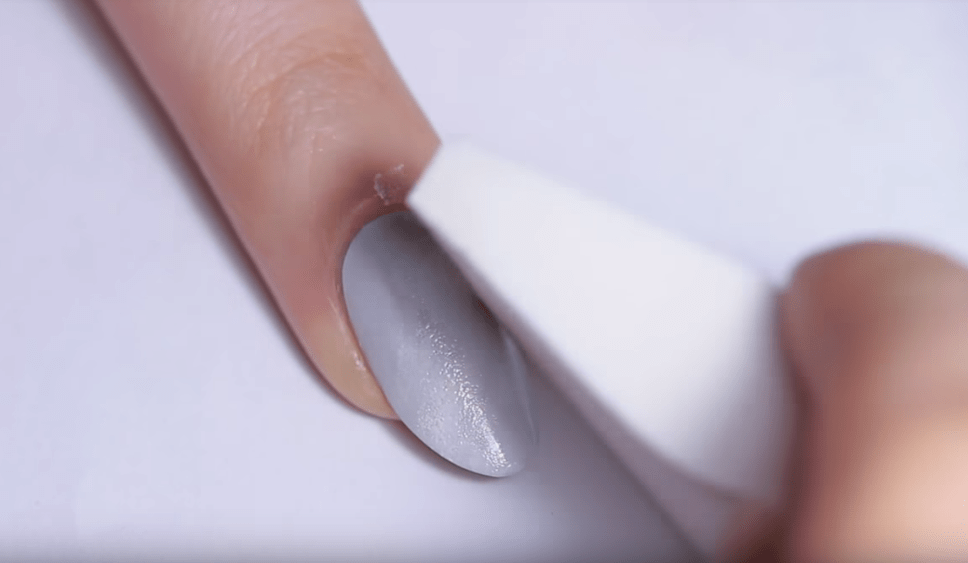
The marble patterns will be applied to a pale grey base coat. Use a cosmetic sponge to dab some white polish all over the pale grey nails.
Try Creative Water Marble Nail Designs
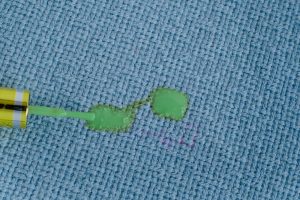
#2. Color Drops
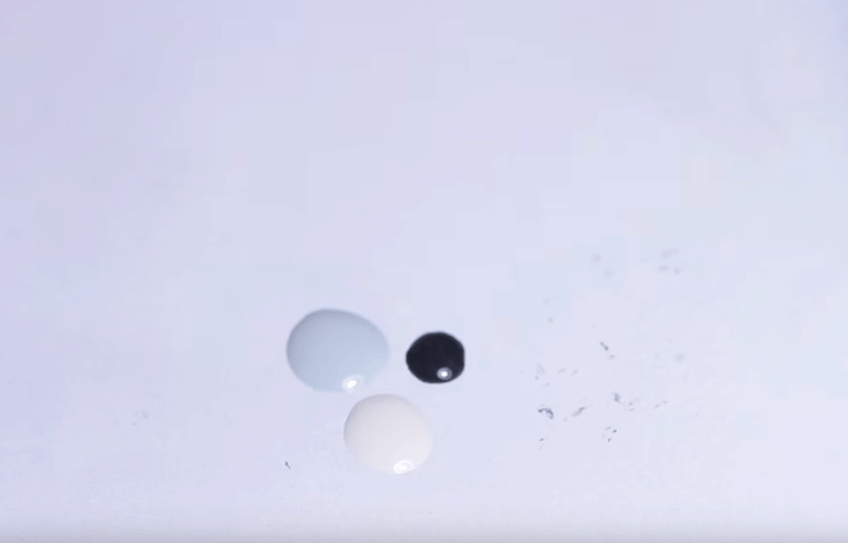
Place a drop of the grey nail polish, a white polish, and a charcoal grey down on a piece of a paper. And dab each color at the same time with a little ball of plastic wrap.
#3. Adding the Mixture
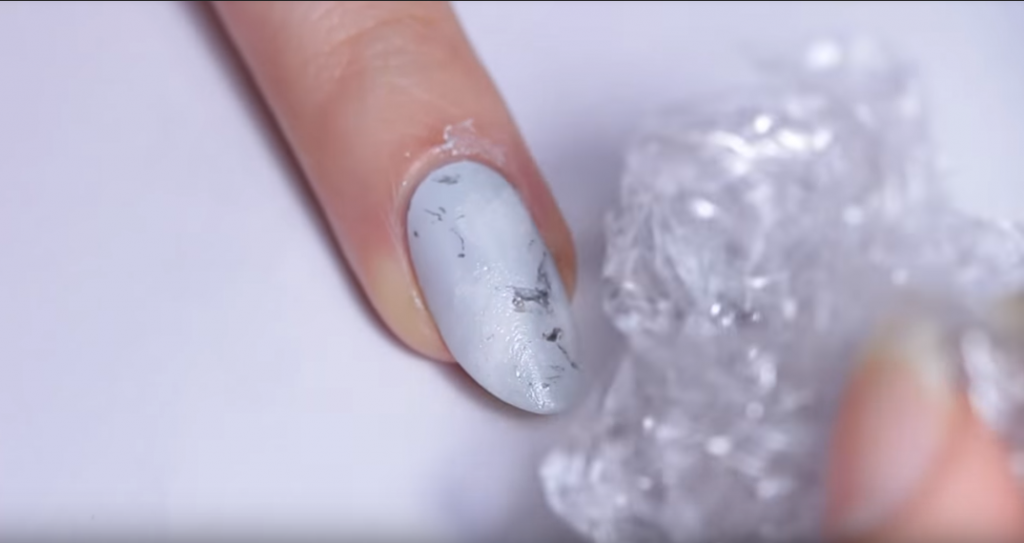
This step is one of the most important. Apply the mixture of the color drops onto the nails. Don’t go overboard with this step. It may look overdone.
Amazing Galaxy Nail Art: Easiest Way
#4. Creating Squiggles and Cracks
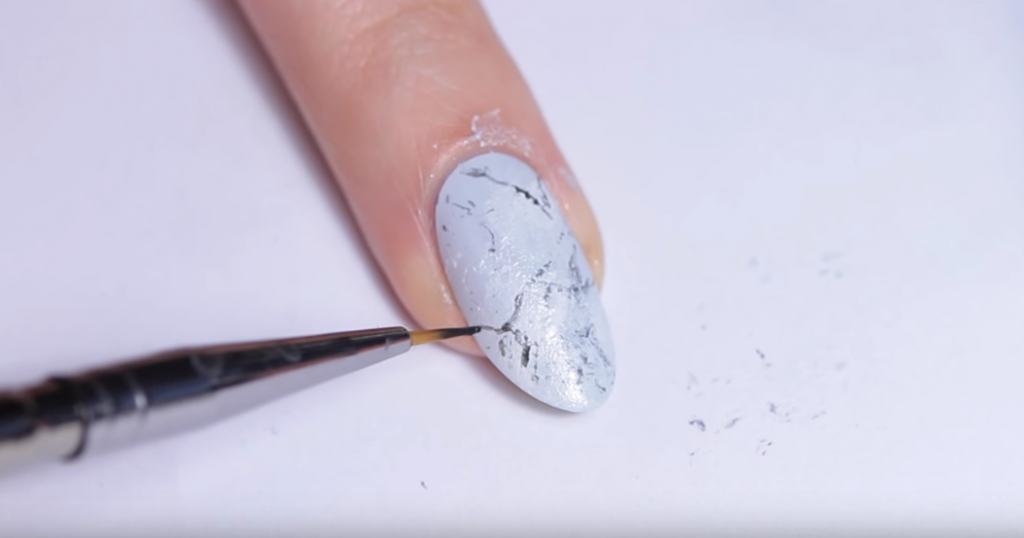
A paintbrush or striping brush is needed to paint in the cracks of the marble. Try not to make the lines very straight or going in one direction. Marble nails look the best when the patterns are kept in squiggles and dotted textures. This step is the heart of this design. If anything goes wrong, the marble nails will be a total mess.
#5. That Extra Shine
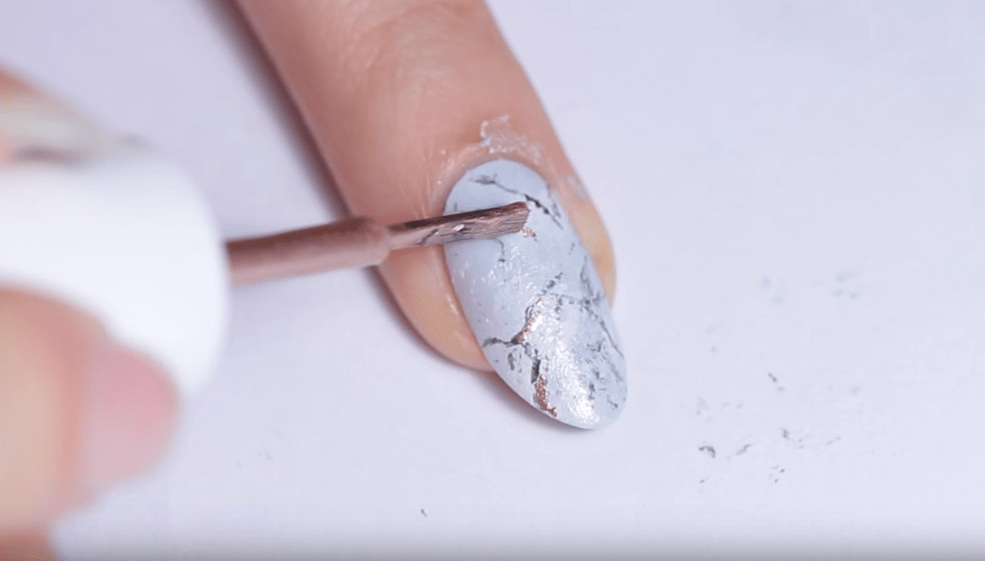
This step is optional. You can omit it if you want. Here, a metallic polish is used to draw little lines or spots over the darker lines to give the marble nails a bit shiny look.
#6. Finishing Touch
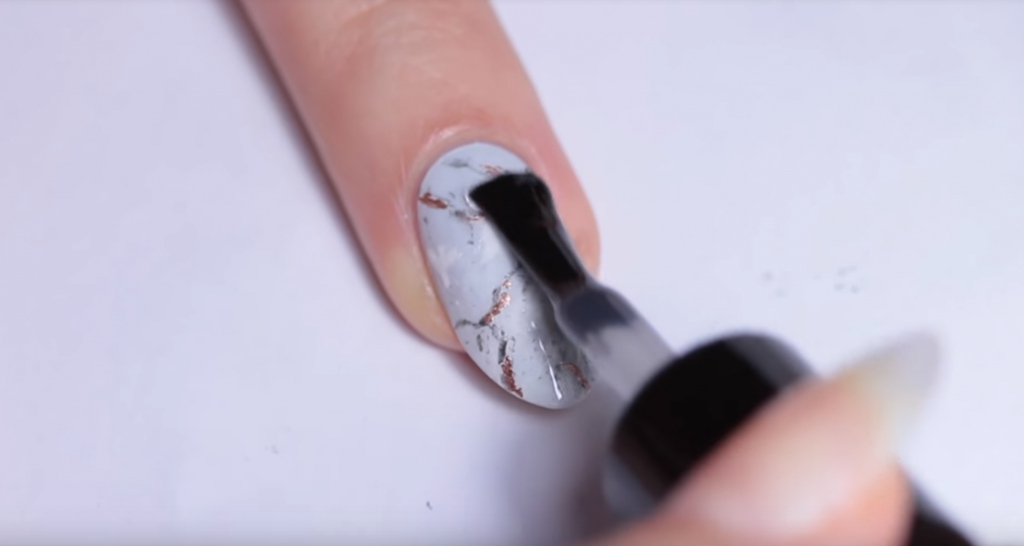
It’s the final step of having the unbelievable marble nails. Wait for the colors to dry then apply a top coat to seal your designs. Your marble nails will be ready to be exposed.
How It Looks- Final Results
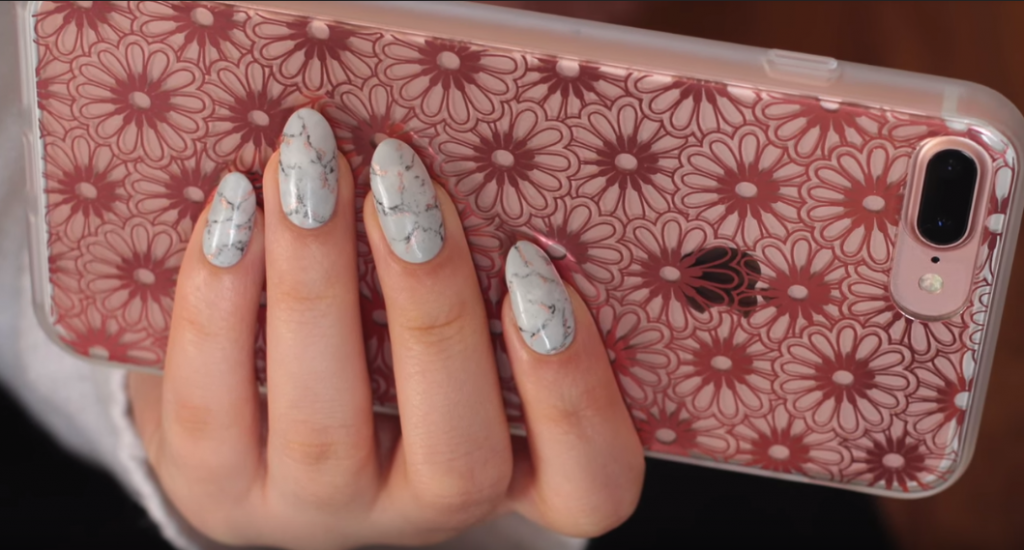
Marble nails look stunning like this one if the procedures are followed accordingly. These beautiful nails will complement your overall look if you wear compatible outfits while having them on your nails.
Enough Talks! Try These Marble Nails at Home
Marble nails look impressive if they are designed with proper care and guidance. Your nails will give the look of an age-old granite if you can apply the design perfectly. Hope you will be able to do marble nails at home by following these simple marble nails.