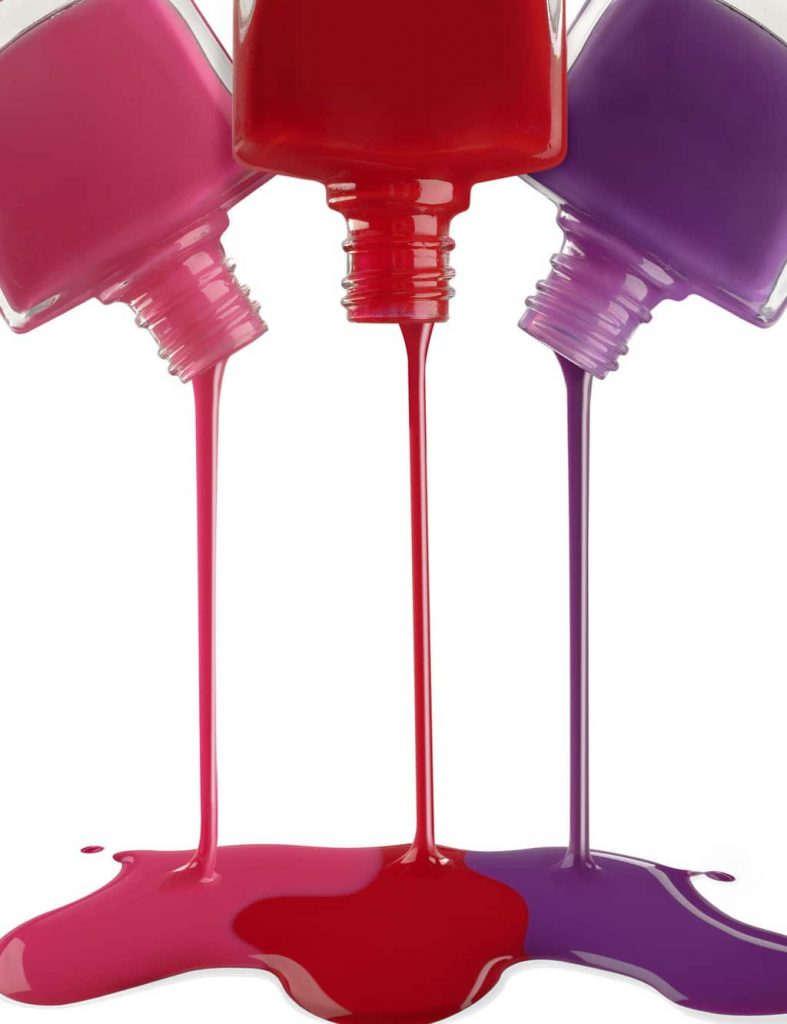
DIY Beauty: How to Make Your Own Nail Polish in 6 Steps
Every now and then a little chemist awakens up inside of us and has some weird ideas. Maybe this morning you got up and thought to yourself: “Hmm, I want to know how to make my own nail polish”. You can be as creative and innovative as you want and we will help you out with that. Also, you will feel awesome knowing the fact that you’ve handmade something as cool as your own nail polish!
How to Make Nail Polish On Your Own?
You don’t have to be a scientist to get this right, and with our tips and guidelines, you will have it under control. So before we get into the whole step by step process, here is a list of things that you’ll be needing:
- An eyeshadow
- A thick card like paper
- A toothpick
- Craft glitter
- Clear nail polish
Make your own nail polish at Home. Watch the video below!
Step 1: Find The One
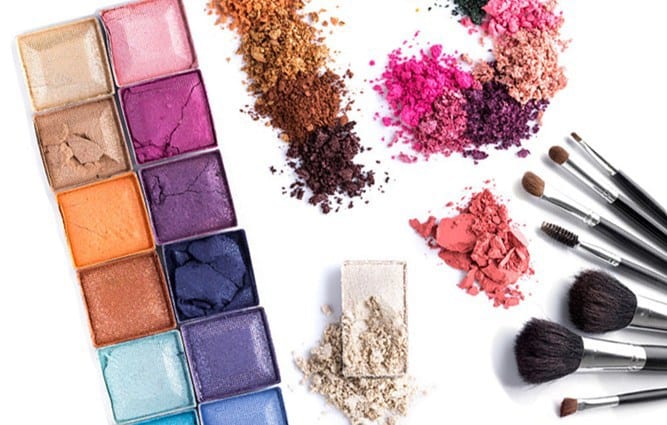
Firstly, you will need to search for the eyeshadow in the color you want your nail polish to be. And we all know that sometimes finding ”The One” can be harder than we’d expect. The eyeshadow can be a brand new one, or it can be an oldie but a goodie from your home. However, know that you will need to break that eyeshadow completely in pieces, so be ready to say your goodbyes. So choose the one that is not too pricey nor your favorite one, so you can avoid the possible heartbreaks.
Step 2: Crush It
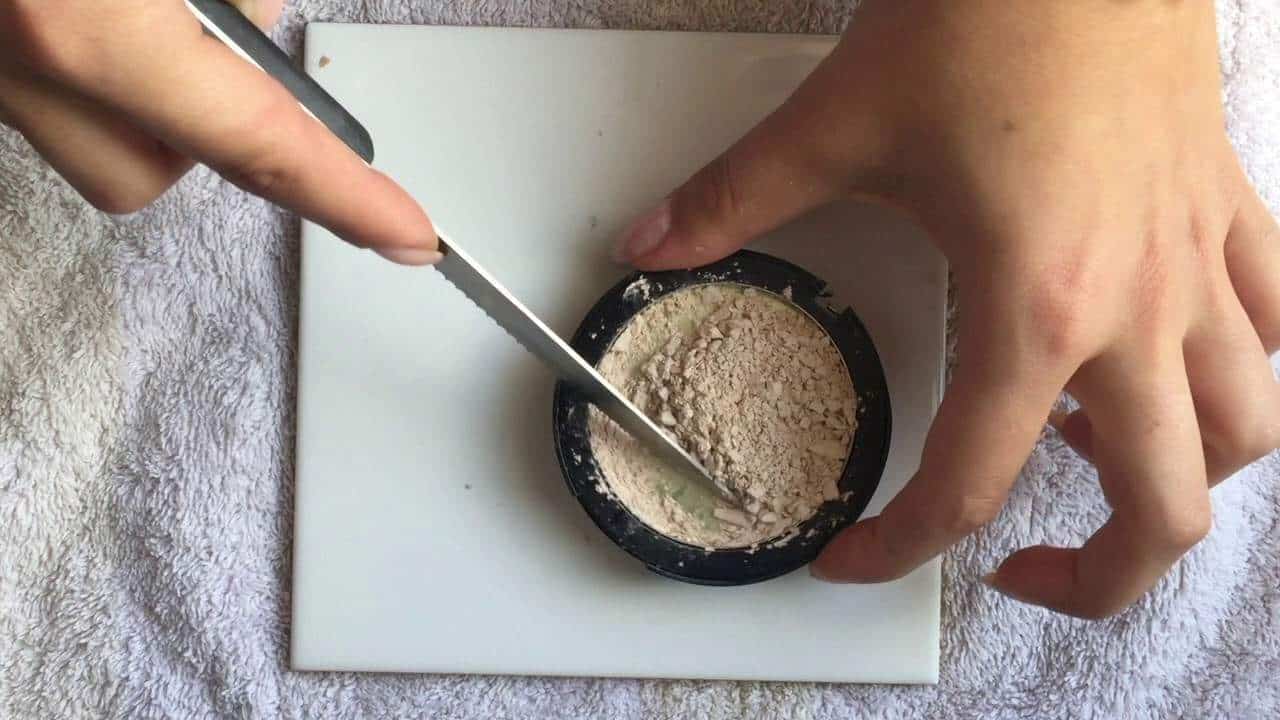
Take your chosen eyeshadow and place it into a plastic bag, then crush it (preferably) with a rolling pin. You can also go wild with a hammer, the back of your palm, or whatever you can manage well without causing too big of a mayhem. Know that the powder that you end up with in the end has to be super smooth and without any lumps. In case it’s not smooth you will have a lot of trouble with it. If you dump it into your nail polish it will come out very patchy and not smooth. So, you better put some work into the process for the better results. And you better do it properly, because you are trying to make your own nail polish look like a million bucks, aren’t you?
Step 3: You Will Need A Funnel

You can create one on your own by using an envelope or if you curl up a note card. Just make sure when you start the pouring process that the funnel can fit into the nail polish bottle or just the neck of it.
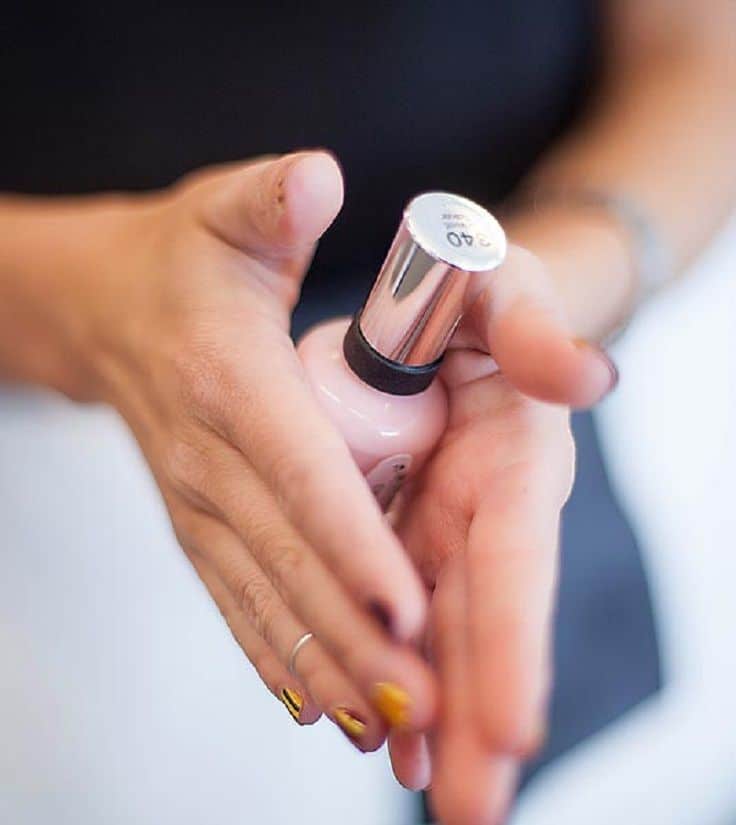
Step 4: Nail Polish
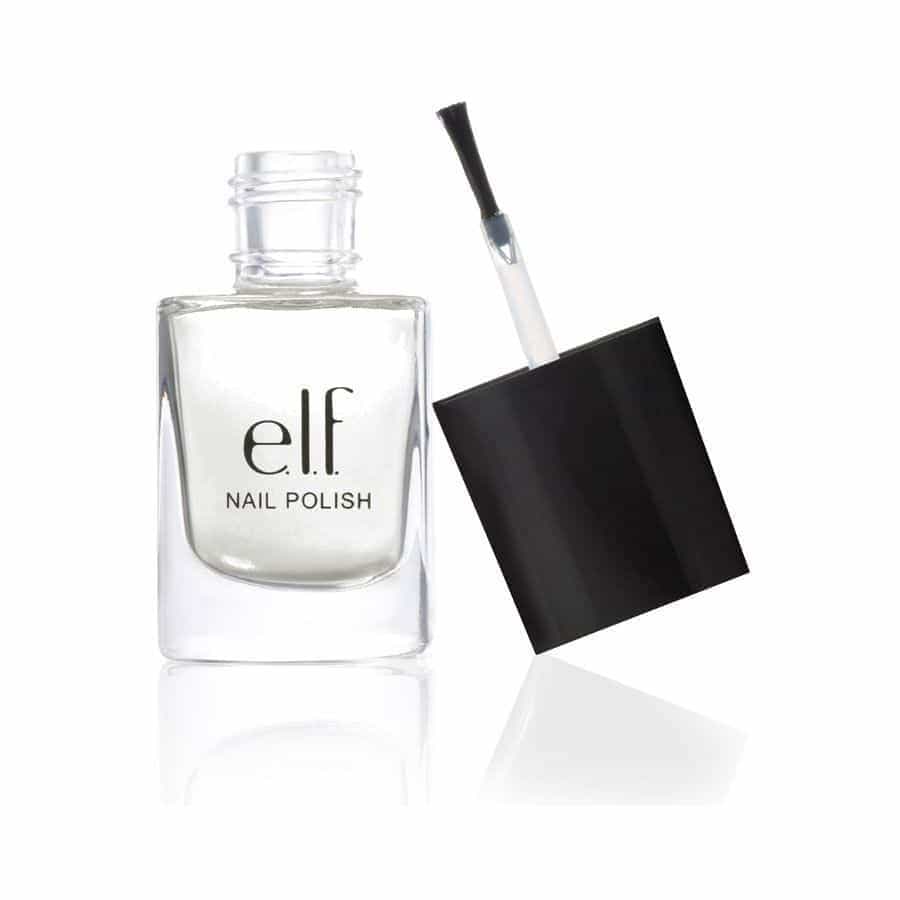
As we’ve said at the beginning, you will be needing a clear nail polish. Just open the bottle of whichever one you have at your house and put the funnel over the top. Don’t push it entirely into the bottle, that way you are in the control of the whole process and you can avoid the overflow of the polish. Make sure that there is only half of the clear nail polish in the bottle. Well, you are now close to making your own customized nail polish!
Step 5: Pour It
With a help of your funnel, precisely pour in the eyeshadow of your choice.
Tip: Work quickly with your eyeshadow. The air (as we all know) dries things easily and fast, so don’t let that happen to your mixture. If it is starting to lose moisture, just add a bit more of the clear polish.
Step 6: Shake It
Shake your new nail polish bottle so that the color spreads everywhere in the bottle. After it had been distributed, use a nail polish brush to mix your consistency. Your shade may look very matte, and if that’s not your style, just add a clear top coat on your nails to make them shiny and glowy.
Stunning Red and Black Nail Designs
Now you know how to make your own nail polish. Women who like all of those D.I.Y. moments will be a huge fan of these simple six steps. We believe that this process is a fun idea if you have plenty of spare time.