Galaxy Nail Art: 10 Simple Steps to a Space-Themed Mani
Do you want to have the amazing galaxy nails? Because having unique and totally different nails than your friends might make you feel happier than you’d think. Originality is something that we are drawn to, and it legitimately makes us happy, and even men find it to be attractive. So in order to have the ultimate DIY galaxy nails, you will be needing some tools, a moment of your time, and a smile on your face. Hey, optimism helps!
DIY Galaxy Nails Designs at Home
You’ll be needing following supplies before startup
- Base Coat (any kind will do)
- Cosmetic sponge
- Dark nail polish
- Glitter polish
- Light color for the sky
- Piece of paper
- 3 bright nail polishes
- Top coat
So, if you have everything from this list lets get going with the process. If not, rush to the closest beauty store and let’s get started.
Let’s create some Aaa-mazing Galaxy Nails. Video tutorial follows
#1: The Base
Start off with clean and sharp nails. Always make sure they are shaped and buffed right, as well as that you like their length. Applying a base coat is the easiest when you are working with clean nails and a smooth base. Let’s not forget that clean and tidy nails, when fed and nourished properly, won’t look yellow on you.
Galaxy Nail Designs- Choose one to Try
#2: Painting
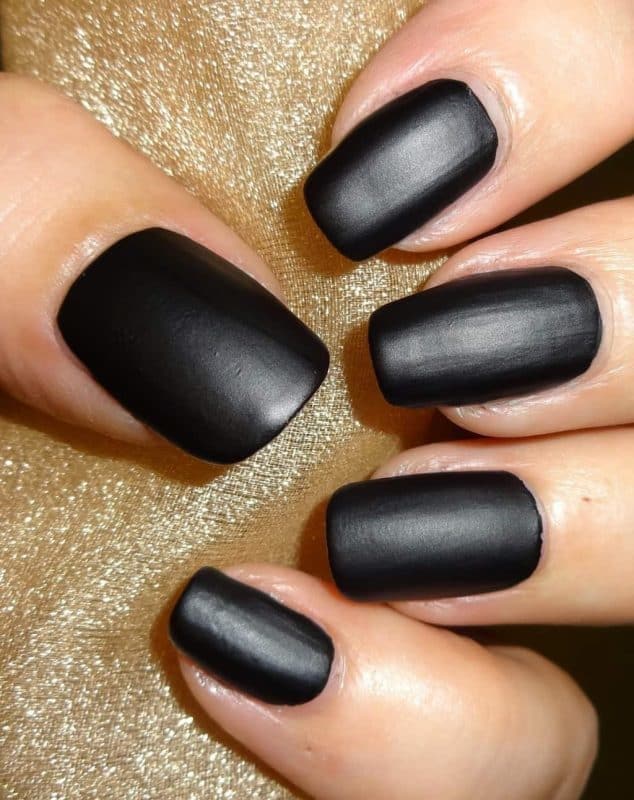
The first layer of your colored nail polish should be a darker color, preferably black or dark purple. Those two will look the best as a base for the galaxy nail art that you will draw on. A little hint is that you should definitely have your nails matte. That just adds the drama and sass to the whole galaxy nail design.
#3: Creating
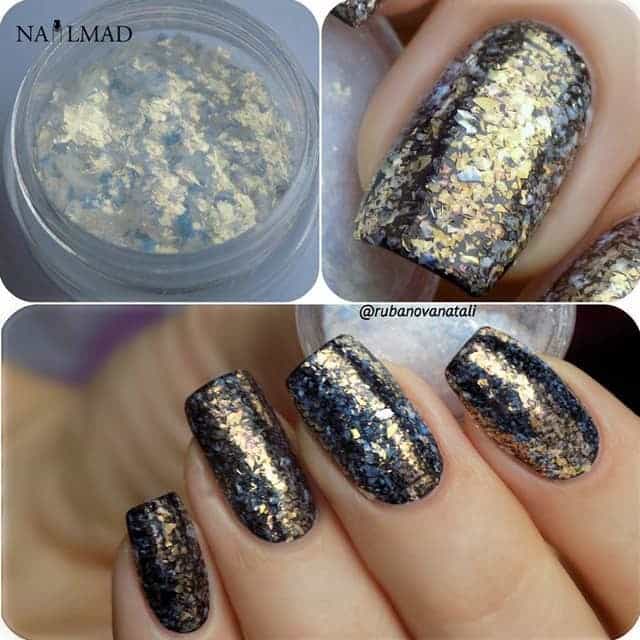
Since we are talking about how to do galaxy nails, you need to put some effort to it. After all, it is a sky full of miracles, right? To make them look as realistic as you can, you need to make them a little trippy. Just look at the upper picture and what you could achieve.The whole key in this process is the illusion. With your chosen glitter make some stars. Those stars can be either big or small, just as long as you are giving them that distant illusion effect. In the picture above you can see that they are very tiny but yet so pretty.
#4: Colors
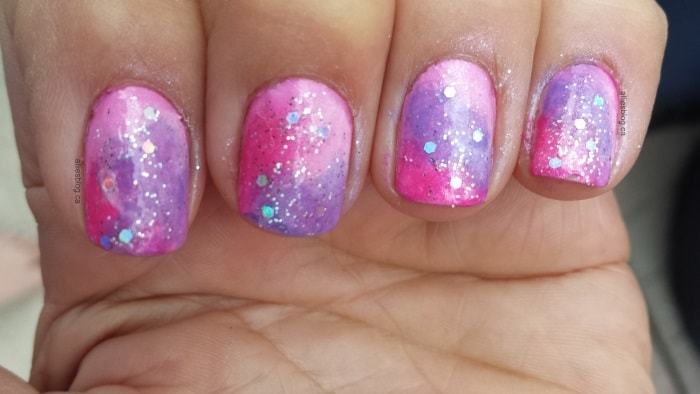
Now here is where it gets fun. It is time for you to determine which color is your galaxy color. Choose 2 or 3 shades that you will add on top of your shimmery glittery stars. Women mostly go for pinks, blues, and yellows. Choose whichever three you want but make sure they don’t have any sparkles. Your shades need to be solid because the sky will look the best like that.
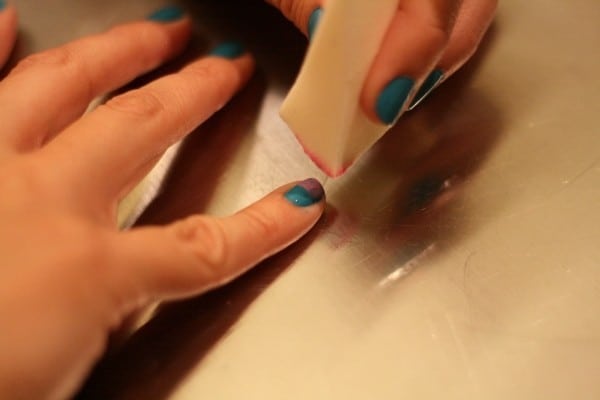
#5: It’s The Sponge Time
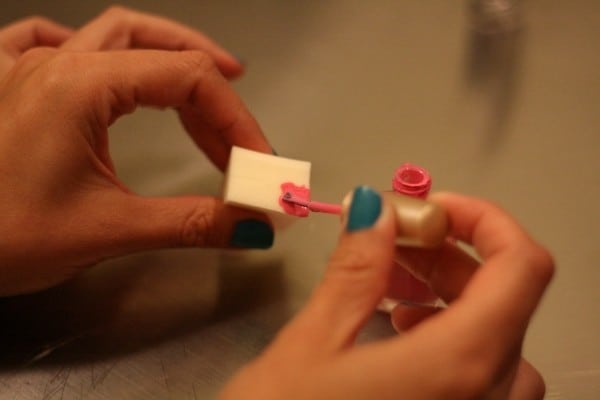
To add layers of color, you will use a sponge instead of the brush. Pretty weird method, and something you are probably not used to. Grab a makeup sponge and make a piece that is small enough to fit over the center of your nail without touching the cuticles.
#6: Still At The Sponge
Your cosmetic sponge will come in handy now. Put a little bit of your first shade on top of the sponge and then dab the nails. Do it slowly and in a dabbing motion because like that you will be creating small blocks of color, rather than just a whole huge patchy mess.
Awe-Inspiring Ombre Blue And Grey Nails
#7: Some Other Colors
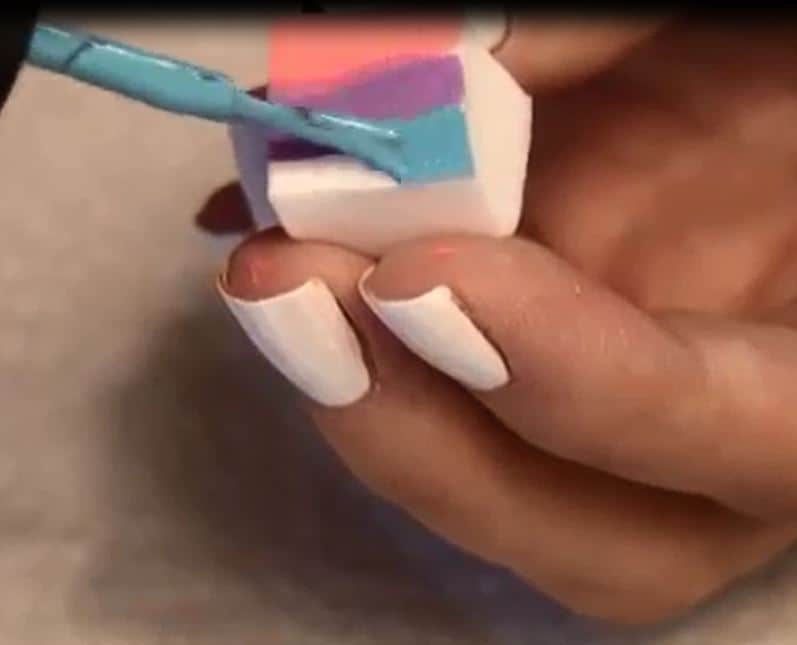
With the same sponge and the same technique add other vivid colors to your design. However, make sure you don’t go too heavy with your colors when creating this galaxy design. Up to three should be just fine because if you go above that number, you will start to notice that the polish will just mountain on top. That won’t look pretty. Apply them like it’s shown in the picture.
#8: Cleaning
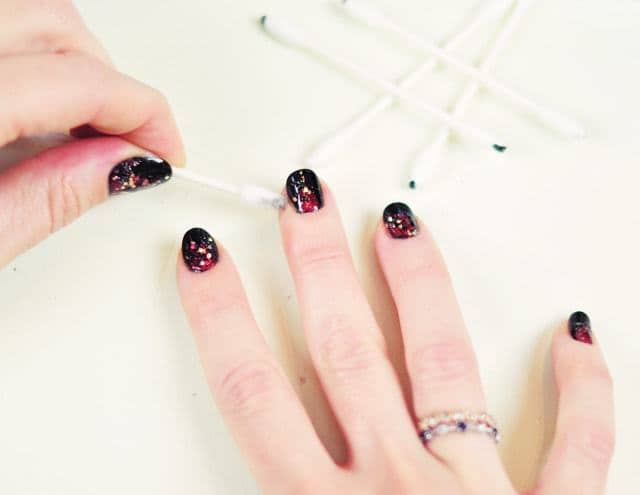
Because you’ve been using that sponge a lot you might have some color stuck onto your skin. Take a cue tip and dip it in acetone. Remove the unwanted nail polish off of your skin without ruining the design on your nails.
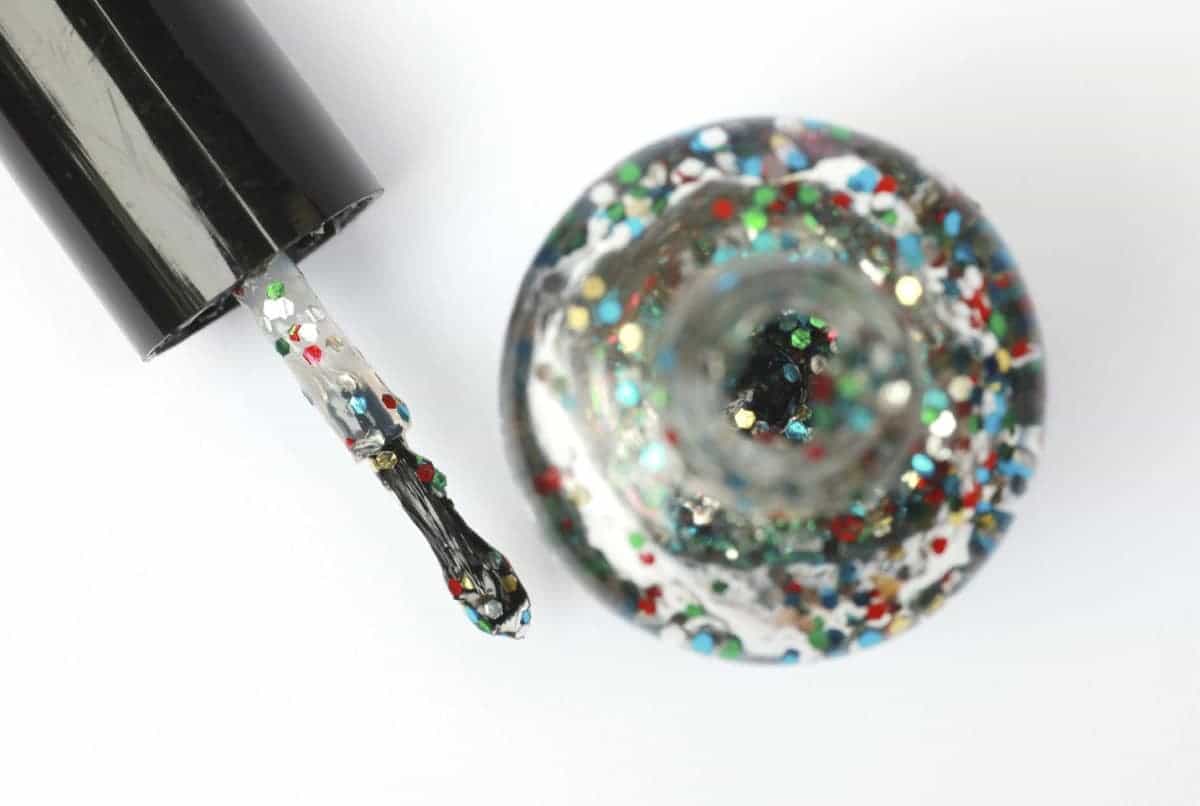
#9: How to Create The Stars?
Since we are talking about how to do galaxy nails, we need to teach you how to create the stars as well. ”Because you are a sky full of stars”, as Coldplay would say.
- One way to make the stars on your nails is a clear colored nail polish that has glitter in it. This option is super easy and you will add the stars on top in a blink of an eye. One or two coats will get the job done.
- In case you are a fan of bigger glitter, stars, and gemstones, you can try to find a clear nail polish with XXL sparks in it. Also, those shimmers or confetti that you can find at a drugstore is a good option too. You just need to be precise when applying it.
#10: White
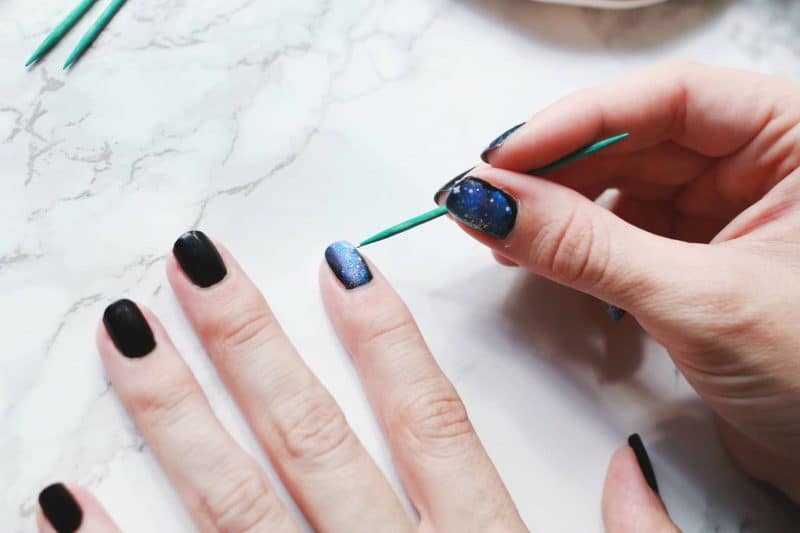
Use your white nail polish to create little dots that are going to look like real stars. Find yourself a dotter tool, small pen, or a toothpick and draw on white stars in many different shapes.
There you have it. It may sound harder than it is, but doing galaxy nails is actually a piece of cake. Try to achieve them in the following period of time and see for yourself. Warning: jealousy is guaranteed with them.