How to Fill Acrylic Nails at Home: Step-by-Step Tutorial
You love your acrylic nails. The length, shape, and design possibilities are almost endless. For a few weeks, your nails will look great, at least until your natural nails start showing.
It is the main problem with acrylic nails, and not everyone knows how to handle their natural nail growth. What you don’t need to do is remove the acrylic nails, instead, you can get a fill-in. It extends the life of your professionally applied nails, and it’s something you can even do at home.
If you’ve ever wondered how to fill in acrylic nails, here’s the information you need to take care of your nails at home.
How to Fill in Acrylic Nails
An acrylic nail fill is a multi-step process you can do at home. Nail technicians recommend filling in acrylic nails every two or three weeks, and multiple trips to the salon can be expensive.
You will need to gather a few supplies and set some time aside to fill in acrylic nails at home.
- Nail polish remover
- Electric or manual nail file
- Cuticle pusher
- Nail dehydrator
- Nail bonder or primer
- Acrylic polymer
- Acrylic monomer
- Nail polish
- Medium-size bowl
- Nail brush
With a little practice, you can keep your nails looking smooth and polished.
#1. Get Rid of the Old Polish
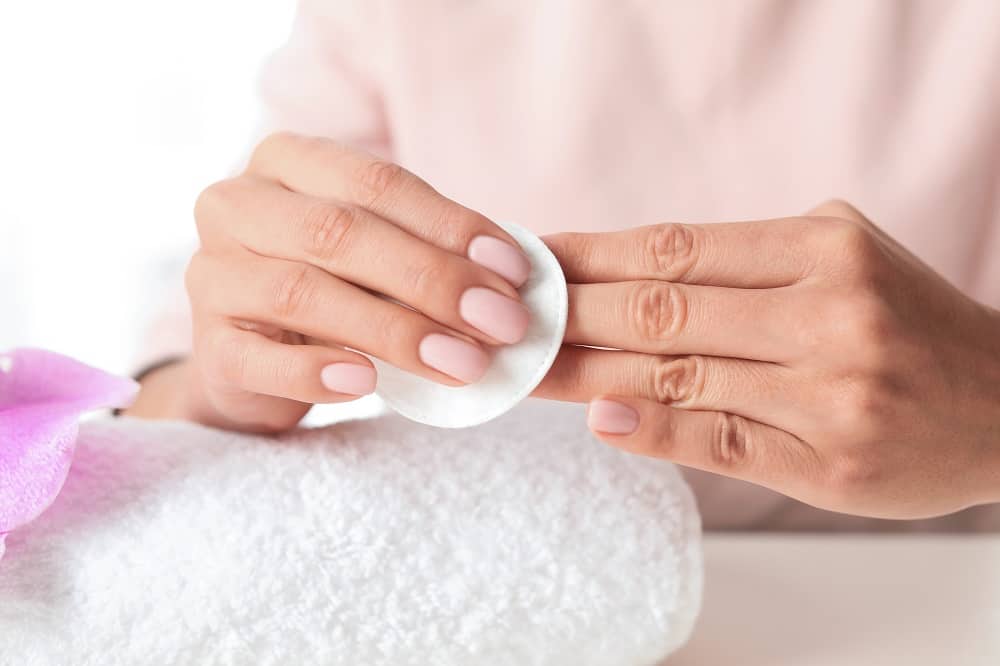
The first step is to remove the old nail polish. You can find nail polish remover at most drug stores. Try to avoid brands containing acetone. The chemical can be harmful to your skin and give your nails a yellowish hue.
Applying the polish remover to cotton balls works best, but you use tissues or a similar product. Wipe the cotton ball across the nail, making sure you remove all of the polish from the edges.
#2. Wash Your Hands
Before you start filing the excess nail growth, wash your hands thoroughly with warm water and soap. You want to wash off the nail polish remover. If any is left on your nails the polish won’t stay on.
Washing each nail for 20 seconds will get rid of the polish remover. It also helps to soften your cuticles, making them easier to push back into shape.
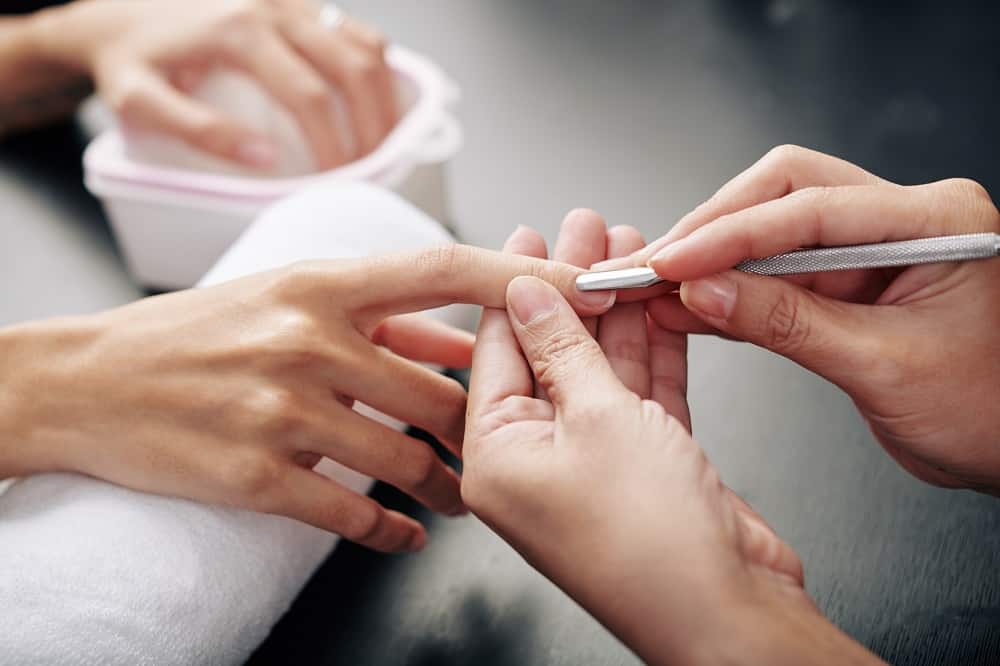
#3. Buffing and Filing Your Nails
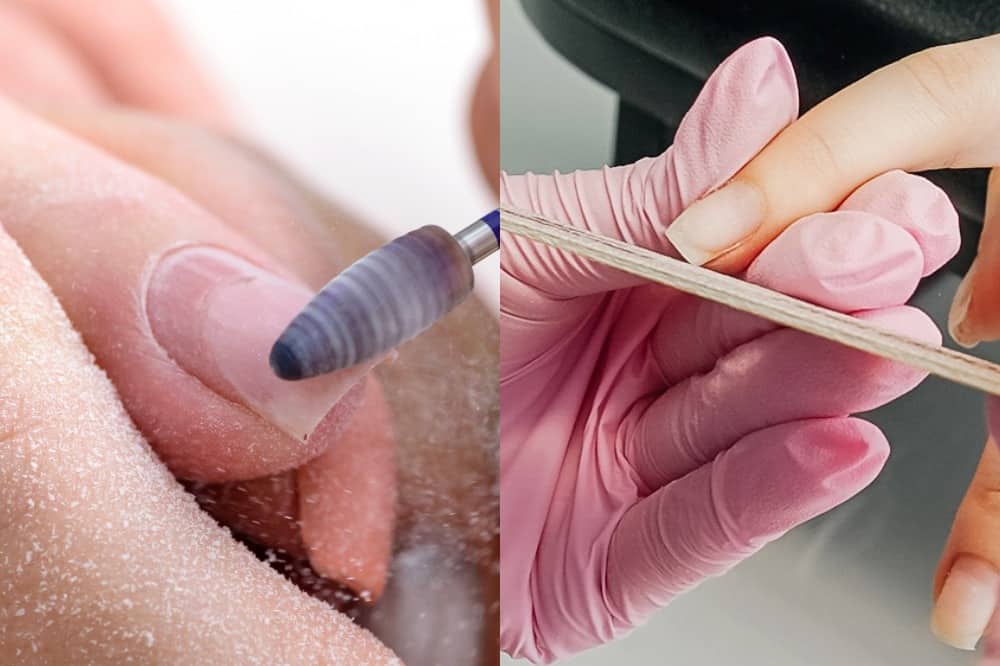
When your natural nails start showing above the acrylic tips, it’s time to break out the nail file. You can use an emery board or an electric nail file. Most professional salons use electric files. It is faster, but beginners may want to start with an emery board. You have a little more control over how much of your natural nail is removed.
Using an Electric Nail File
Your acrylic nails start to lift up as your natural nails grow. To get the acrylic to blend with your natural nails, you need to keep them filed down.
An electric nail file quickly buffs the natural nails down. A good tip when filing is to follow the natural shape of your nail. It helps prevent your nails from breaking and painful hangnails.
Using an Emery Board
It will take longer with an emery board, but you don’t have to worry about accidentally filing down your acrylic tips.
You want to follow your nail’s natural shape, making sure the acrylic blends smoothly with your natural nail. Don’t forget to file along the edges. You don’t want the natural nail growth peeking out around the corners.
#4. Take Care of Your Cuticles
It’s easy to overlook your cuticles, but it’s something you don’t want to forget. It affects nail health and the appearance of your acrylic tips.
You can inexpensive cuticle pushers in the nail care aisle. The small tool gently pushes your cuticles to the bottom of the nail bed. It gives your nails a clean look and draws attention to the polish.
It helps to soften the cuticles before you start. You can use a cuticle remover cream or soften them in warm water. Gently push the skin down, starting in the middle and working your way out to the edges.
After finishing, wash your hands thoroughly before you start priming your nails. You want to wash off any dried skin the cuticle pusher may have removed.
#5. Start Priming Your Nails
Your nails are buffed, cuticles pushed back into place, and any residual dust is thoroughly washed off. It’s time to start priming your nails, and it’s a two-step process.
It’s also when you need to get the nail dehydrator and primer ready.
The first step is to apply the nail dehydrator. Don’t worry, it won’t overly dry your natural nails out. Apply the dehydrator only to your natural nails. It will remove any excess oils from your nails that can interfere with the acrylic mixture. You want your nails to be as dry as possible to get a professional look.
Let the dehydrator dry for a few minutes before you apply the primer or bonder.
Applying the nail primer is the second step in the process. Coat your natural nails with primer. It will be sticky, so be careful you don’t touch anything with your nails. If you get anything on the primer, you have to start the process over again.
#6. Apply the Acrylic Mixture
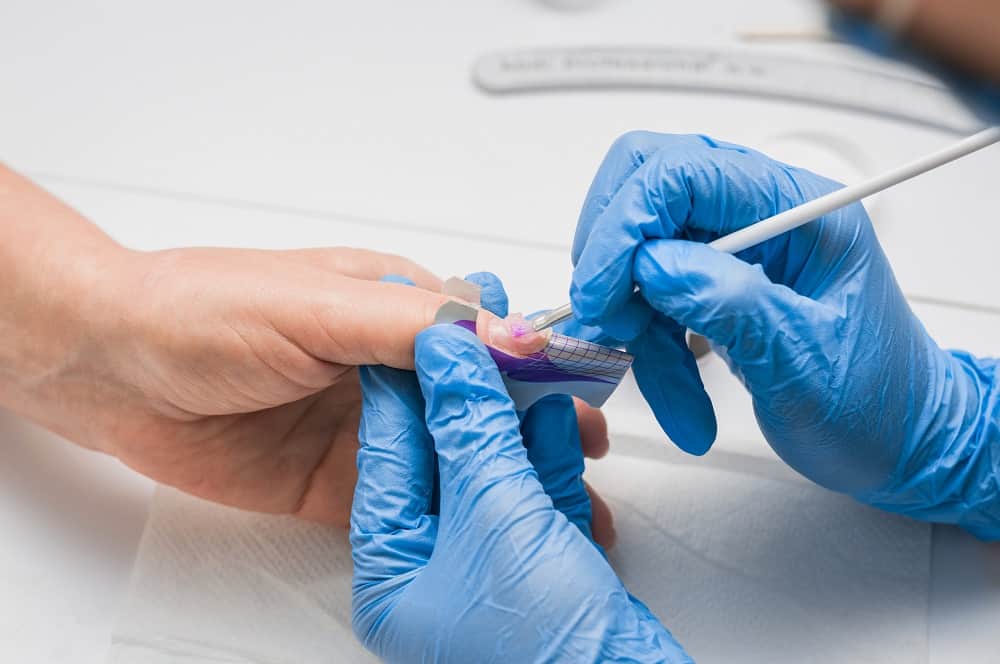
You will need a bowl, acrylic polymer, and acrylic monomer. Most beauty supply stores carry the mixture. Look for it with nail polish and other manicure tools.
It is easier to have the mixture ready to go before you get to this step, but you can carefully mix the ingredients without getting anything on the sticky primer.
Mix the polymer and monomer together in a bowl. The mixture should have a bead-like consistency, similar to small pearls.
Dip your nail brush in the mixture and apply a small drop to the natural nail. Use the brush to blend the acrylic across the natural. The goal is to fill in any gaps, so your nails look smooth and even.
Don’t forget to blend the mixture down to the cuticle. Don’t go over the edges. You don’t want acrylic on potential sensitive skin. It will always give your nails a sloppy and uneven look that can’t be fixed with nail polish.
You will probably have to apply multiple coats until the gap is completely smooth and even. Let each coat thoroughly dry before applying the next one. You can use a nail or blow dryer to speed up the process.
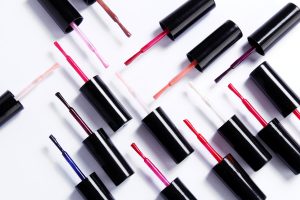
#7. Grab Your Favorite Nail Polish
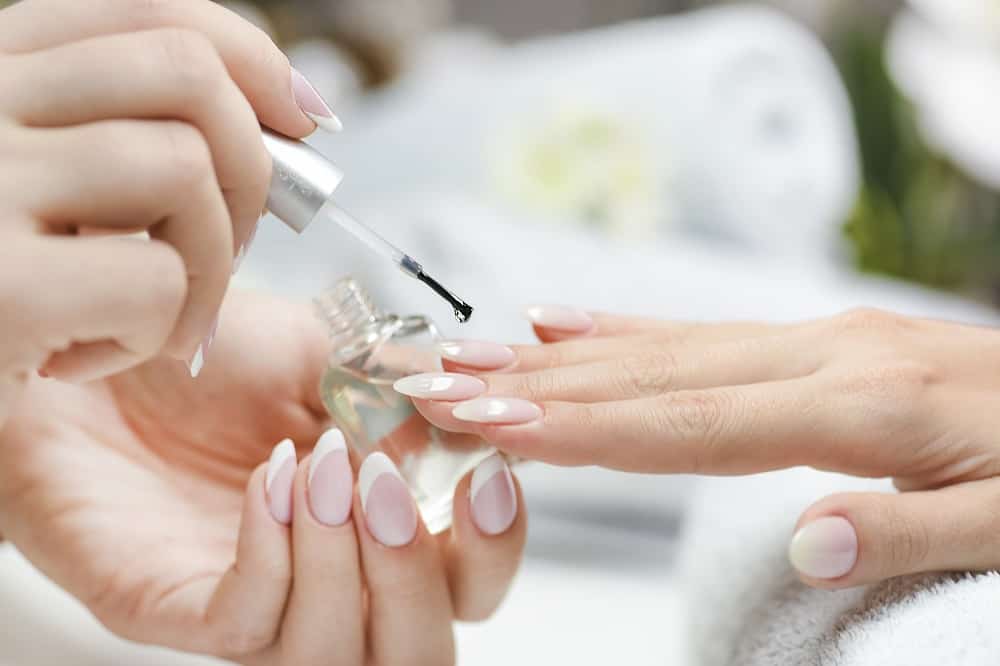
Before you start painting your nails or add decorations, make sure the acrylic is completely dry. It can take up to 30 minutes for the mixture to air dry. You can cut the time down to 10 or 15 minutes when you use a nail dryer.
You can apply a single coat of polish or up to three, depending on your preferences. If you use more than one coat of polish, let it dry before applying the next one. It will prevent your nails from looking tacky, and it also helps eliminate annoying polish bubbles.
It usually takes around 15 minutes for each coat to dry. The final step is applying the topcoat.
Now your acrylic nails look as great as they did the first day you got them.
How Often Can You Refill Acrylic Nails
It does seem like refilling your acrylic nails every few weeks will keep them looking great for months, it doesn’t mean the tips will last forever. At some point, you will need to make an appointment at the nail salon if you want to keep wearing acrylic nails.
Eventually, your natural nails will outgrow the acrylic even with regular nail fill-ins. So, how do you know when it’s time for replacements?
Signs You Need New Acrylic Nails
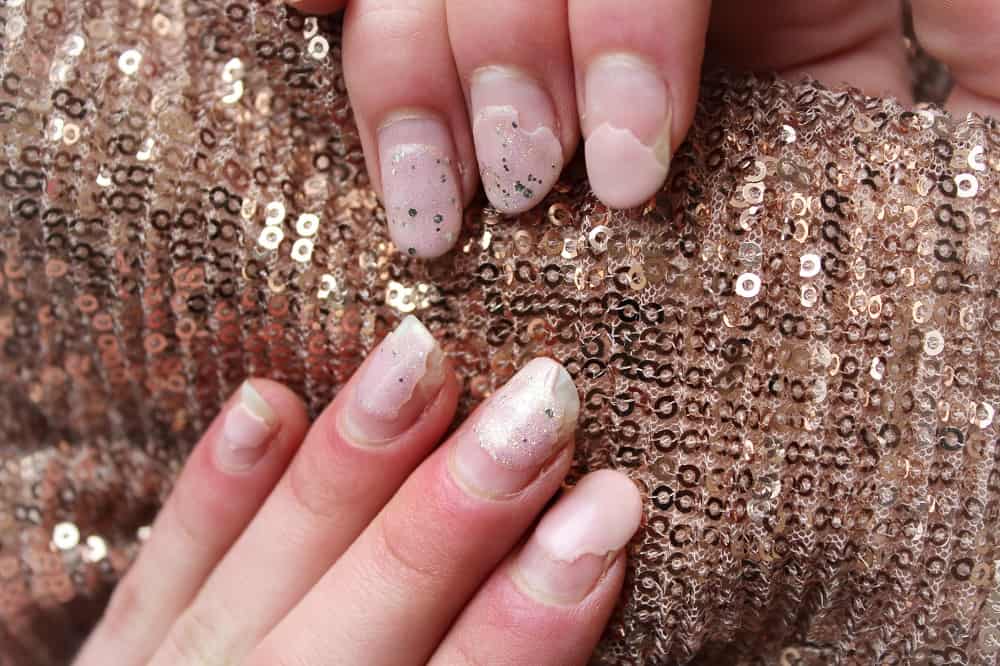
Over time, the acrylic nails will slide further down the nail bed making fill ins impossible. When the acrylic tips are close to the cuticle or cover most of your nail bed, it’s time for a new set.
Another indicator is when the acrylic nail is barely attached to the natural nail. At this point, the acrylic tips can break or fall off.
Should You Give Your Nails a Break From Acrylic Tips?
You love how your acrylic nails look, but it is a good idea to give your natural nails a break. Infections can occur and you may start to feel some pain in your nails.
Giving your natural nails a few weeks to recover from the process will help them strengthen. It also prevents your nails from becoming overly dry.
You want to take care of your natural nails. They are the base for your acrylic ones.
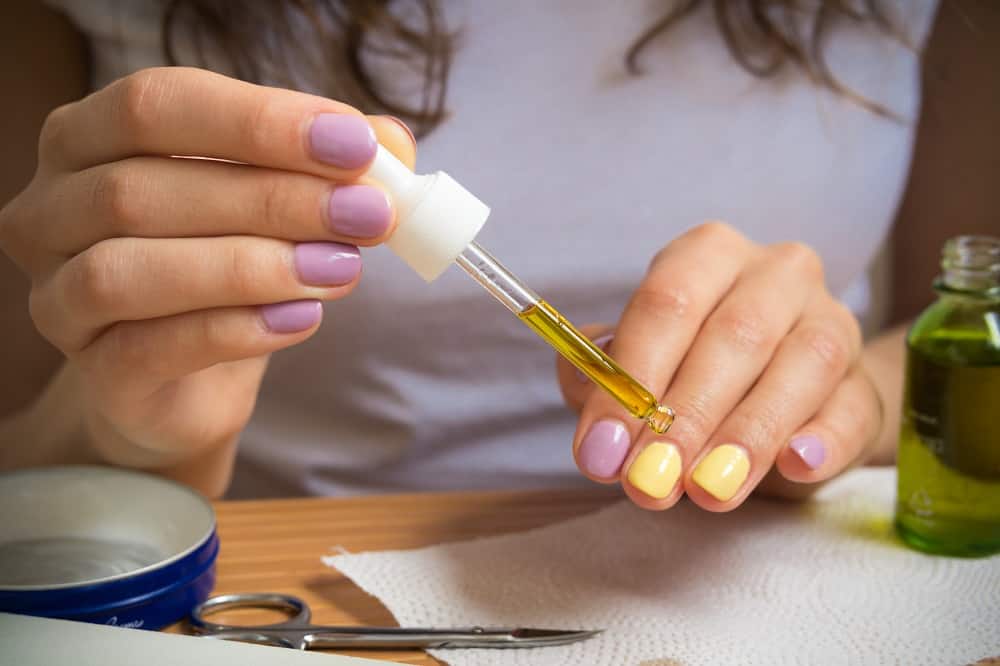
During the break, coat your nails in moisturizers. Hand and cuticle creams are effective and inexpensive. Try to avoid painting your nails during their recovery period, and only use non-acetone-based polish removers.
After a couple of weeks, your natural nails will be healthy, and you can start thinking about getting acrylic tips.
It’s a good idea to give your nails a break a couple of times a year.
Related: How to Fill Gel Nails
How to Cover-Up Natural Growth Under Acrylic Nails
Sometimes, you can’t make it to the salon and are unable to fill in your acrylic nails at home. Don’t worry you still have options. There are a few simple tricks you can use to hide your natural nail growth until you can have them filled in.
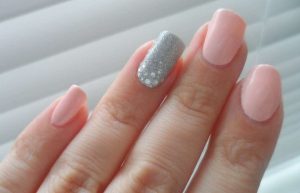
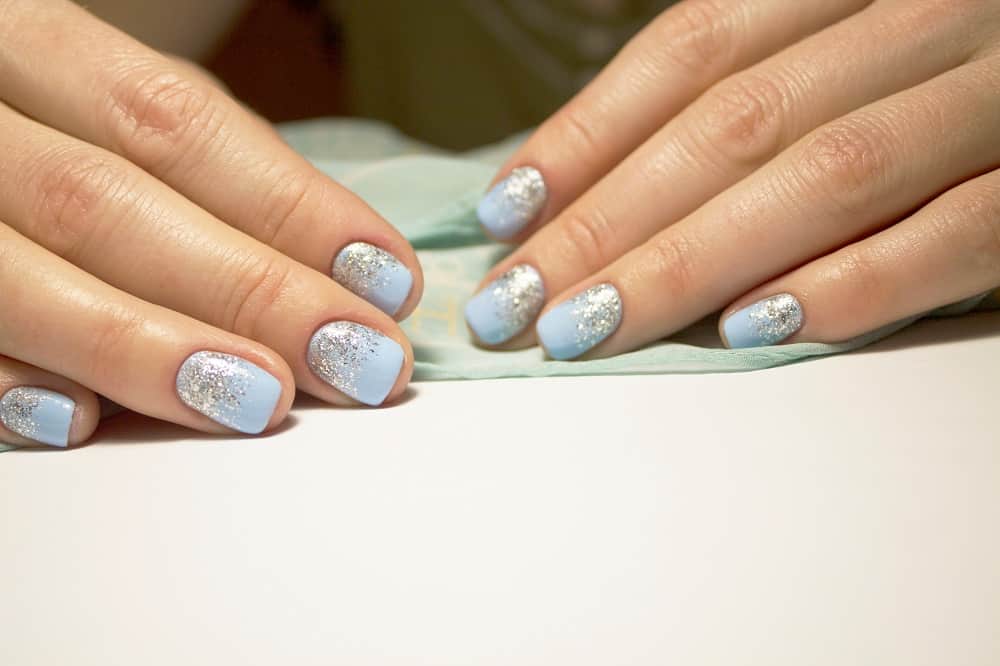
While acrylic fill-ins during a manicure are the best way to deal with your natural nail growth, you can also do a lot with a bottle of thick glitter polish.
Thick glitter polish looks great on acrylic tips, and it’s not reserved solely for festive occasions. Glittery nails are in style, and you can easily participate in the trend.
Find a glitter polish in a color you love. You can find inexpensive polish at any beauty or drug store. You may find even more options online. The only thing to look for is large beads of glitter in the polish.
The glitter beads are what you will use to fill in the area between the cuticle and acrylic tip. It will feel uneven, but it also hides your nail growth. It’s not a long-term solution, but it will keep your nails looking great until you have time to fill in the area with an acrylic mix.
Hide Natural Growth with Nail Décor
There’s no shortage of options when it comes to nail décor. You can find small pearls, metal beads, shapes, and patterns.
Any of these options make a great temporary fix when you can’t get to the nail salon. Glue the beads or pearls to the base of the acrylic nail, at the point where your natural growth is starting to show. It’s an easy way to disguise your need for a manicure. You may even get some ideas for your next set of acrylic nails.
Tips on Extending the Life of Your Acrylic Nails
You can’t stop your natural nails from growing, but you can extend the life of your acrylic nails. Fill-ins will still be necessary every couple of weeks, but you can keep the tips looking new by following a few simple steps.
Always wear gloves when you are using household cleaners. The chemical ingredients can weaken the acrylic bond.
If you spend a lot of time on the computer, always type with your finger pads instead of hitting the keys with your nails. It can cause the acrylic tip to prematurely break off.
Along with frequently washing your hands to prevent natural nail infections, moisturizing your cuticles will also keep your acrylic nails looking great longer.
Final Thoughts
Now that you know how to fill in acrylic nails at home, it doesn’t necessarily mean no more trips to the salon. You can keep your natural nail growth under control for a couple of months, but it doesn’t mean the acrylic tips never need replacing.
It’s also a good idea to give your nails a break from the acrylic once or twice a year to keep your nails healthy.