How To Fill In Gel Nails at Home: The Easiest Step-by-Step Guide
Your gel nails need the best care if they are to maintain their fresh, glossy appeal. It is important to learn how to do fill on gel nails to make up for all those times you can’t go to the salon.
The good news is getting a gel nail fill is not complicated. All you need is the right products and a little creativity to get you going.
How To Fill Your Gel Nails At Home
It is relatively easy to perform a gel nail fill at home if your nails are still in good condition. The first step to doing this is having a complete inventory of the products you need.
Tools Needed
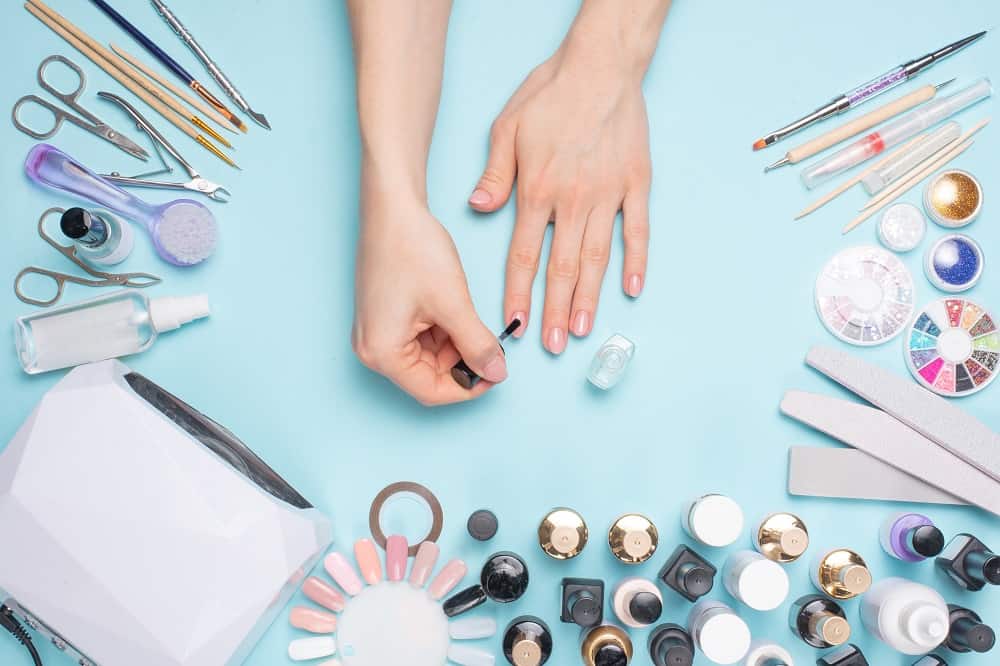
- Hand file, tip cutter, or drill
- UV or LED lamp
- Nail gel polish set
- Nail dehydrator and primer
- Sunscreen
- Nail builder gel
- Topcoat
- Alcohol-soaked wipes
- Nail art brush
- Cuticle pusher
A Step-by-step Guide On Filling Your Gel Nails
Let’s look at a step-by-step guide on how to fill in your gel nails.
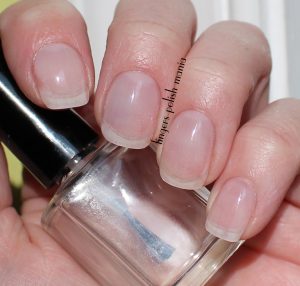
1. Prepare Your Gel Nails

- Apply sunscreen to your hands, and then start by filing your nails. Use your hand file to trim and shape your nails to the desired length.
- Once you are done, push the cuticles down using a cuticle pusher.
- Next, you should focus on blending the line where your new nail growth meets the gel nail. Do this by gently buffing off the top coat of your gel nails as you remove all the shine on your natural nail.
- Do this carefully, as you do not want to end up removing your gel nails. On the other hand, you also want to ensure all the shine on your natural nail is removed as gel does not stick to shiny surfaces.
- Use an alcohol-soaked wipe to remove the remaining oil and dirt from your nails and hand.
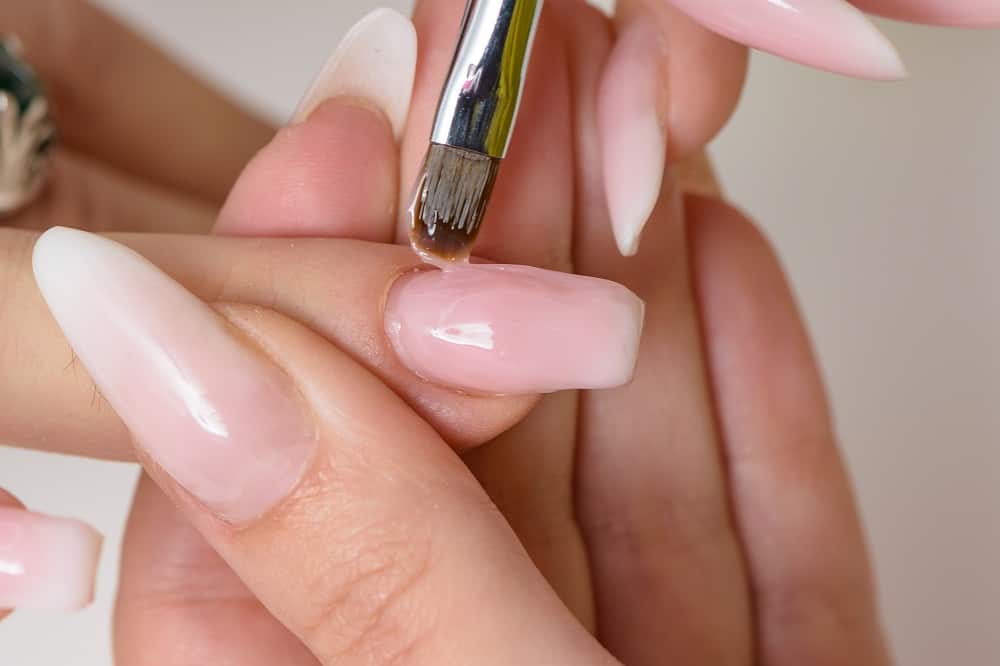
2. Apply Gel To Your Nails
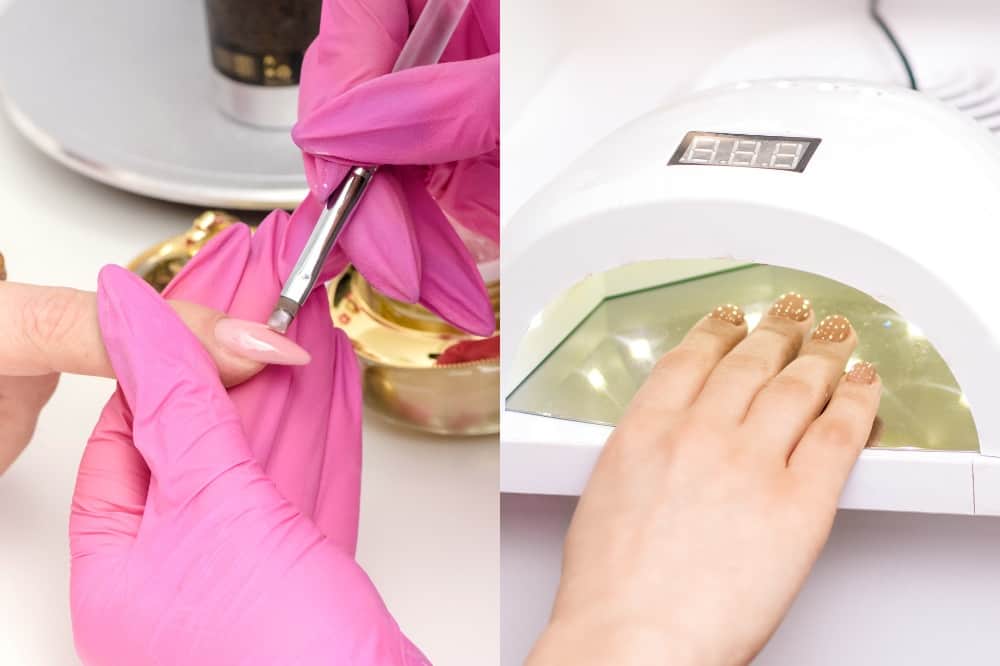
- After preparing your nails, you are now ready to apply the gel polish. First, take your dehydrator and apply it to the natural part of your nail. Do the same with your primer to set a proper foundation for gel bonding.
- Next, apply a gel cuticle to cover both your natural and gel nail. A rule of thumb is to seal the edges first before slowly moving inwards while taking care not to touch your cuticle.
- Cure your hands for 60 seconds under your UV lamp.
- Remove the tacky layer that remains behind using an alcohol-soaked wipe. Your nails should look glossy once you do this.
- Apply your nail gel polish starting with the base gel and then your builder gel. Remember, you might need one or two coats depending on the color you want and the brand of your gel polish. The curing times should also be in line with the instructions provided by the brand you are using.
- Finally, apply a sealer and then cure it for at least two minutes and a maximum of three minutes.
- Go ahead and remove the tacky layer remaining behind after this last curing process.
Liquid Gel Nails Vs. Powder Gel Nails
3. Repeat On Both Hands
Follow these steps on how to do fill on gel nails on both hands, and you will have those amazing nails once again.
How To Ensure Your Gel Fill Lasts Longer
When filling in gel nails, be extra careful if you want that distinctive and durable touch. Here are the best practices to follow.
Keep Your Nails And Hands Clean
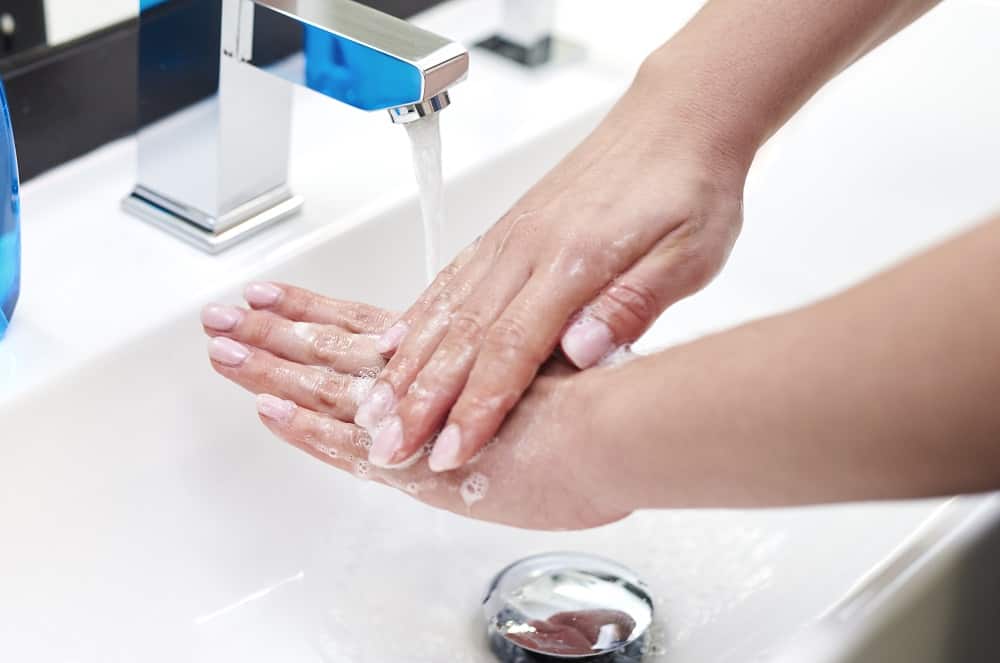
Before you start filling in your gel nails, ensure your nails and hands are clean. The surface under your hands should also be clean as dirt will affect gel polish, leading to chipping. After filing and trimming your nails, clean under your nail and surface to get rid of all dirt.
Follow The Provided Instructions By Your Gel Nail Polish Brand
Do not assume anything when using gel nail polish. Always go through the manufacturer’s instructions and take note of how to use the products. Be extra careful on the number of coats to apply and the recommended curing time for the best results.
Correctly Use Your Uv Lamp
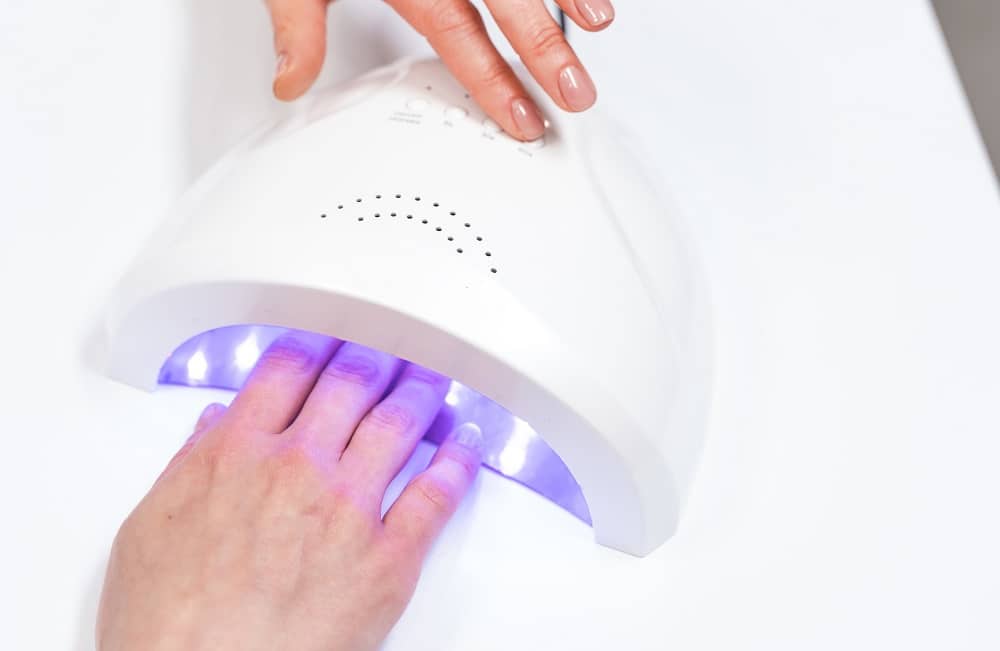
Master how to use your UV lamp before you go about making mistakes. Typically, you should avoid cramping your fingers inside the UV lamp and ensure your nails are all the way in the UV lamp. If the UV lamp cannot accommodate all your fingers, place a finger or two at a time.
Don’t Peel Your Original Gel Nail
The aim of filing your gel nails is to maintain the attractive shape of your original manicure. Therefore, try not to peel off or break your original gel nail. Remember, even a slight chip will affect the longevity of your gel nail fill.
Practice Good Nail Hygiene
Gel nails are long-lasting when given the right care. Avoid bad nail habits such as using them to pick items, biting them, and over filing them. You should also remember to clean them using soap and water (avoid harsh products) and remember to give your natural nails a break from gel polish.
FAQs Answered
Why Do You Need To Fill In Your Gel Nails?
Even when you have gel nails, your natural nail continues to grow. After two to four weeks, the growth is noticeable. To maintain the beauty and appeal of gel nails, they need a retouch. It is this retouch that is referred to as filling in your gel nails.
Do You Need To Fill In Your Gel Nails Regularly?
If you would love your gel nails to always look their best, you need to give them the best care. Caring for your nails means refilling them every three to four weeks to ensure they do not get to their ‘stress point’ and break out.
Does Regular Refilling Of Gel Nails Affect Your Natural Nail?
The best care you can ever provide to your nails is to let them breathe in between gel manicures. While there is no definite number of refills you can have, taking breaks allows you to assess the state of your nails.
Remember, the thick gel polish tends to hide infections, breakages, and discolored nails. You should address these issues as fast as possible.
Interesting Related Topics: