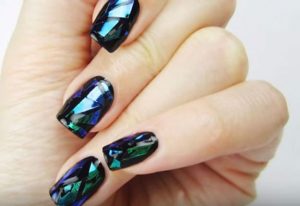
Sculpted Nails Masterclass: A 13-Step Technical Guide
Not all of us are endowed with shapely, long nails. It is too much trouble growing and maintaining them. A strict nail care regimen is absolutely necessary to get those gorgeous nails. If that seems impossible, considering your lifestyle and profession, you can go for sculpted nails. There are also alternatives available in the form of acrylic nails, but for a more customized experience, sculpted type nails are preferable.
What Is The Difference Between Acrylics & Sculpted Nails?
Sculpted nails are basically free form, which means that they can be customized at will by the manicurists. The flip side to that is that all the nails may not be factory-made precise. Nevertheless, trained manicurists are known to come up with remarkably precise these nails by sheer practice and finesse. Also, sculpted form nails themselves are often bulkier than the original nails, so that does make for weak bonding and breakage at the stressed areas.
However, sculpted nails last longer than acrylic ones. For regular usage, many women prefer acrylic nails. Not only are they uniform, but they are also stronger and are associated with fewer incidences of breakage. On the flip side, acrylic nails end up being a more expensive proposition, considering that these nails need to be filled every two to three weeks.
Can You Paint Over Acrylic Nails?
How To Do Sculpted Nails at Home?
Ideally, you should let the pros handle this sort of thing, but if you really want to have a go at creating sculpted nails at home, here’s a step-by-step directive on how to go about it.
1. Prepare Your Nails
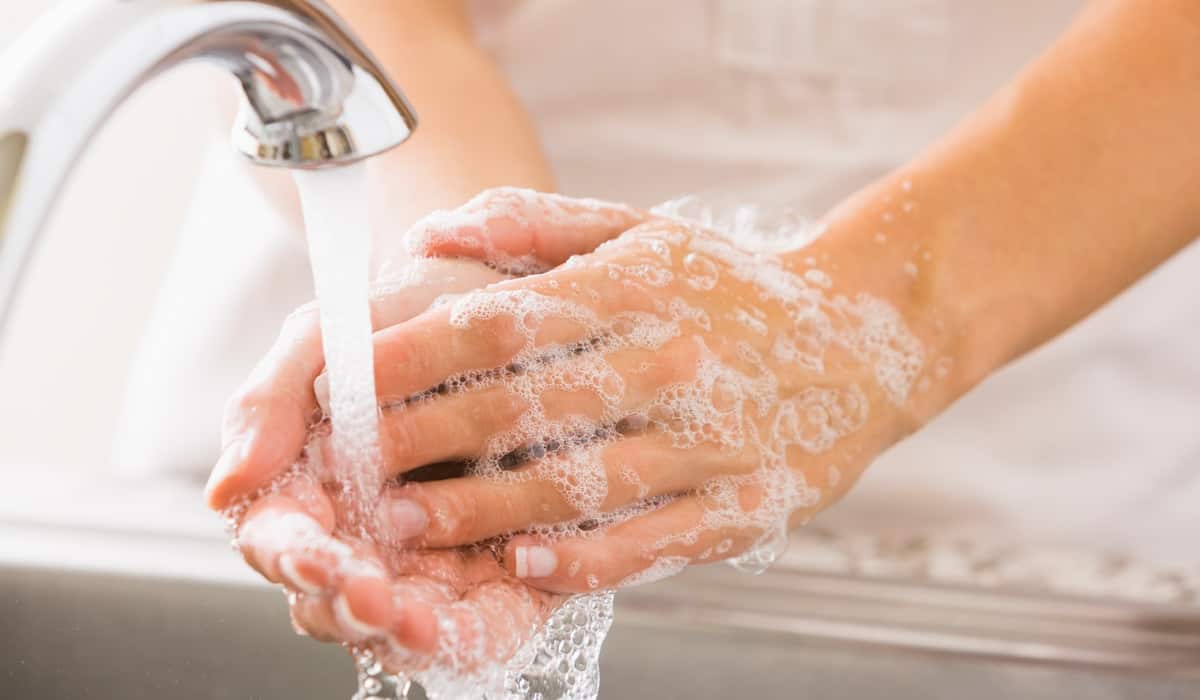
This step is similar to any manicure process, wherein you begin by cleaning your hands and especially the fingernails with a soft soap and water. You need to clean under the nail tips too. The nail surface should contain no oil or grime. You can ensure this by wiping them clean with cotton soaked in nail paint remover.
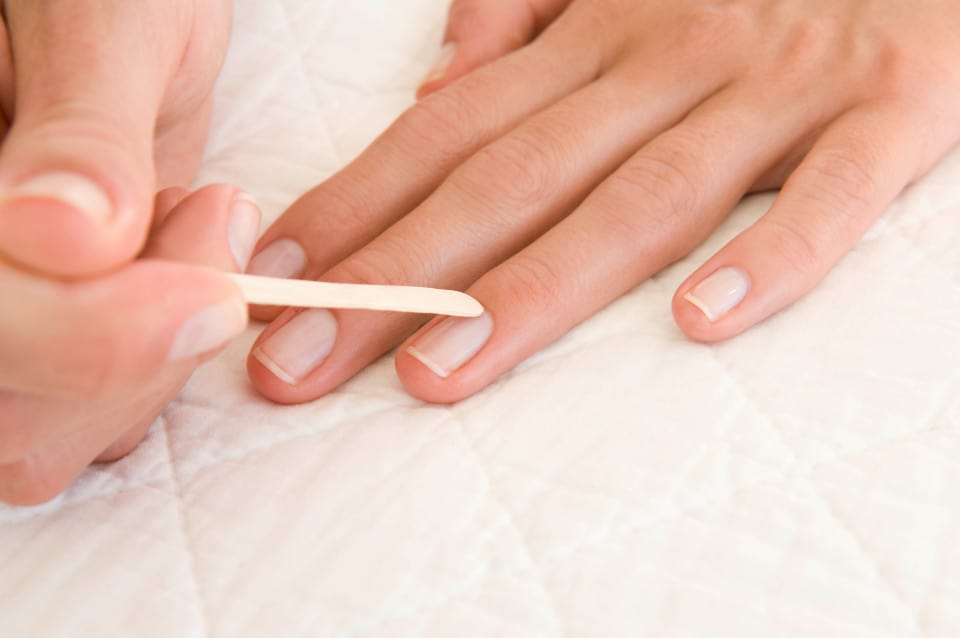
2. File The Nail Edges & Etch The Nail

The artificial nail that is attached to the nail is usually quite thick. So, you need to file the lateral free edges of the nail enough to keep them short. Follow this by etching the surface of the nail. This creates enough friction on the nail surface to accept the artificial sculpted nail. However, etching produces dust. Be sure to wipe them clean from the nail surface. You can read: how to file the nails.
3. Treat The Cuticles
Moisten and soften the cuticles. Then push them back gently – along with the transparent skin that often grows onto the skin – to clear the nail bed.
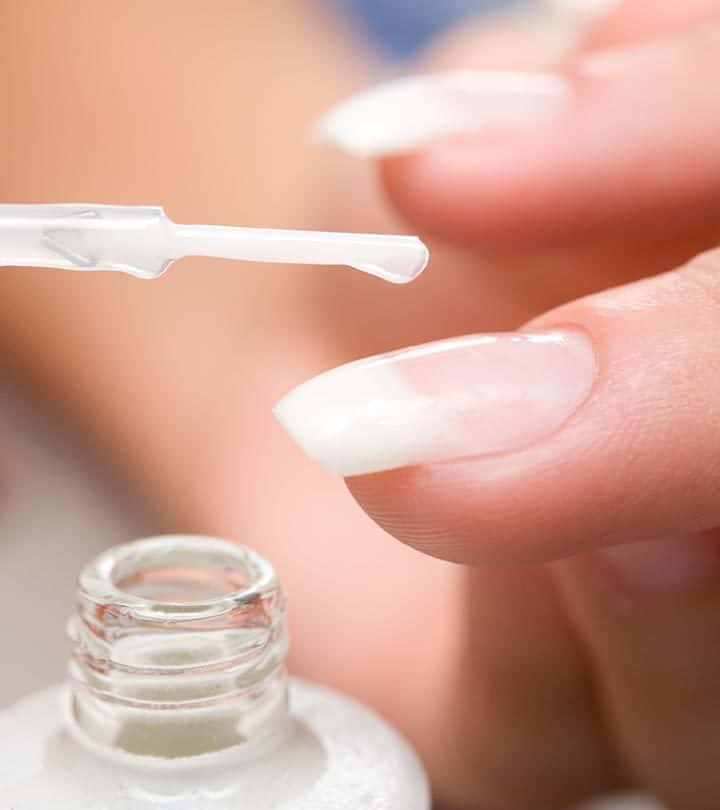
4. Prime the Surface of The Nail
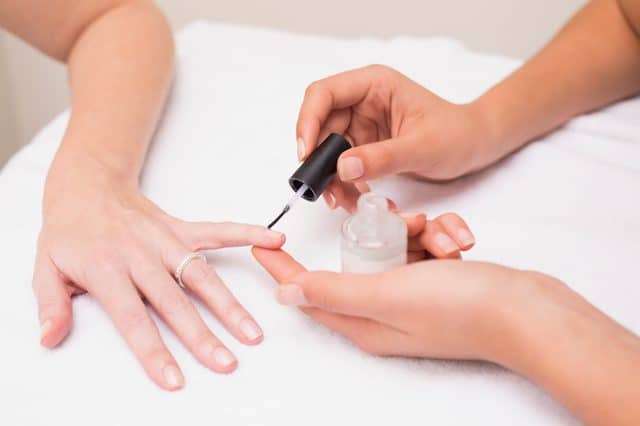
Apply a thin layer of primer on the nail surface. The use of primer increases the adhesive ability of the sculpted nail.
5. Gently Sculpt the Artificial Nail
Now, this is the main part of the manicure and requires quite a bit of attention.
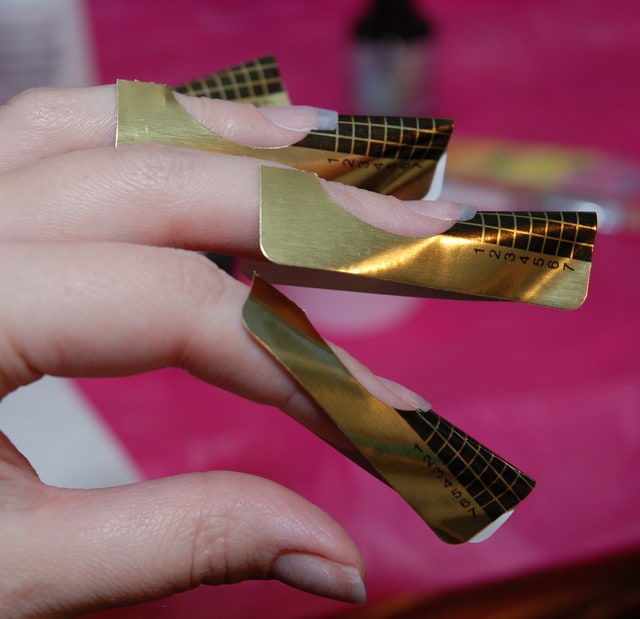
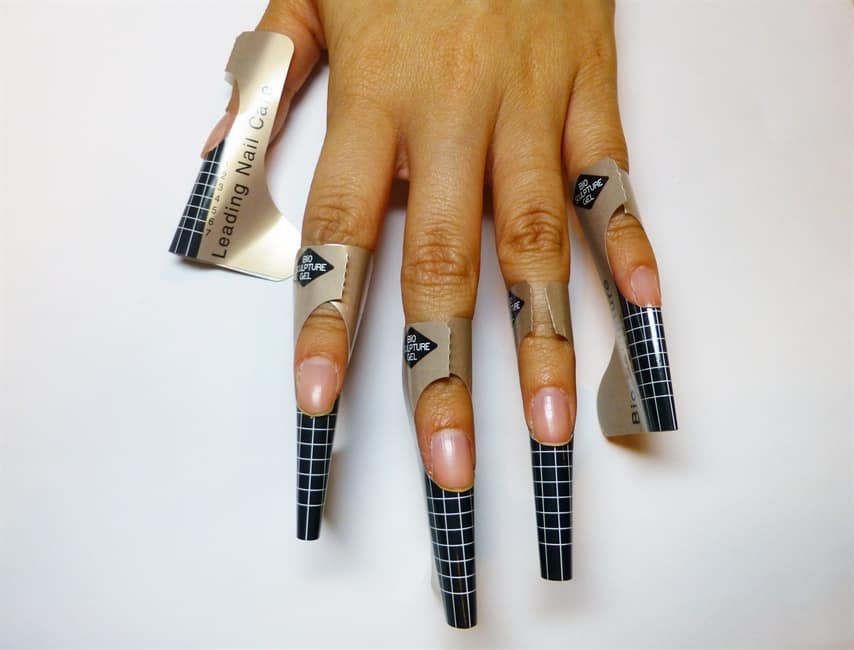
6. Pick A Nail Form & Peel It
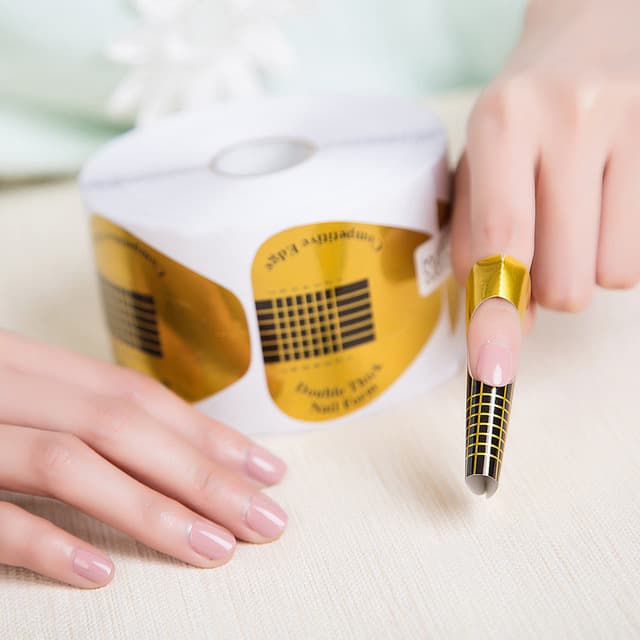
This will depend on the kind of nails you naturally possess. If you have flat nails or too curved nails, go for a square form of nails. Alternatively, if you prefer, long free edges, go for an oval shape. Dislodge the template housing the nail form and peel off the later from the template. Place this form on the backside of the template.
Acrylic Nails Application & Maintenance Cost
7. Create The Nail Curve
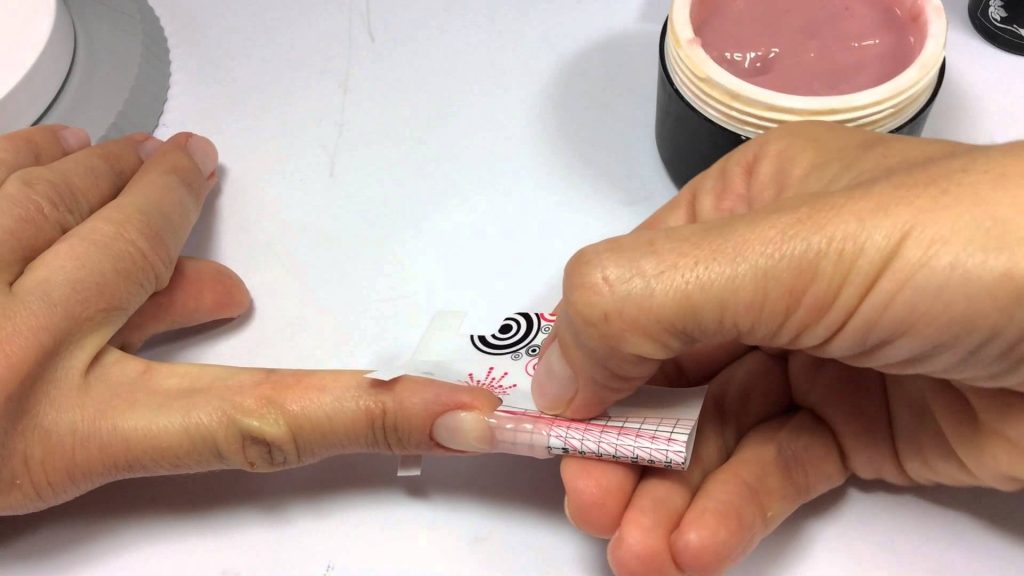
Next, you need to curve the nail form to match that of your natural nail. Bend the longitudinal edges of the template and gently roll it between the fingers to recreate the curve.
8. Place The Nail Form
Fix the template on the fingernail, such that the central opening makes a snug fit under the nail. Make sure that the curvature is not ruined.
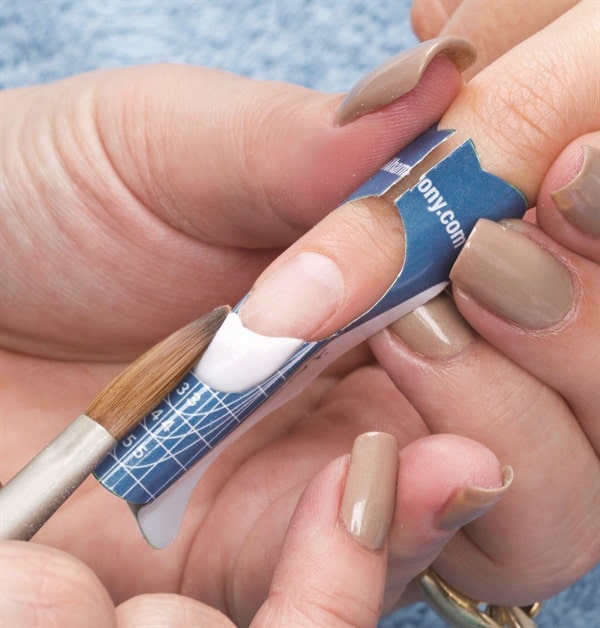
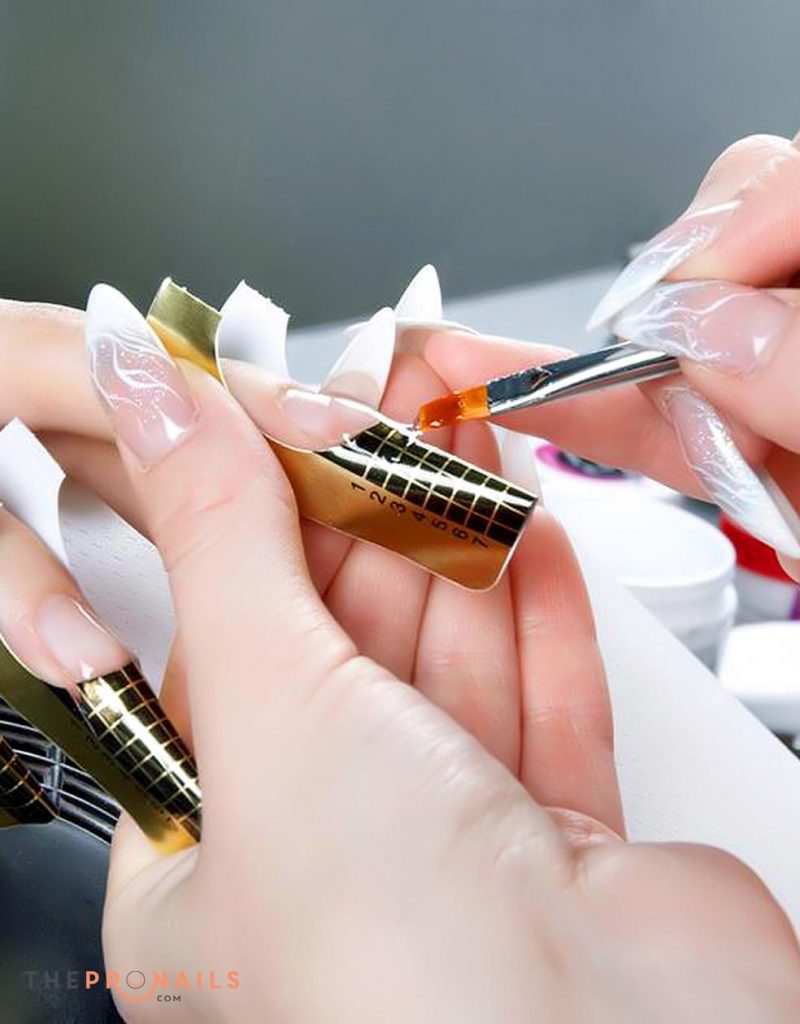
9. Apply The Monomer & Nail Powder
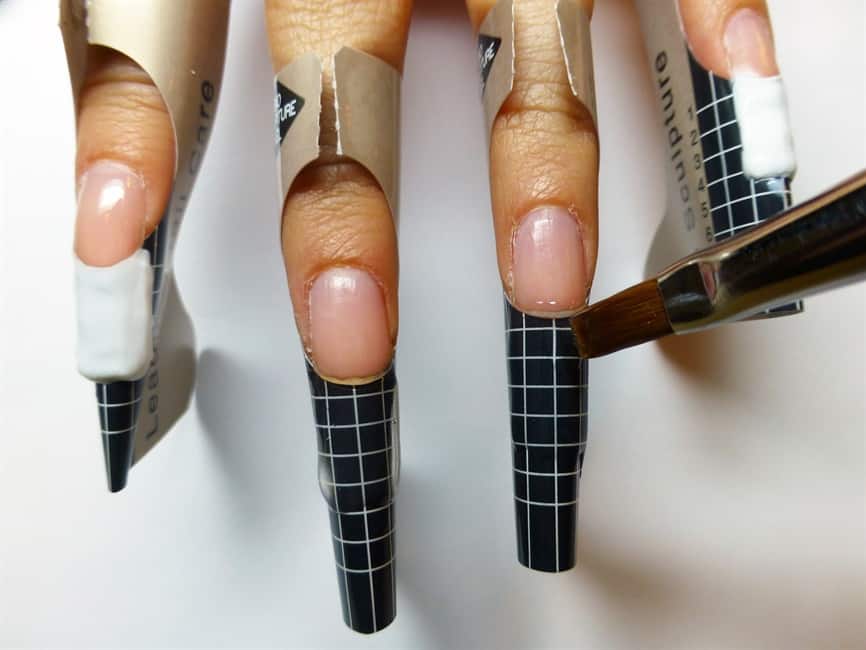
Take a dab of the monomer on the brush and dip it in nail powder. The monomer effectively helps in solidifying the nail powder into beads. Take care not to go overboard with either the monomer or the nail powder. Also, you a nail powder similar to the shade you want the sculpted nails to be painted in. Now, apply the powder on eth free edge and the nail form. Use the brush to sculpt the nail to the desired shape. Make sure that the free edge of the artificial nail is parallel to that of the natural nail.
10. Treat The Stressed Areas
Dip the brush in the monomer and some clear nail powder and apply it beneath the sculpted nail tip, all along its inner edge. This is the edge which is most prone to breakage.
11. Add Nail Powder to The Rest of The Nail & The Cuticles
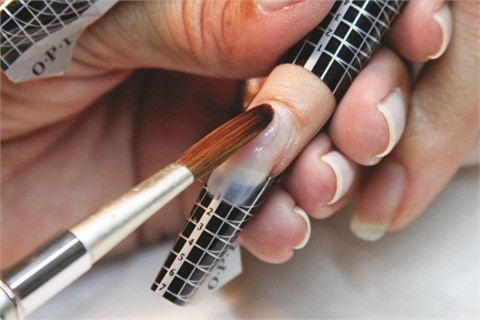
Saturate the brush with monomer and colored powder and apply it to the rest of the nail, away from the sculpted nails. Repeat the process for the cuticle regions.
12. Cure The Powder & Remove Form
Once the sculpted nails feel as hard and dry as your natural nails, you know that the powder has cured. Then, peel away the rest of the form.
13. Apply Finishing Touches
For final touches, you can file the finished nails and seal the powders using a gel sealer. Apply oil on the cuticles and your sculpted nails are ready to go!
Step-by-Step Process of Doing Sculpted Nails
Step-by-Step: How To Do Nail Art at Home
Sculpted nails are every fashion-conscious girl’s dream. They may be difficult to apply the first time, but they sure are trendy!