Are Nail Wraps Worth It? A Guide to Application and Wear
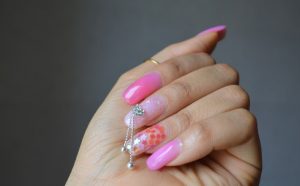
If you want to have a complex nail design sitting at your home, you have a good news. Yes! Jamberry nail wraps are here to help you have more than 300 amazing designs without any dry time. You don’t need to wait for the nails to dry. Apply the Jamberry nail wraps and let them do the rest. These nails are actually similar to sticker sheets with solid film covering. You can apply them very easily without worrying about chipping or smudges.
What Are Jamberry Nail Wraps
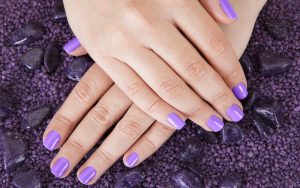
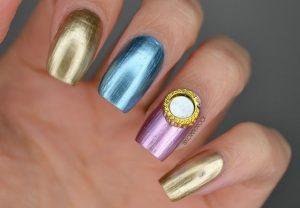
Jamberry nail wraps are pressure and heat activated vinyl sheets which are thin and beautiful. These nails adhere to the nails for about two weeks and look wonderful. The wraps are made of durable materials, that’s why they will give you a long-lasting manicure where smudges and streaks are not an issue. Jamberry nail wraps are famous for the wide range of colors, designs, and patterns. You can have a manicure that’s all your own by customizing the nail wrap.
Know More About Nail Wraps in Details
How to Apply Jamberry Nail Wraps
You will need the following things to get your nails adorned with Jamberry nail wraps.
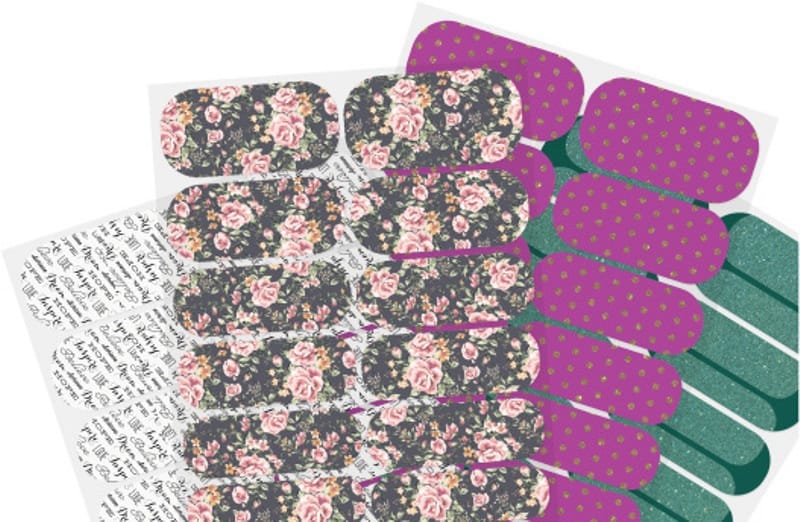
- Jamberry Nail Wrap Sheets
- Nail Heater
- A Buffer Block
- Nail scissors & Clippers
- Nail File
- Cuticle Pusher & Orange Stick
- Nail Prep Wipes
Once you have arranged all the supplies, let’s get into the application process.
- Wash your hands with warm soapy water and trim or file your nails to prepare them for the application. Push back the cuticles using a cuticle pusher or orange stick. And, clean your nails with a nail prep wipe.
- Select a nail wrap that is slightly smaller than your nails. To ensure proper adherence it’s better to leave a sliver bare nails on the side than to cover the nails fully.
- Now lift the nail wrap from the backing of the sheet using an orange stick. Cut it in half. Don’t touch the underside of the wrap as it will leave oil and weaken the adhesive. Apply heat to the nail wraps until it becomes soft and flexible.
- When the wraps are warm press them onto the nails. Start pressing in the middle then move to the sides to press them evenly and smoothly. Use a cuticle pusher to help the nail wraps stick to the nail plate.
- Wait for the wraps to cool. Then file off the excess wraps using a nail file downward motion at a 90-degree angle. File off the unexpected edges of the wraps and make sure you’re doing it gently.
- Apply heat and pressure one last time to ensure a tight seal around the edges. You are done with Jamberry nail wraps.
Remove Acrylic Nail without Causing Damage
How to Remove Jamberry Nail Wraps
The removal process of Jamberry nail wraps is one of the easiest ever. You’ll need a few things to remove them without any trouble. The supplies are as follows.
- A Lacquer Remover
- A Small Bowl
- Cotton Pads
- An Orange Stick
And, the removal process is given below.
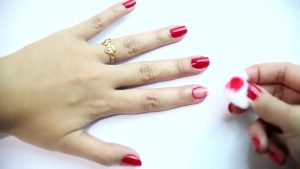
- Soak your fingernails in the lacquer remover for 20-30 seconds. Or you can soak a cotton pad in nail polish remover and rub it over the top of your fingernails.
- Then break the seal on the side using an orange stick. Once the nail wrap started to lift, use the soaked cotton pad to gently work the exposed underside of the wrap. Never try this from the cuticle end of your nails as they may cause damage to your natural nails.
- Continue to rub the wraps until they get fully peeled off. Then use a nail wipe or nail cleanser to remove any remaining residue. You’re finished with the removal.
Shellac Nails: Everything You Need to Know
Now you can happily try Jamberry nail wraps as you know the best way to apply and remove them. Why waiting then? Adorn your nails with these totally safe and durable nail wraps. You can achieve the maximum impact of the nail wraps following the process we have discussed.