Acrylic Nail Types 101: EMA vs. MMA Monomers
Are you sure you know the exact number when it comes to the types of acrylic nails there is? Acrylic nails are sometimes a term that people confuse with gels or silk nails.
However, you should know that when we are talking about acrylic nails that there are, actually, only two types of them.
Types Of Acrylic Nails
There is a difference when we are talking about the types of nails (in general), and when we are talking about types of acrylic nails and their form. When talking about the types of nails in general, there are acrylics, gels, sculpted nails and wrap nails.
However, let’s not forget that you can easily add shellac nails into that group, as well as nail lacquers and gel nail polishes. But, acrylic nails can only be in two forms.
One of them is in a tip form and the other one is an acrylic mixture form. In the following article, we will show you the main and only differences between these two, since they do have a lot of similarities.
Shape
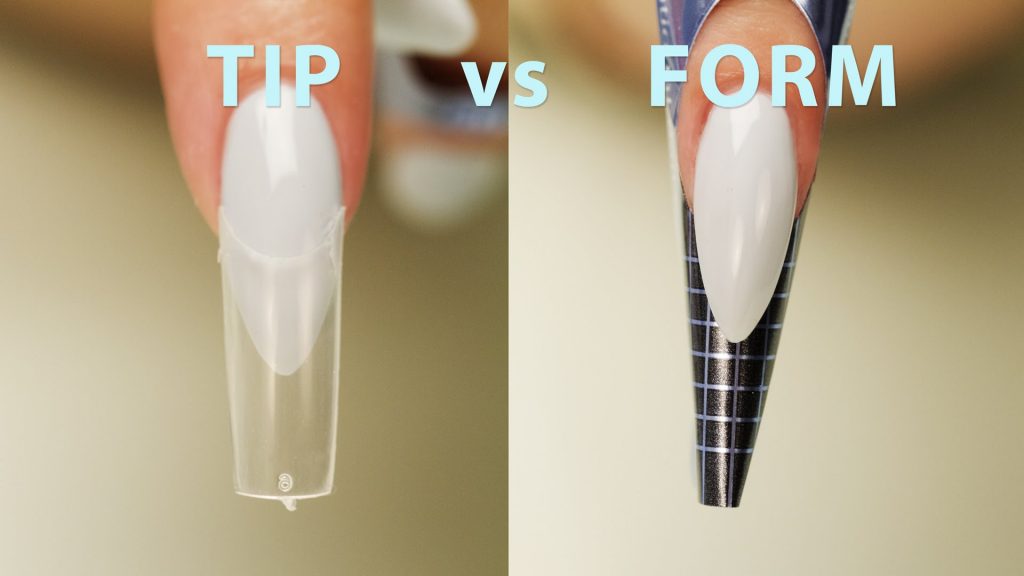
Before doing your acrylics you must decide whether you want them to be glued on or sculpted. It is totally up to you and your preferences since both of these options have been known to last very long.
You can actually see an interesting video about these shapes right here:
Material Used for The Tips
If you’ve decided that you are going to stick with the tips you got to know how to apply them and what gear to get.
Unfortunately, they are becoming less and less popular nowadays since every woman is going crazy about the nail sculpting method. However, if you want to stay true to this method, get yourself:
- Acrylic mixture or a base coat
- Acrylic powder
- Brushes
- Clippers
- Files
- Glue
- Nail tips
You can buy these supplies separately, or you can buy them in any nail kit which can be found on eBay or at Ulta Beauty.
Material For Your Forms
When doing this type of acrylic nails, you will need to gather:
- Acrylic powder
- Brushes
- Files
- Monomer liquid
- Nail forms
- Small bowl
As you can see the lists are pretty similar, and the main difference is in the nail tips as well as the nail glue.
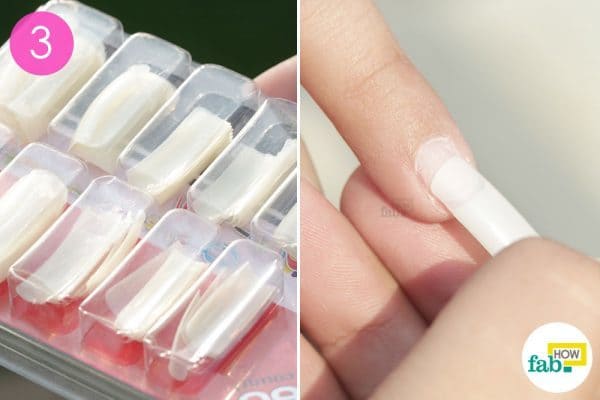
How To Apply Nail Tips?
When applying this type of acrylic nails the upper picture is pretty self-explanatory:
- You will need to gather your nail tips and determine which one fits your nails the best since they are all in different width sizes, and so are your fingers as well as nails.
- After determining that part you will need to glue them halfway down to your nail.
- Never go completely to the beginning of your nail since they won’t apply nor last long that way.
- Put some pressure on each of your tips for up to 5 seconds.
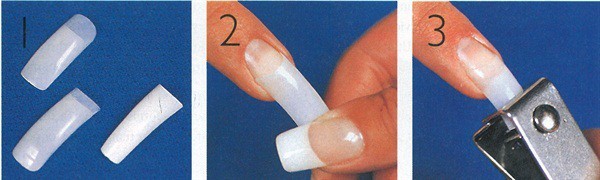
- After they are all glued down take the nail clippers.
- Cut your nails down to your preferred size and make sure they are all the same size.
- Take a nail file and file them until you achieve your favorite nail shape.
- Also, don’t forget to buff them down the middle so you can’t tell where your fake nails begin.
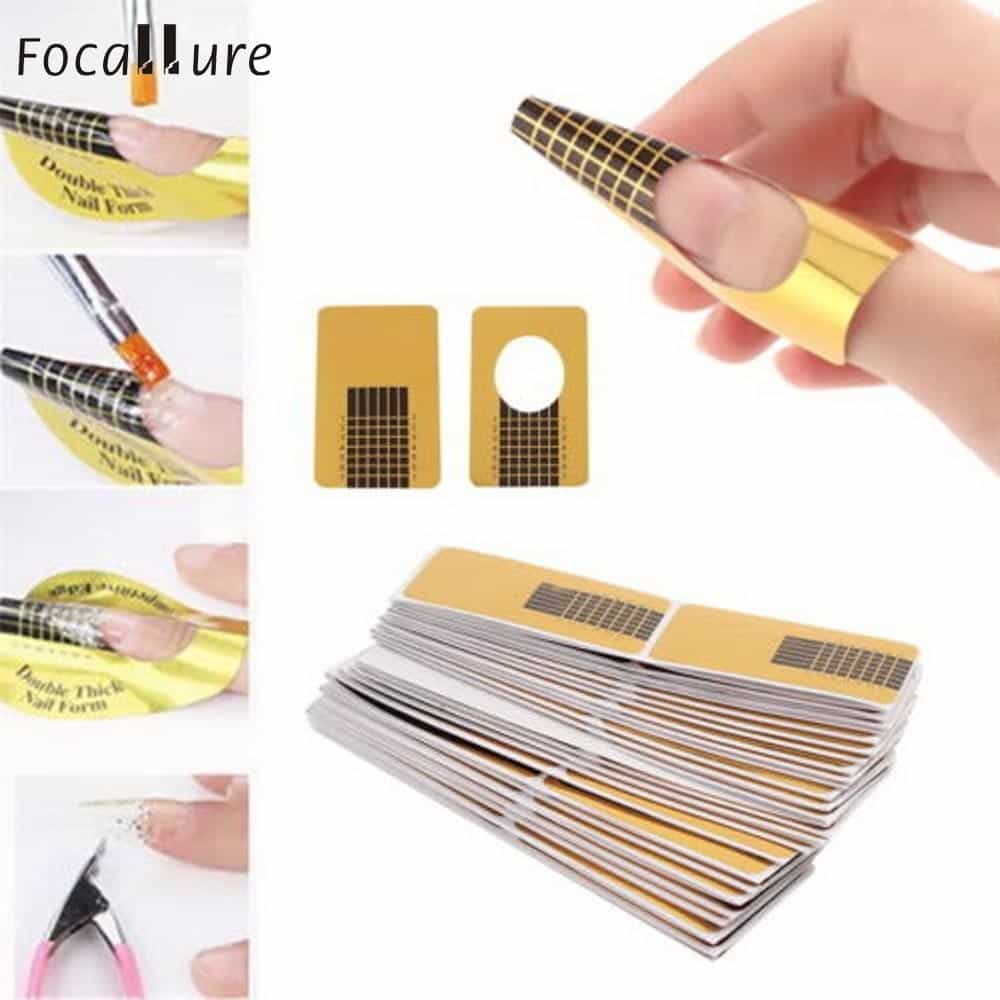
How To Apply Nail Forms?
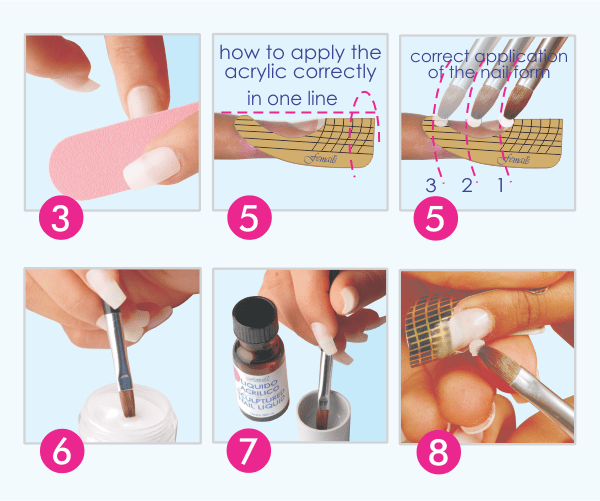
- The main difference when it comes to these two types of acrylic nails is this part, the application.
- When doing the nail forms you must make sure your nail beds are clean, properly shaped and buffed.
- After your nails are prepped are primed gather your forms.
- Peel the nail form from the backing and place the center of the form on your natural nail.
- This will give them the right support for the upcoming powder that you will apply.
How To Paint The Nails?
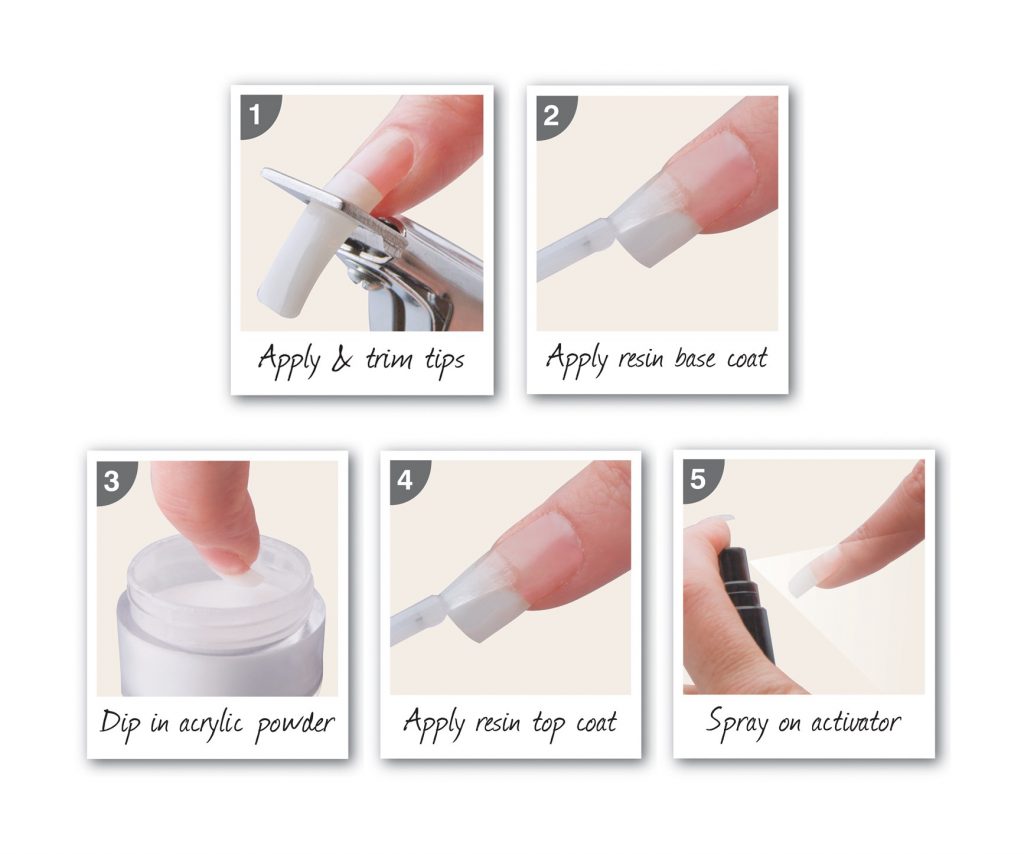
As you can see in this picture, the acrylic nail tip is being painted with the same exact material as the nail forms.
- When doing acrylic nail forms just pour the monomer on top of your nails, this will be used as a base for the upcoming powders.
- And when you are painting on the nail tips you can just use a resin base coat instead of the monomer since this is a really harsh ingredient, which your nails do not need since you already have the nail glue as your base.
The Further Process:
The further process is exactly the same as with the forms and as with the tips:
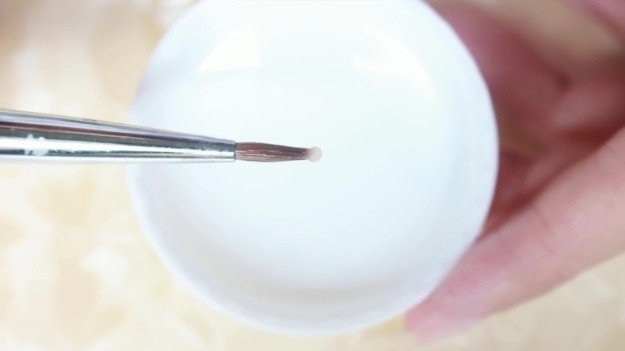
- Dip your fingers in the white powder, or just place a small white ball on top.
- Work your way with it and with your brushes and build up the color on the nail.
- Apply the clear powder over the middle of the nail, and apply the pink powder to the center of your nail.
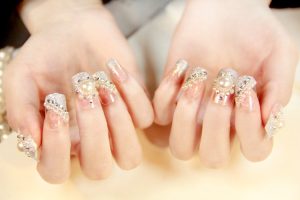
- Sculpting the nail forms may be a little harder since you must come up with the shape yourself, while the tips are already there as your guide.
- Let your nails dry under the UV light lamp.
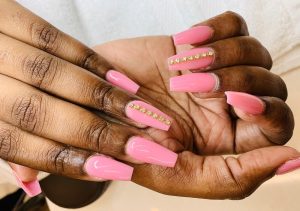
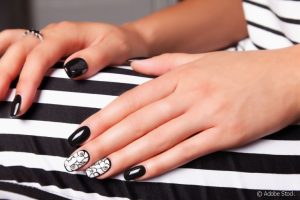
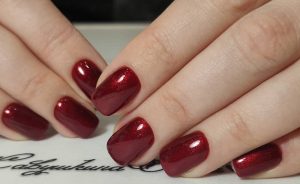
What Color?
- After your nails are completely cured they are ready for the fun part.
- Don’t forget to shape your nail forms, as they have not been shaped, unlike the tips.
- Shape them slowly at first, as they are glass that might break if you didn’t do them right at first.
- Again, shape them as you normally would shape your natural nails.
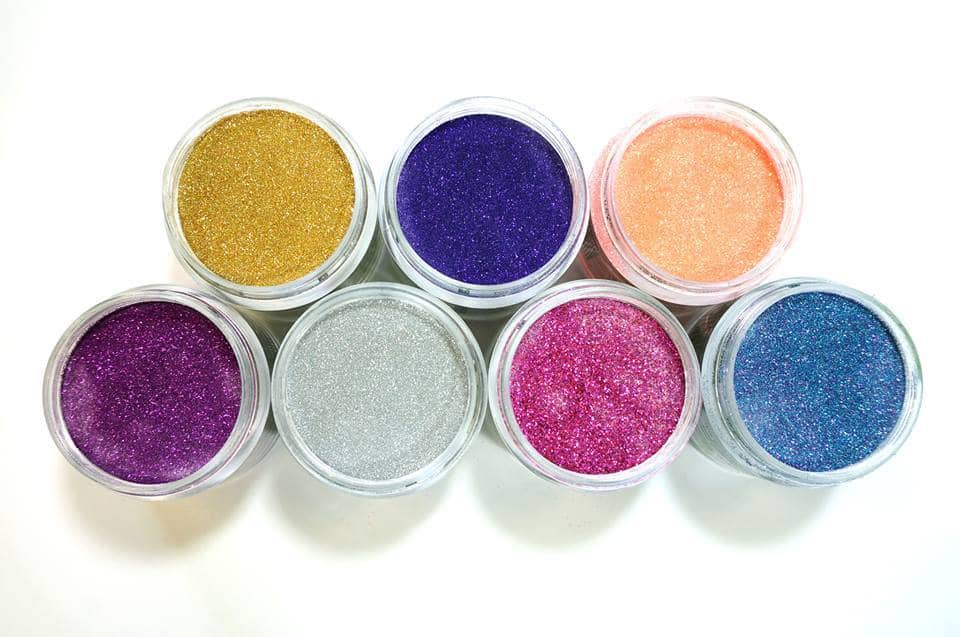
- Gather your either nail polishes, gel polishes, or dip powders.
- Any of these will do, although many women like to stick to the powders.
- You know how to apply these colors by now, so just don’t forget to cure them under the UV light, and you are all set to go!
- Add up to two coats of polish colors or just one dip of your powder, since they are the strongest and have the most color payoff.
In our opinion, we believe that the tips are easier to work with, especially if you are a beginner. Try to do your acrylic nails with the tips at first, and later on try out the forms. In case you are going to the salon, you can go as crazy and as wild as you want.
The most important thing is that now you know the exact number and the right way when it comes to the acrylic nail types.