How to Do Ombre Nails: A 7-Step Gradient Tutorial
Ombre nails are favorite for their simple application process but the look is astonishingly beautiful. Ombre actually refers to the gradient look of different shades of colors.
Usually, there is no clear-cut boundary between the different colors of an ombre nail. Two or more different colors or different shades of the same color get mixed so smoothly that you can’t draw a distinct line between them.
So, having ombre nails is a bit tricky. You must master the art to make it artistic. I have come up with the easiest way of having ombre nails. Go through the article, you’ll know how to do ombre nails with a blink of the eye.
Easy Steps to Have Ombre Nails All by Yourself
You can do ombre nails all by yourself if you are provided with proper supplies. So, before attempting any further steps make sure that you have the required products to do ombre nails.
It’s not always about knowing how to do ombre nails, it’s about knowing how to use the tools. Ombre nails will look stunning on your nails but messy nail art will ruin the overall beauty.
That’s why arranging the perfect tools and materials is a must. You should have the following tools to have ombre nails on your fingernails.
- Base Coat
- Top Coat
- Different Nail Polishes
- Cosmetic Sponge
- Acetone or Nail Polish Remover
Let’s dig deep into the steps if you are done with the arrangement of the tools. Follow these simple steps given below to have perfect gradient nails.
#1. Protect the Natural Nails
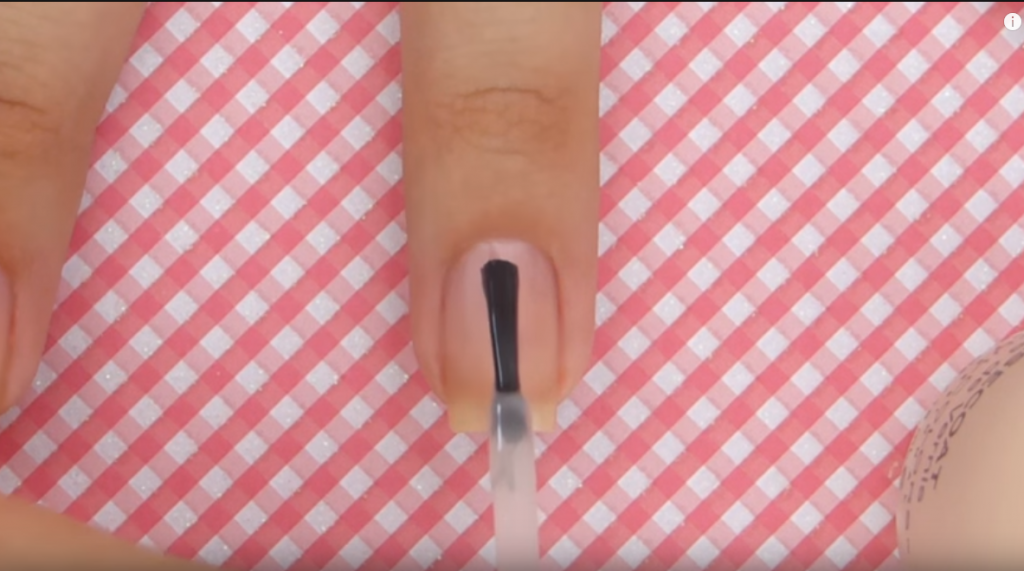
A top coat helps the natural nails remain harm free. At first, use a top coat to protect your natural nails from any harm which might be caused by the colorful nail polish.
Get The Look with Ombre Nail Designs
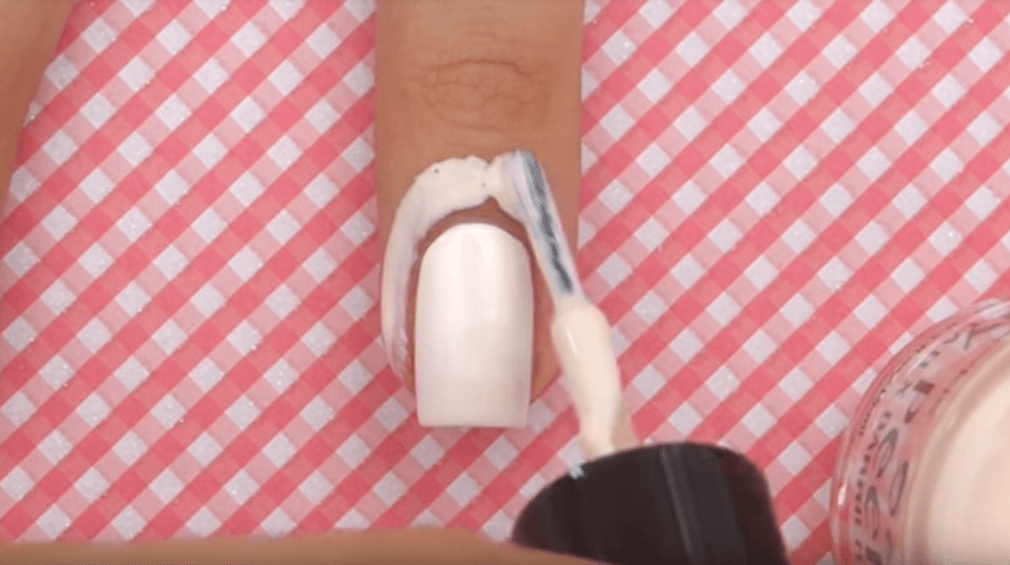
#2. Applying the Base Coat

A base coat is a must for ombre nails. Because you are going to apply two or more different colors on your nails. A white base color will play an important role to create the needed opacity for quality ombre nails.
#3. Using Latex
You can use latex or any glue to cover the cuticles and edges of fingers to protect them from getting smeared by unexpected nail polishes. This will help in the advanced steps of this process.
#4. Painting the Sponge
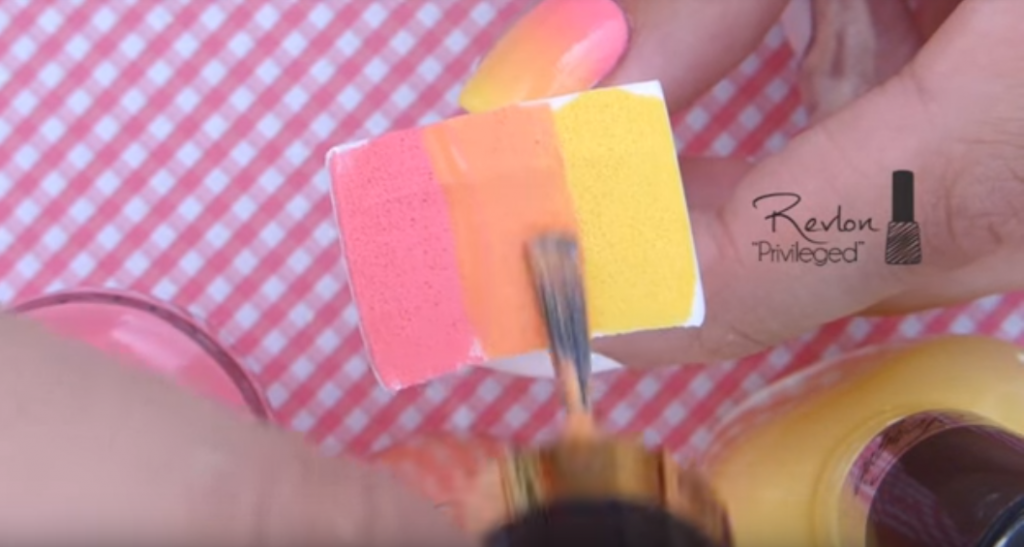
This is the heart of this process of having ombre nails. If anything goes wrong here, the whole design will get ruined.
And remember to use compatible colors to do the ombre nails. Too many contrasting colors will look odd.
#5. Stamping the Colors
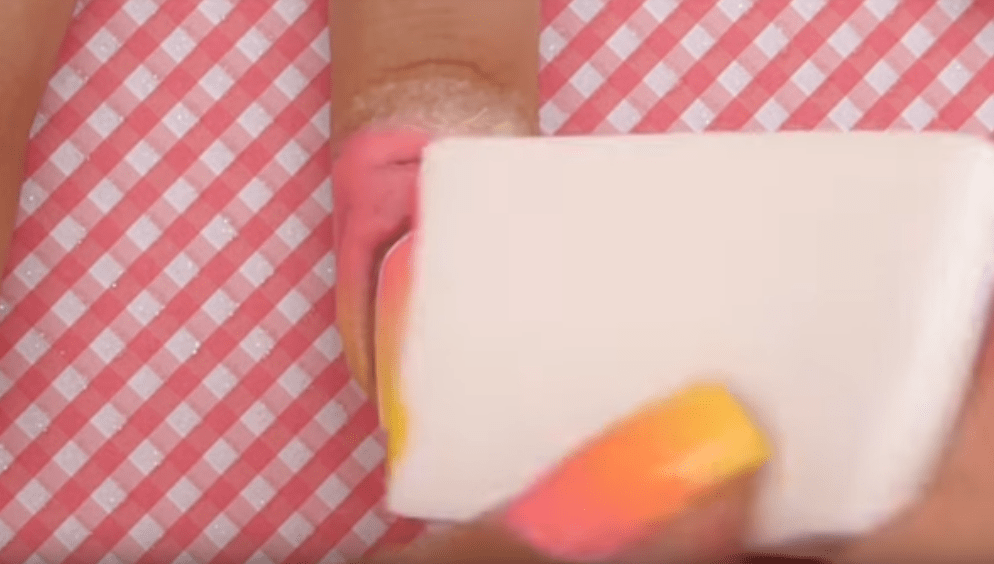
Everything is done except the stamping. Stamp the makeup sponge onto your nails to imprint the colors on your nails. The ombre-style colors will be transferred to the nails at this step.
Follow This Simple Steps to Do Manicure at Home
#6. Fine-tuning the Nails
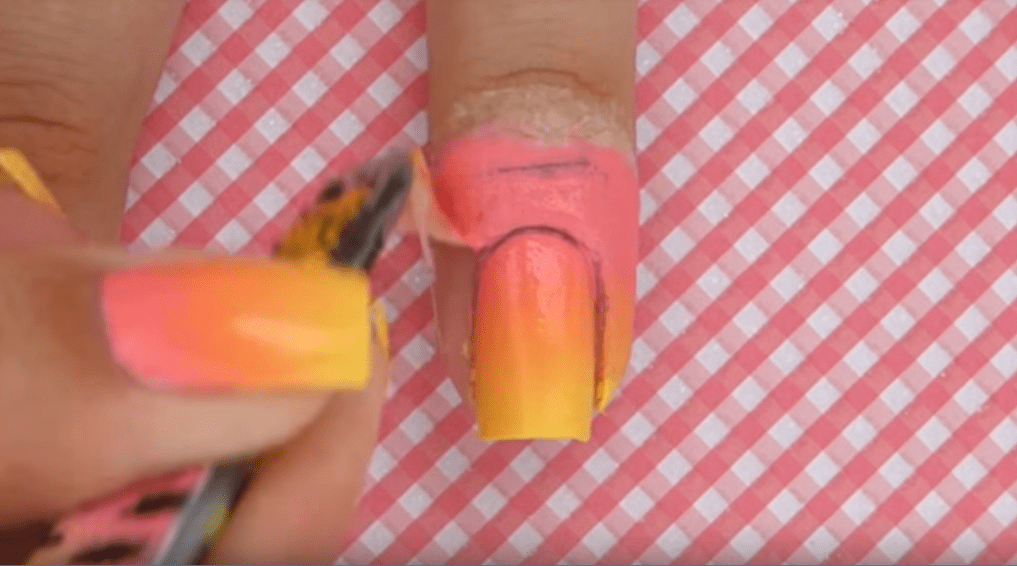
When the stamping is done, you may notice that there is unexpected nail polish remaining on the cuticles.
You can remove the applied latex easily at this step. After the removal, you can use acetone to fine-tune the edges of the ombre nails.
#7. The Final Step

Your ombre nails are done and ready to be exposed to the world. Now, seal the deal by using a top coat on the surface of the nails. This will prevent the nails from getting smudged.
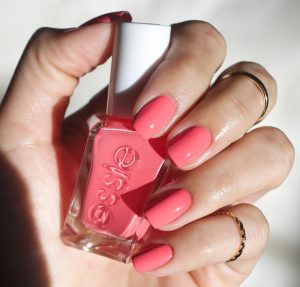
Ombre Nails: How Do they Look
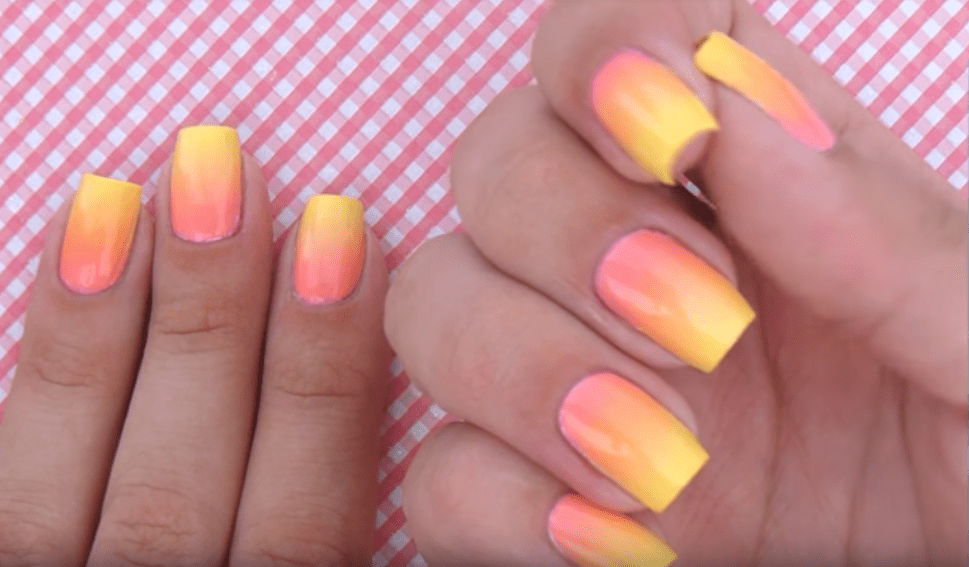
Ombre nails will give a gorgeous look only if the stamping of the colors is done correctly. A little mistake may force you to change the whole plan that’s why knowing how to do ombre nails is important.
So, stay focused while designing. And, add that extra glam to your nails by having ombre-style nails. This is how they look when done with proper expertise.
DIY Nail Art Tutorial to Do At Home
Ok! Now you know the process of how to do ombre nails in the simplest of ways. Let’s be empirical and try them on your nails right away.
Hope you will find this article helpful while doing your desired ombre nails on your precious nails.