Quick Fixes for Chipped Polish (Without Starting Over)
Chipped Nail Paint is a hard issue for women. It takes quite some time and effort to have the nails manicured and painted. Then one small trauma is enough to bring it all apart. Sometimes a chip may not be too visible to other people, but for the woman herself, it drives her mad. That bit of imperfection, however, trivial becomes a source of frustration.
What is Chipping of Nail Polish
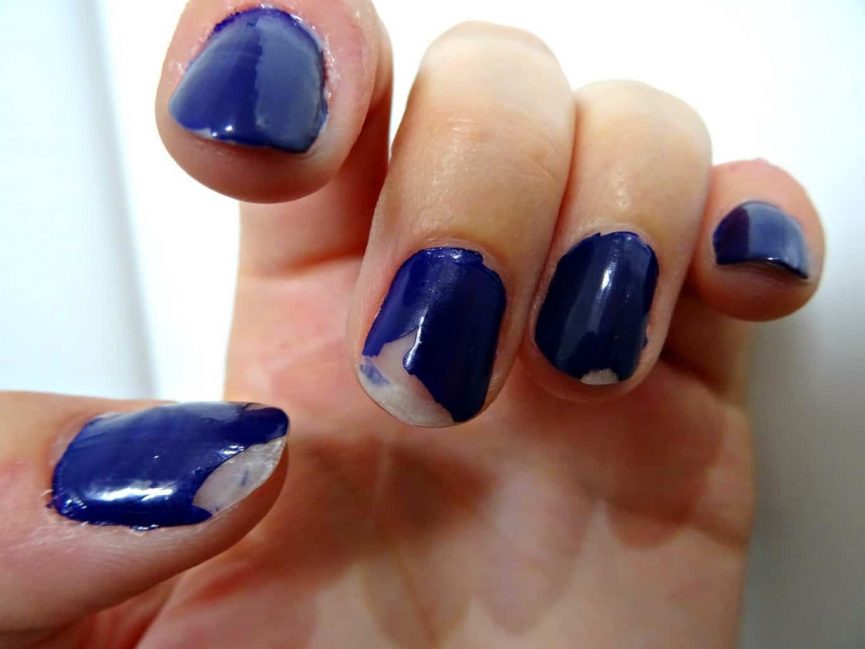
A chipped nail paint looks like the paint has been eaten away in flakes at some places. It can appear anywhere on the nail, but more commonly appears at the growing edge of the nail. There are several reasons why nail paints come off in flakes. The worst part is that it is a chain reaction. Once a weak link is created, it is only a matter of time that more flakes follow, till you are left with patchy, unkempt looking nails. All that manicure down the drain!
Weak Nails? Know 5 Foods for Strong Nails
Causes of Chipped Nail Paint
Chipping of nail paints is a common occurrence. Let us explore why this seemingly unavoidable calamity keeps striking our nails over and over again:
- Dirty Nails: Scientifically, chipping occurs due to weak bondage between two surfaces. In an ideal scenario, the nail paint should strictly adhere to the surface of the nail. If, however, you nail still bears residues of lotion or chemicals or even grime, the nail paint cannot form a firm bond with the nail surface. The weak link leads to chipping of nail paints.
- Not Following the Pre & Post-nail Paint Regimen: Applying a base coat and a top is an absolute must if you are looking for a long-lasting paint job. A base coat helps prepare the nail to accept the nail paint, while the top coat offers a protective layer over the nail paint. This minimizes the impact of small-scale trauma, which could otherwise cause the nail paint to flake off.
- Using A Bad Quality of Base Coat: Not all base coats suit all kinds of nails. Some people have a better experience with a particular type of base coat. This can be determined by a trial and error method. Women should ultimately stick to the kind of base coat which suits their nails and helps prepare the nail properly.
- Continued Exposure to Water and Chemicals: This one is admittedly, hard to avoid. Women who need to use their hands excessively during their daily course of work usually tend to have more chipped nail paints than the others. Dishwashing, scrubbing and even typing can produce repeated knocks to the tips of the fingernail, causing the paint to wear off.
- Dry Nails: As a continuation of the previous concern, all the exposure to water and chemicals steals the moisture from eth nails. Many women do not attach due importance to the vanishing moisture from nails, causing them to end up with dry, brittle and weak nails.
How to Prevent Nail Polish from Chipping
The key to maintaining your hard-won manicure is to understand the process and to follow steps, without cheating. Nails are, after all, delicate tissues and are prone to damage with the slightest impact. Nail paints are thus about as strong as the nail itself.
Products You Need to Prevent Chipping of Nail Paint

In order to make a perfect manicure last longer and avoid chipping of nail paint, a few items are necessary for every woman’s kit. Some are to be used only at the time of applying the nail paint, while others should be used after the manicure.
- A nail file and buffer
- A good quality base coat
- A good quality top coat
- Cotton-lined gloves
Step-by-Step Application Process
Never try to hurry through a manicure. Spend time on your nails and follow each step diligently, so that there are no fallbacks. It is all pretty simple really.
#1. Clean Your Fingernails
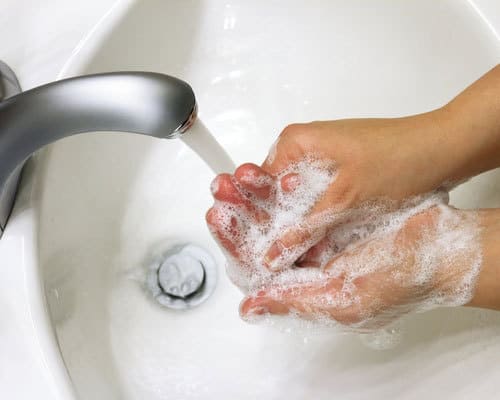
The nails are coated with natural oils, that are transferred to the nails from the fingertips. This oil tends to attract dust and grime. When they settle on the nail surface they create an uneven surface, which is not conducive to applying nail paint. For best measures, wipe off the nails with a nail paint remover. Then wash your hands vigorously with soap and water.
#2. File Them Right
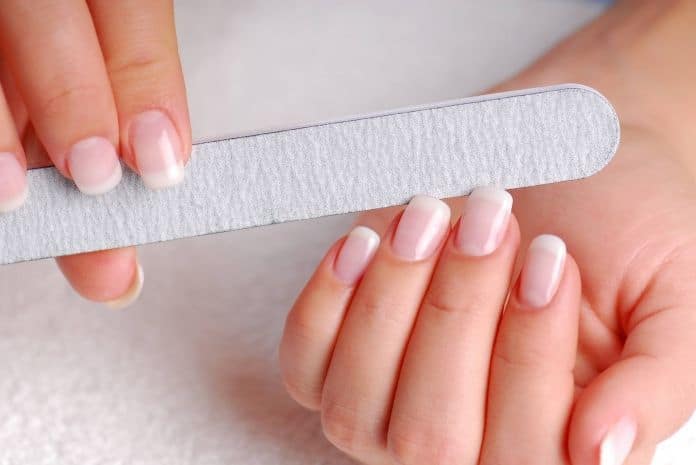
Once the nails are washed, it is time to shape and file them. Many manicurists suggest maintaining shorter nails so that they do not come so much in contact with other objects. The direction of filing is an important aspect of a manicure. Using the file in a saw-like motion will only weaken the nail. Ideally file them in a single direction, starting from the outside edge and progressing towards the central tip of the nail.
#3. Apply A Cuticle Remover
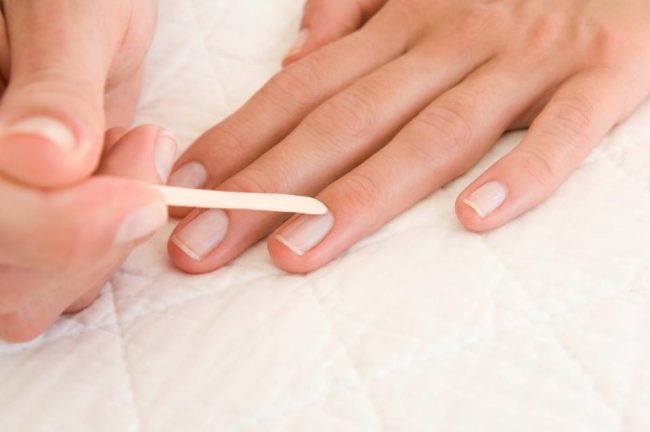
There are various brands of cuticle removers tools to choose from. Apply them on the cuticles and using a small, flat wooden stick, push back the cuticles from the canvas of the nail. This step also helps exfoliate the region and remove dead cells, leaving a clean uninterrupted nail plate to paint on.
#4. Buff The Nails
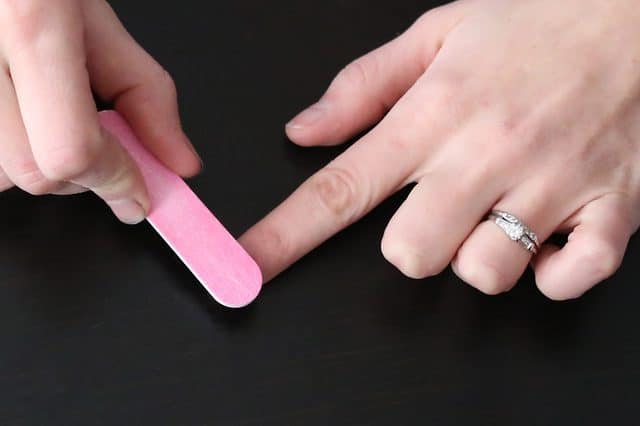
If you do not buff your nails, chances are they would return to their original oily state. Buffing helps smoothen out the ridges on the nail surface and brightens the nail. This is somewhat like sandpapering a surface!
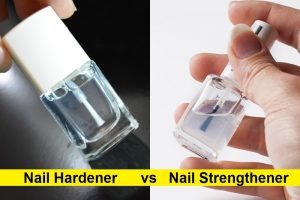
#5. Apply A High-Quality Base Coat
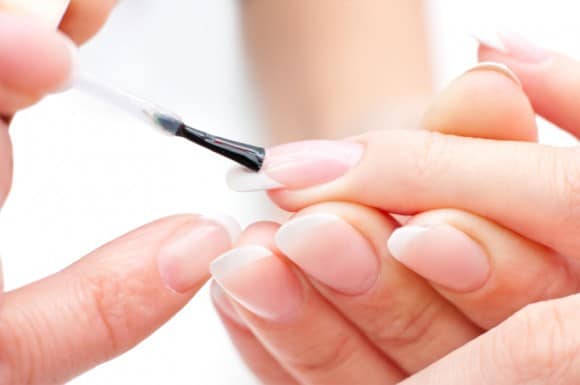
We cannot stress enough the importance of not skipping a base coat. Apply a strong base coat so as to nourish the nails and reinforce them. This will enhance the overall life of the manicure. The base coat is single-handedly the most vital aspect of a manicure. In case you are thinking of applying a glitter nail design, it is understandably going to be difficult to get rid of all the sparkles at the time of nail paint removal. In such cases too, a strong layer of the base coat comes in handy.
#6. Apply Two Thin Layers of Nail Paint
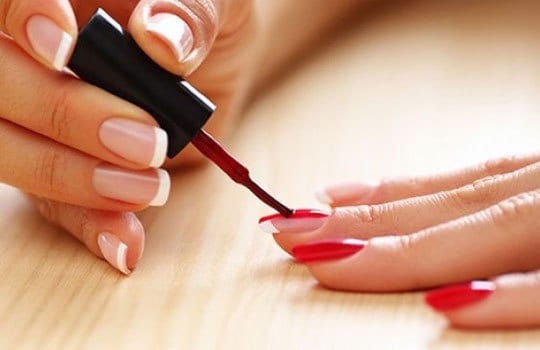
One of the biggest mistakes most women commit is to go for heavy brushing, taking massive blobs of paint. This creates an uneven distribution of the said paint and takes an eternity to dry. Ideally, a thin layer of paint needs to be applied in two layers. The first layer should be accomplished in three straight strokes over the nail – center, left and right. After allowing for sufficient time for this first layer to dry off, a second similar layer can be applied in similar strokes. Two layers ensure that no part of the nail remains uncovered. Allowing each layer of polish to dry is crucial to ensure a strong manicure. You need to be patient with each layer so that it gets locked down completely.
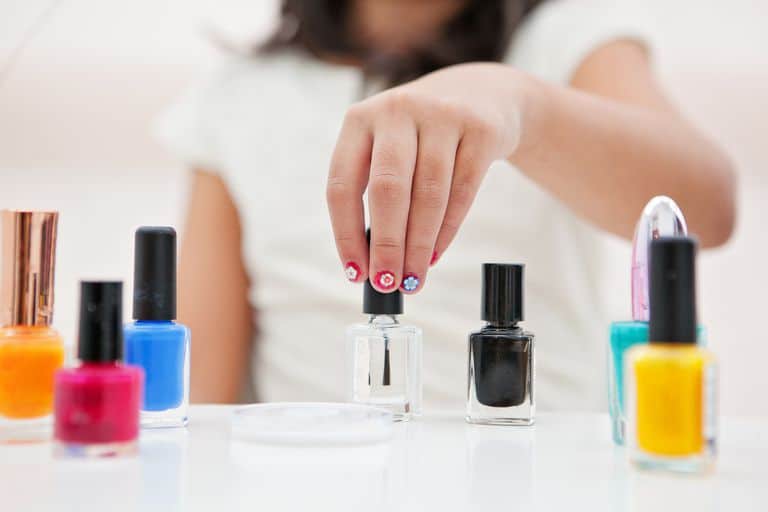
#7. Use A Layer of Top Coat
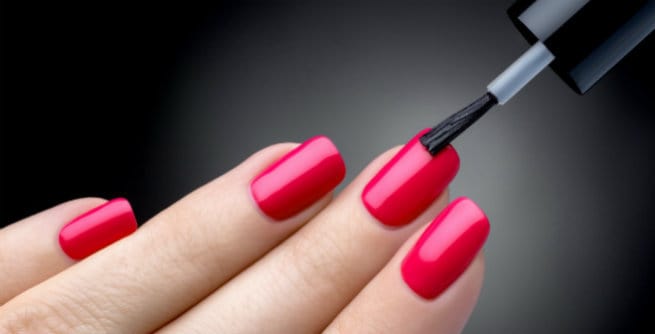
No manicure is complete without a layer of top coat. Not only do they protect the fingernails and nail paints from chipping, but they also add a glossy, finished look to the manicure. A word of advice though. Just like the nail paint, apply the top coat carefully in single, flat strokes that cover all corners of the nail. When top coats dry, they tend to shrink. If they are not applied evenly, they will tug at the nail paint, thus weakening the bonds and cause chipping of nail paints. Another foolproof trick is to apply a layer of the top coat horizontally, just at and under the tip of the nail. Since the tip of the fingernail is usually the first casualty of chipping, this measure provides some amount of protection.
#8. Finish Off by Removing Excess Chemicals
It is not possible to carry out a full manicure without leaving traces of chemicals and paints at the edges and on the cuticles. Using a Q-tip and a nail polish remover, these can be removed from the cuticles. Be careful though, of ruining the rest of the manicure.
#9. Dry Them Off
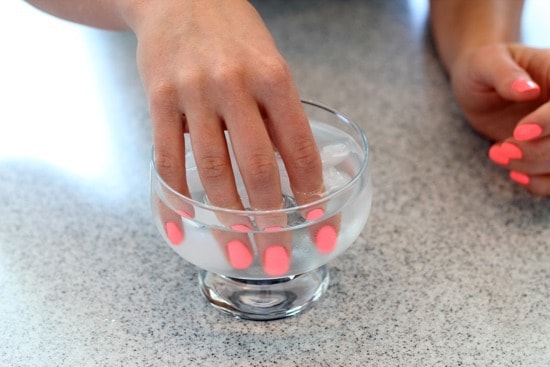
Dip the nails in ice-cold water. This helps the layers to cure and allows the nails to dry faster, without compromising on the strength of the manicure job.
Healthy Cuticles are Important Too!
Hide Those Chipped Nails That Already Ruined
What now, when the nail paints have already chipped? It breaks your heart and you want to return for a manicure again. But you also don’t want to break your bank, while you are at it. You can hide your chipped nails in clever ways.
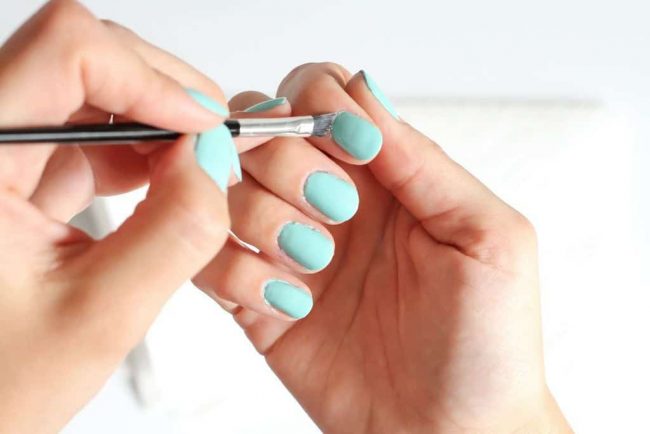
- File away: A nail file is an indispensable tool! If there is a nominal chipping at the tip of your fingernails, it is possible to simply file away the chip gently. Admittedly, the length of the nail will suffer and you may have to do the same with the other nails too. Afer filing, you need to apply a top coat to reseal the paint.
- Refill: Another way to hide a chipped nail paint is to ‘blob’ on the chipped region and wait a while till it spreads out and dries. You can then apply a top coat layer and the nail will be as good as new. The other nails, however, may not look as shiny as the recently treated one, so it is a good idea to apply a layer of top coat on all the other nails too.
- Smoothen a Dent: Sometimes, you can see a small dent in the nail paint, which is just waiting to chip off. Take action right away. You can use a Q-tip dipped in nail polish remover and softly scratch away at the dent. This will iron out the weak spot. You can reapply a blob of paint as described above and finish things with a top coat.
Try This Genius Hacks
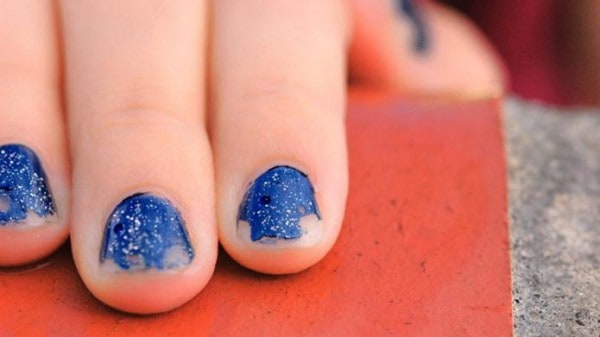
Whether your nails chipped on the tips or grown out leaving your lunula bared. We’ve got you covered. Check out!
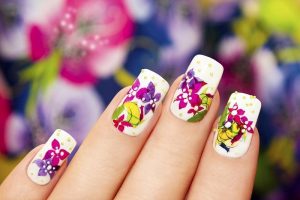
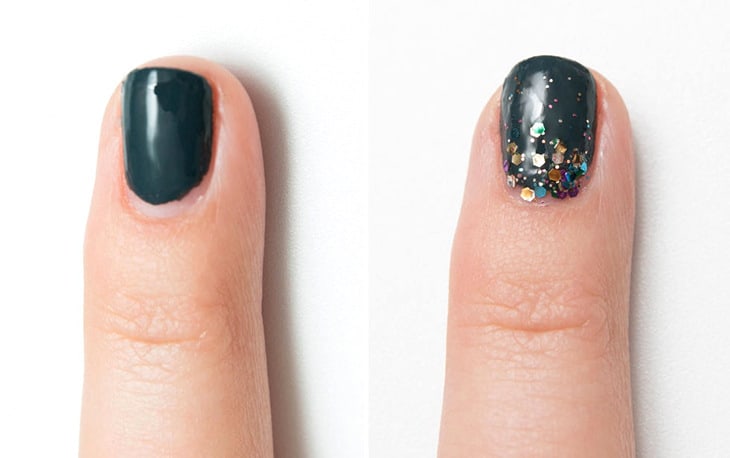
Glitter Gorgeous
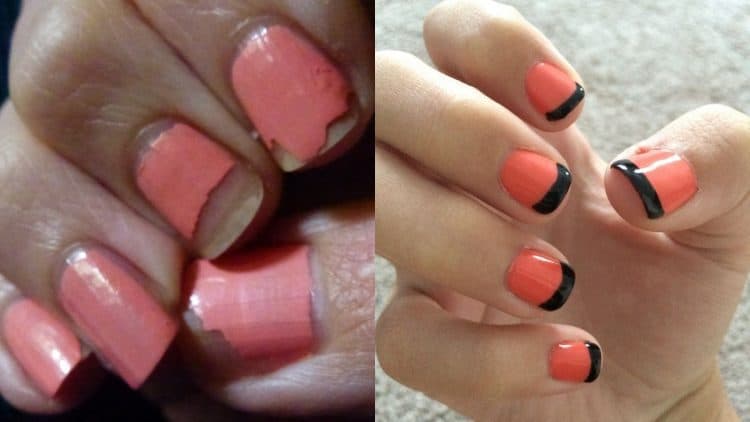
The French Way
Best Brands to Help You Avoid Chipped Nail Paints
The success and longevity of a manicure depend not only the process but also on the products. Choose well-recognized brands and the probability of your nail paints chipping will improve greatly. If you are looking for a good cuticle remover, you can choose Sally Hansen’s Instant Cuticle Remover. It is known to be very effective in removing dead skin, including calluses and the little bits under the nails. You can try following brands for better results
- Sally Hansen’s Base & Top Coat
- Konad Regular Polish
- OPI RapiDry Top Coat
Best Branded One Coat Nail Polishes
Chipped nail paints are no longer an insurmountable issue. All it needs is careful preparation and handling. Although there is no guarantee that the nail paint will remain intact, with these steps we discussed above, you can extend the number of days you can go without a second round of manicure.