Acrylic Nails Too Long? Here Is How You Can Trim Them
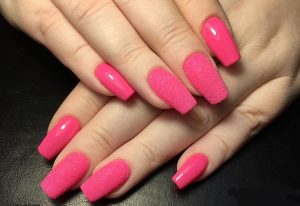
One of the most beautiful parts of acrylic nails is their length. You can add centimeters to your nail length after their application. You don’t have to wait months for your nails to grow naturally, especially for people who bite their nails and don’t have the discipline to let them grow.
However, if your acrylic nails are too long, it can also be problematic when performing day-to-day tasks. Sometimes you walk into the nail salon and want to go wild only to come home and find out you can’t comfortably type, cook, or do anything that requires some hand flexibility.
In this guide, we’ll show you how you can trim your acrylic nails at home without needing to take another trip to the salon. Follow our easy steps below.
Can You Cut Acrylic Nails with Nail Clippers?
Cutting your acrylic nails with nail clippers is a bad idea. No matter how sharp or expensive your nail clipper is, it probably won’t be able to trim the nail alone without cracking it or causing it to cut unevenly. You’ll be left with a jagged edge or a destroyed nail.
However, the nail clipper is a part of the trimming process, and we’ll explain how it is below.
How to Trim Acrylic Nails
Before starting this process, make sure you’re in an area with good lighting. You don’t want to make the wrong cut because the nail will need to be replaced.
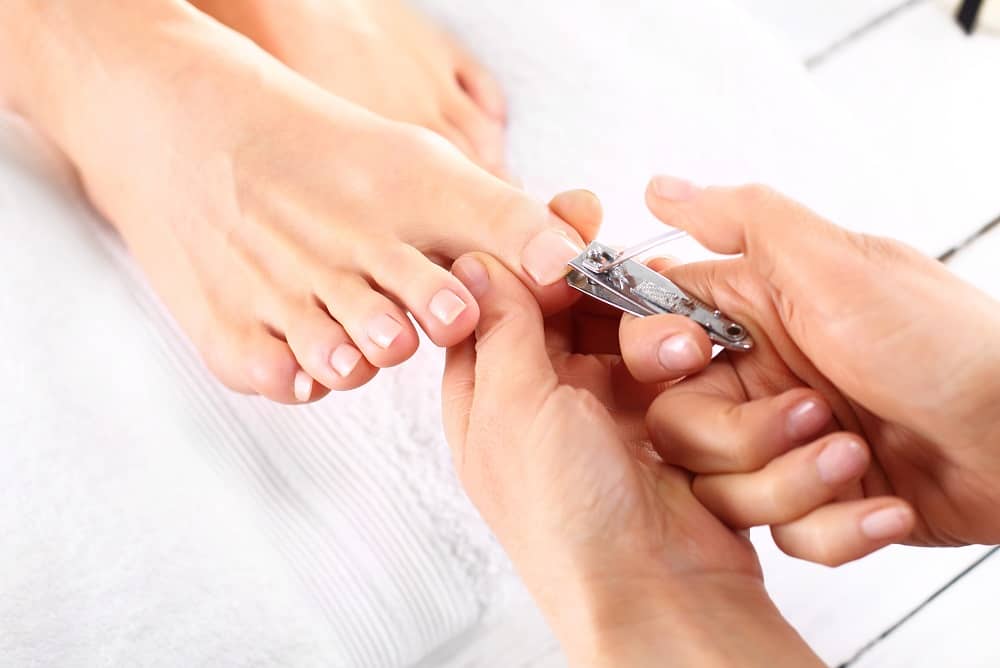
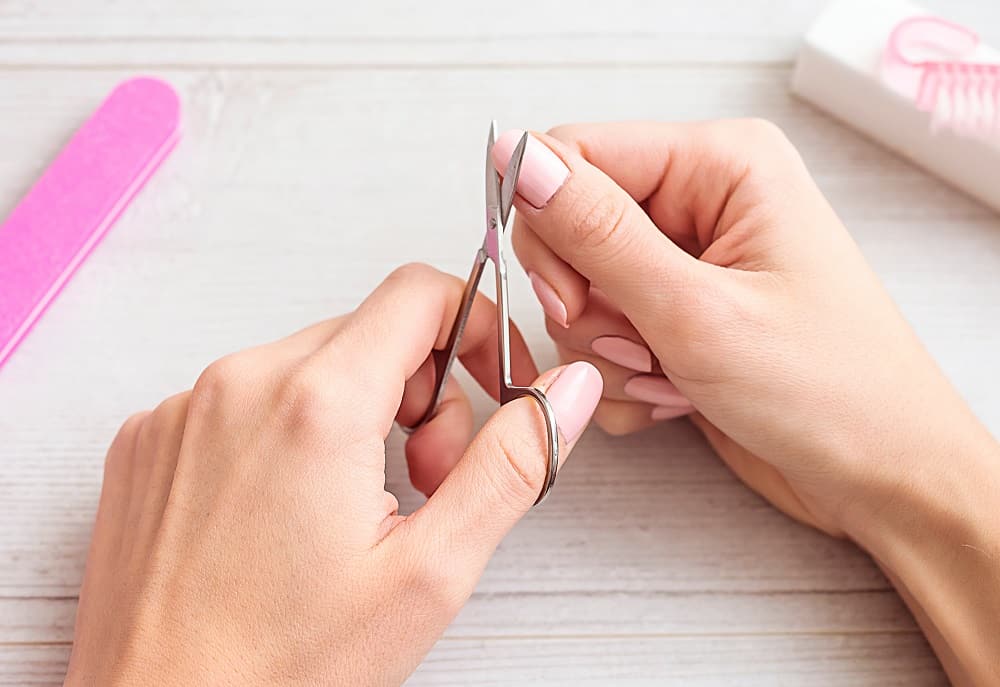
Step One: Cut the Edge
While nail clippers can’t get the job done on their own, it is where you start the acrylic nail shortening. Be careful about where you place the clipper. Placing it in the middle of your nail will break the entire nail, and you will have to replace it.
Instead, start with the edge of the clipper at the side of your acrylic nail. If your acrylic nails are square-shaped, then you can begin a little below the corner. If they are rounded, place the edge of the clipper at the desired length from your finger (depending on how short you want to make them).
Be careful during this step, as placing the clipper too close to your finger might catch some skin. You’ll also feel some tug on your natural nail because of the acrylic nail’s glue.
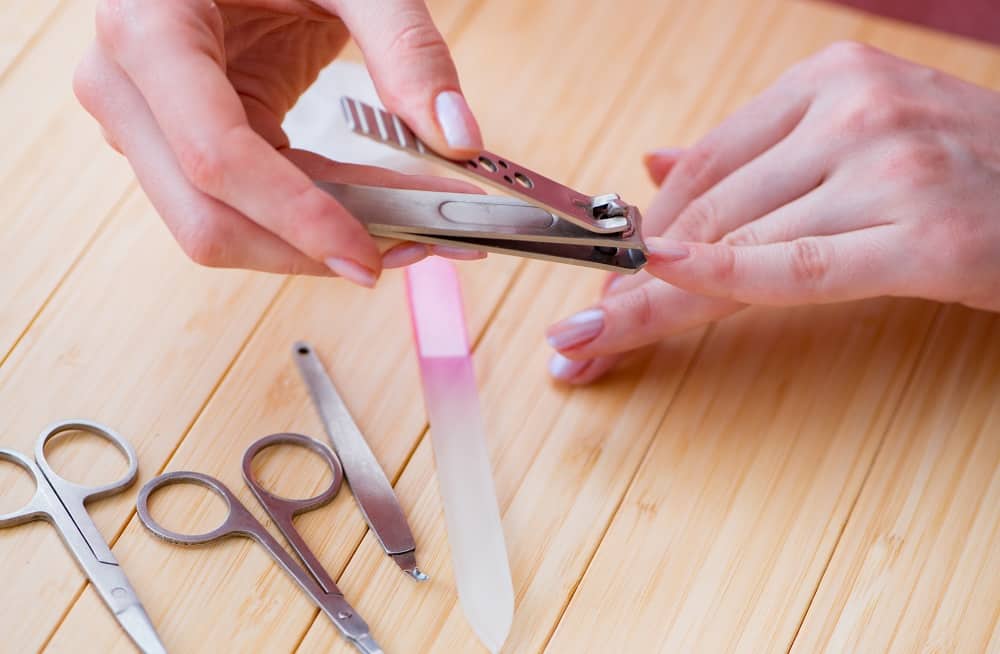
Step Two: Remove the Other Pieces
After making the initial cut, you’ll be left with some unusually shaped remains of the nail. Unfortunately, it’s hard to predict what these shapes will look like because the acrylic is somewhat unpredictable and doesn’t always break evenly like a natural nail.
We recommend doing the first cut angled away from the finger. Then you can repeat this process on the opposite side of the nail to create a triangle shape. Don’t worry if you get a jagged triangle or some extra points.
If the extra points are minor, you can cut them with the clipper, but avoid cutting larger sections of a nail as it can lead to cracking the entire nail.
How To Fix A Cracked Acrylic Nail
Step Three: Choose a Shape
Before beginning the next step, you should choose the shape you want your nails to be. One of the most common reasons for trimming acrylic nails is because you’re not satisfied with their current shape.
Whether it was the fault of an unsatisfactory manicure or you just changed your mind, you can easily change the nail’s shape by trimming them. The most popular acrylic nail shapes are almond, round, stiletto, squoval, and square.
Square is probably one of the easiest shapes to trim because all you need to do after trimming is file the nail into a flat edge. Stiletto is also an easy shape to get, but you’ll need to be careful. If you make the nail too sharp, you can hurt yourself or anyone who comes into contact with the nail.
Round, almond, and squoval nails are a little harder to file because you’ll need to move the file’s angle regularly. We recommend going slow when working on these shapes so you don’t over trim and make your nails too short.
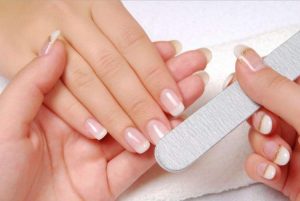
Step Four: File The Nail
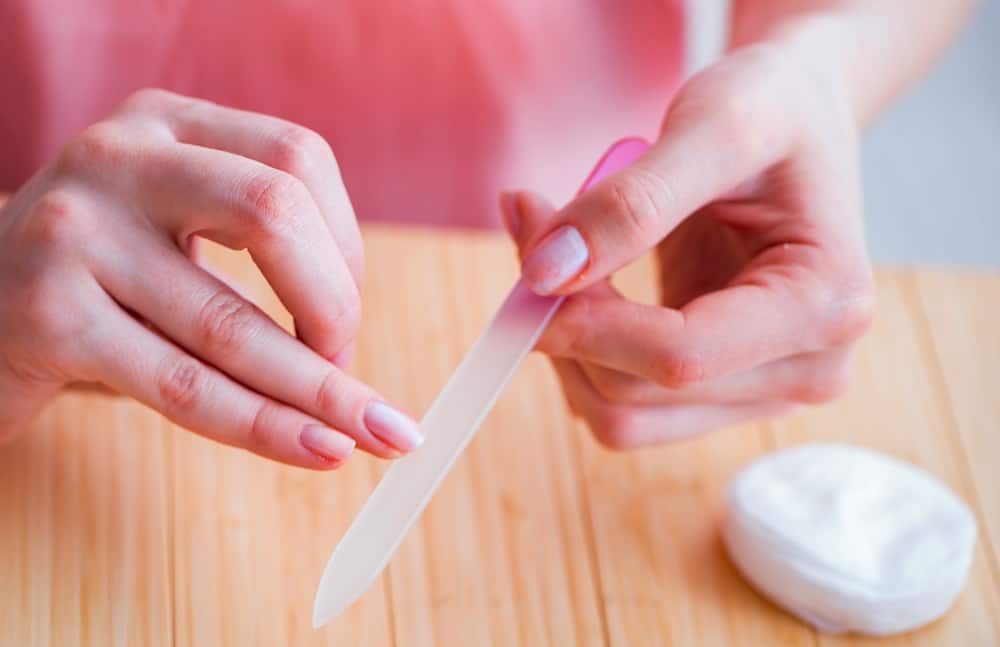
After cutting, you’ll be left with some jagged edge nails. You can then choose the file you want to use. Hand files are more precise but also take longer to use. An electric file will get the job done faster, but it’s also easier to over-shorten the nail.
Follow the edge of the nail carefully until you reach your desired shape. You can draw the outline of the shape you want with a thin dry-erase marker to get the best results. Once you’re done, you should rinse the nails in water to remove any acrylic residue.
Watch the following tutorial to learn how to trim your Acrylic nails.
Conclusion
Remember, you’re not stuck with the nails you get from the salon. Using this easy method, you can easily achieve the shape and length you want even after they’re glued on.