Nail Stamping 101: How to Get Perfect Prints Every Time
Trust me nail stamps are fabulous. Learning how to use nail stamps helps in creating beautiful, perfect, and professional nail designs while saving you time and money. Those sweet, charming scenery painted on fingernails and posted on the internet are super easy to make using the right tools.
The “How To” guide on the use of nail stamps is designed to provide tips, tricks, and tutorials, on how to create the finest and detailed nail designs. If you have always desired to have perfect nail art designs and wish to learn more, here is how to get started.
Step 1: Gather All Necessary Tools and Supplies

This step is vital as all essential tools and supplies should be available at your fingertips. The items you will need includes:
- Cotton bud
- Image plate: Available in various sizes, this metallic plate provides a platform for engraving designs/ images.
- Nail art brush. Used for applying coats.
- Nail polish (for the base color, and stamping).
- Nail polish remover
- Nail Stamp (stamper): It is necessary for transferring designs from image plate to your nails.
- Nail Wipes. Required for cleaning image plate between stampings.
- Scraper: Needed for scrapping off excessive nail polish on image plate.
- Special topcoat: Bought separately, needed to add special topcoat after successful stamping.
Trendy Toenail Designs for 2024
Step 2: Prepare Stamping Supplies and Workstation
For stamping, you need to get primed and ready. A little pre-stamping prep will go a long way. The best nail station setup is to have every tool and supply within easy reach. Doing nail stamps require a considerable level of speed. Here is what is needed to prepare your stamping supplies and workstation before getting started:
Phase 1:
- Wash your hands and dry properly.
- Ensure to take away the blue film from new plates.
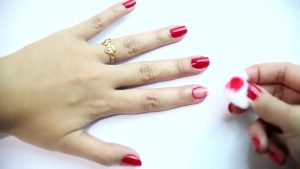
- Remove any old nail polish, using nail polish remover.
- Ensure your nail polish and supplies are clean, in good shape, and within arm’s reach.
- Give your nails uniform filing and trimming if required.
- Ensure your nails are ready.
Phase 2:
- Apply the base coat and allow to dry completely.
- Apply the main base color selected for your stamp and allow to dry completely. (A dry base color is recommended).
- Apply the clear topcoat over the main base color on your nails and allow to dry. (Though not compulsory, it is supported in situations where you wish to make any corrections)
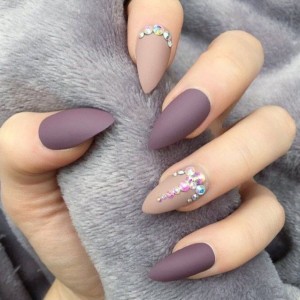
Stamping Nail Art design Ideas
Step 3: Now It Is Stamping Time!
In step 3, the stamping begins. Also note that these actions (2, 3 and the rest) should be done very fast as the polish also dries quickly.
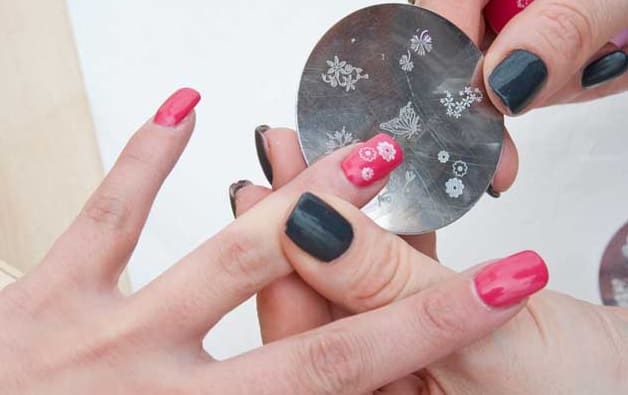
- Select the plate bearing the image/pattern you desire.
- Make a thick layer paint of the special nail polish on your selected image/pattern. (A single plate has different images/patterns).
- Position your scraper at a 45% angle to achieve your design, hold firm and pull across the painted image to remove any excess.
- Place the stamper on the desired image and press firmly over the plate making the rolling motion. The rolling action is necessary to cover all the polish on the image. (If the full design transfer to nail stamp is not complete, then wipe off using nail wipes and repeat until it is done correctly).
- Line up the edges of both image and nail for the image transfer from the stamper to nail.
- Apply steady pressure on the stamper (design) as you move it across your nail (from left to right).
- Properly clean any nail cuticles with the help of cotton bud and nail polish remover.
- Protect the image formed on your nail by rubbing the top coat over the surface.
NOTE: With regular practice, your use of nail stamps would improve over time, especially applying special polish to various sides. You would also learn to save more on polish.
Watch The Following Video to Learn about 5 Different Ways to Use A Nail Stamper
How Long to Wait Between Coats of Your Nail Paint
There you go, I hope you learned a lot. That is how to use nail stamps in making fantastic nail art. Using nail stamps are intended to make nail arts easy, so I am confident you would find all steps easy to accomplish. The outcomes are always beautiful nails worthy of your time.