How To Fix Cracked or Broken Acrylic Nails at Home (Emergency Guide)
What happens when your acrylic nail cracks? Do you need to schedule a nail appointment to remove a cracked nail? Below we discuss the tips and tricks for fixing a cracked or broken acrylic nail.
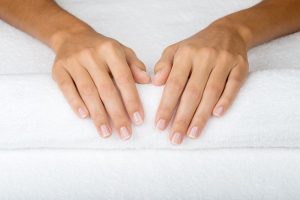
Few things feel as good as a fresh manicure. Manicures are pretty, but they are usually just as expensive. Knowing how to mend a broken or cracked acrylic nail will save you time, money, as well as your precious nail.
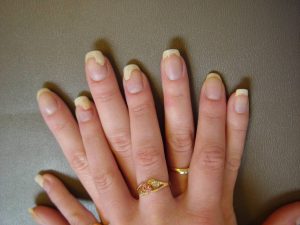
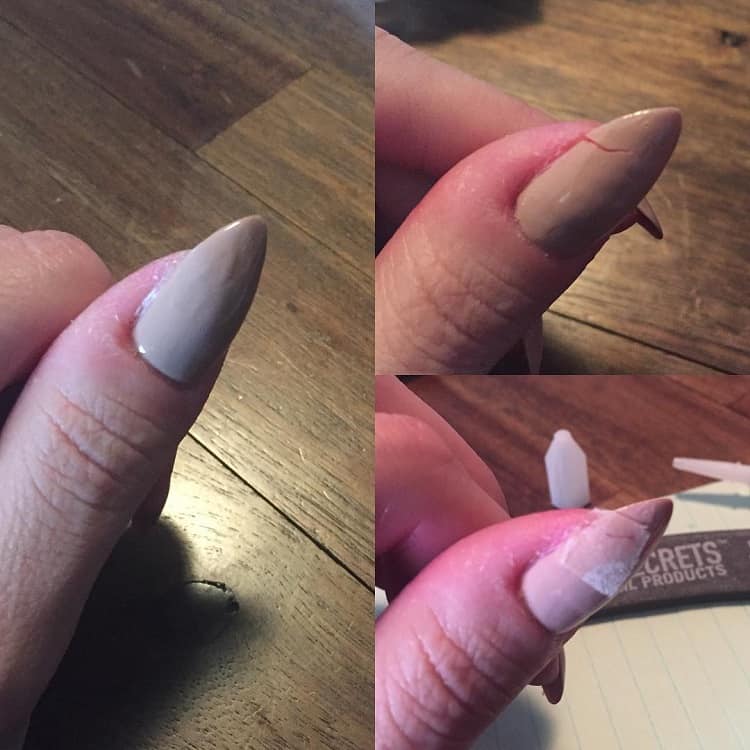
Breaking one of your acrylic nails is one of the worst things that can happen to any beauty enthusiast. Besides the physical pain of cracking the nail, the frustration that comes from breaking the perfect nails you just paid for can ruin your day.
Quite luckily, there are ways to fix your nails the next time you accidentally crack one of them. Whether the crack is in the middle or on the side of your nail, you can make it work till it’s time for your next appointment.
If the breakage on your nail covers more than half of the nail, it’s safer to remove it and apply another one gently. Ensure you don’t pull at the crack because this can injure your nail plate.
How A Nail Technician Will Fix Your Cracked Acrylic Nail
Most times, a nail technician can repair a cracked nail in under five minutes. If you have enough time to set up an appointment with your nail technician, they can fix it for you quickly. Here are the steps your nail tech will take to repair your cracked acrylic nail:
Step 1: Filing Nail
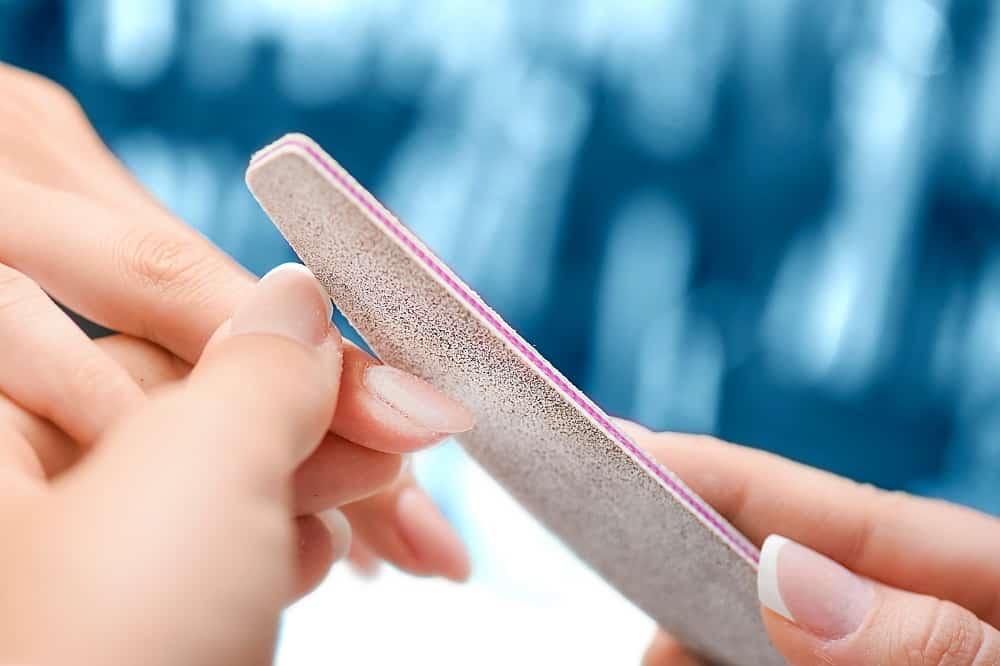
They will use a thin board to file the crack’s area to extend the crack’s length and width. They will file down to just before your natural nail. They’ll also do the acrylic around your nail’s crack if it has lifted. Most nail technicians avoid nippers because they tend to injure the natural nail.
Some nail techs also use drills to make filing the cracked nail faster. They usually prefer using carbide bits because they don’t get as hot as other bits. If they’re repairing a small crack, they’ll most likely use a conical carbide bit.
Step 2: Putting Glue in The Tear
If your nail is slightly torn under the crack, they’ll put a thin layer of glue in the tear as well. Placing glue on top of the tear alone will make it more likely to tear more.
Your nail technician will probably explain that they have to put some glue in the tear to make sure it doesn’t occur in a more extensive and more painful manner.
Step 3: Removing Nail Dust
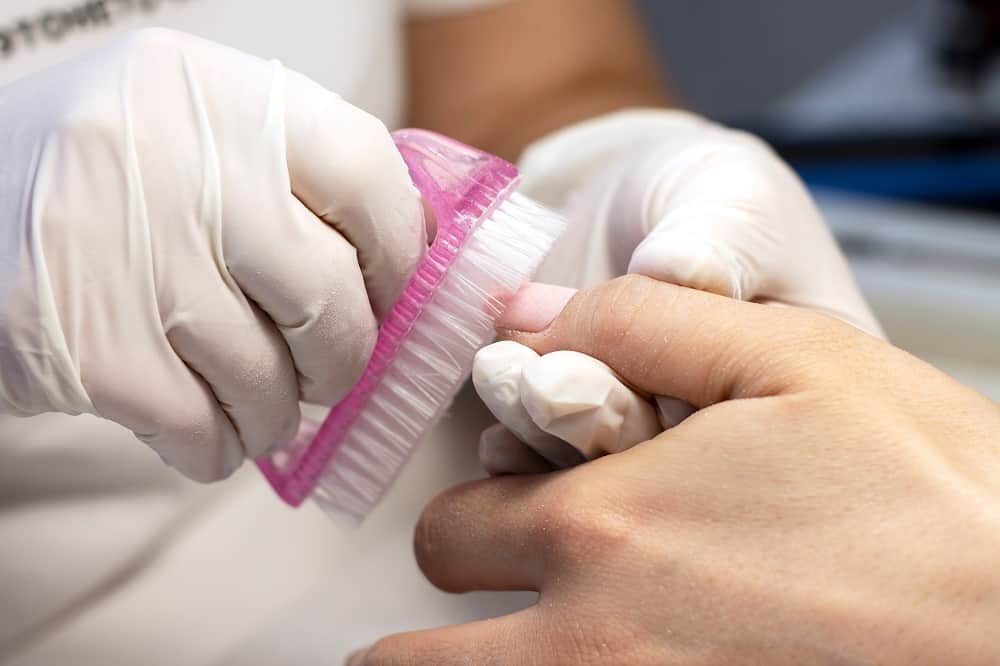
After step two, your nail technician will file down the acrylic surface of your nail then remove the dusty residue with a manicure brush.
Step 4: Applying Primer
Your nail technician will then apply a bit of primer to your exposed nail. Too much primer will make it hard to fix the damaged nail, and too little primer might cause it to break again.
Step 5: Putting Acrylic Ball
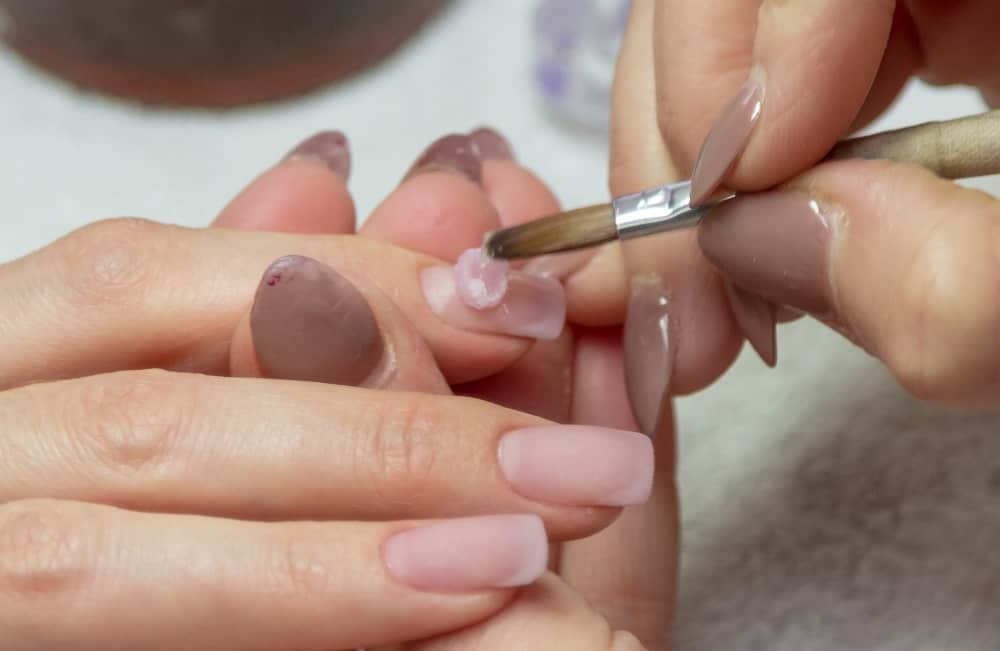
Your nail tech will put a slightly damp acrylic ball in the crevice they created by filing the crack. They will gently but firmly pat the acrylic ball into the gap then brush the whole nail surface to even it out. After the crevice has been filled, they’ll brush a smaller acrylic ball over the entire nail surface.
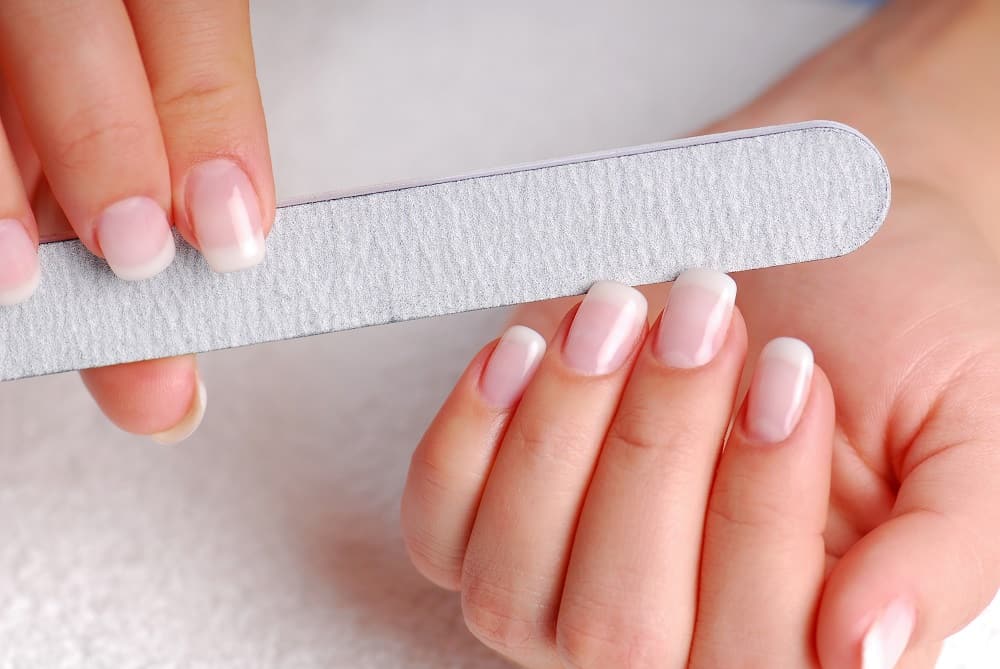
Step 6: Nail Buffing and Filing
After these steps are completed, your nail technician will buff and file the nail’s surface. They’ll most likely shorten the nail to reduce the stress on the repaired area. You can even ask them to repolish the nail for you.
How to Repair a Broken Nail With a Wrap
There are some times that your technician will have to repair your nail with silk wraps, patches, or fiberglass. Here are the steps they take to fix it:
Step 1: Nail Filing
If the crack isn’t too far from the free edge, it will make more sense for them to file your other nails down so they are the same length. They will not repair the nail if there are any signs of cuticle infection or finger irritation, and they will probably advise you to seek medical attention instead.
Step 2: Buffing Nail
The next thing your nail technician will do is buff your nail with a file. The purpose of buffing your nail is to roughen the nail up so that the silk patch or fiberglass adheres better.
Step 3: Using Rubbing Alcohol
They’ll spray your nail with rubbing alcohol. The rubbing alcohol helps to eliminate the nail dust created by filing it.
Step 4: Applying Silk Wrap or Fiberglass
After that, your nail tech will cut out and apply a piece of silk wrap or fiberglass on the cracked part of the nail. They’ll put a little piece over the cracked section of the nail, making sure it doesn’t touch your skin.
Step 5: Applying Nail Glue
Then, they’ll apply some nail glue. Using a glue dryer, they’ll dry the piece of nail wrap or fiberglass after soaking it in nail glue.
Step 6: Buffing and Applying Topcoat
The last step they’ll take is to smooth the repaired area with a buffer. When the nail dries, your nail technician will smooth the repaired area with a buffer. Finally, they will apply a topcoat or polish.
Tools Needed By The Nail Tech
Here are some of the tools and products your nail technician will use to easily and quickly fix a cracked acrylic nail:
- Nail glue: Nail glue is like a thicker version of super glue that dries pretty quickly once you apply it.
- Nail Buffer: An excellent nail buffer allows your nail technician to buff the wrapped nails until they are smooth and ready for a coat of polish.
- Adhesive silk wraps and fiberglass: They are both good products, but many technicians prefer fiberglass to silk wrap.
- Files: Various grit files will help your nail technician quickly file down cracks.
How to Fix a Cracked Acrylic Nail at Home
Here’s how to fix your cracked acrylic nail at home:
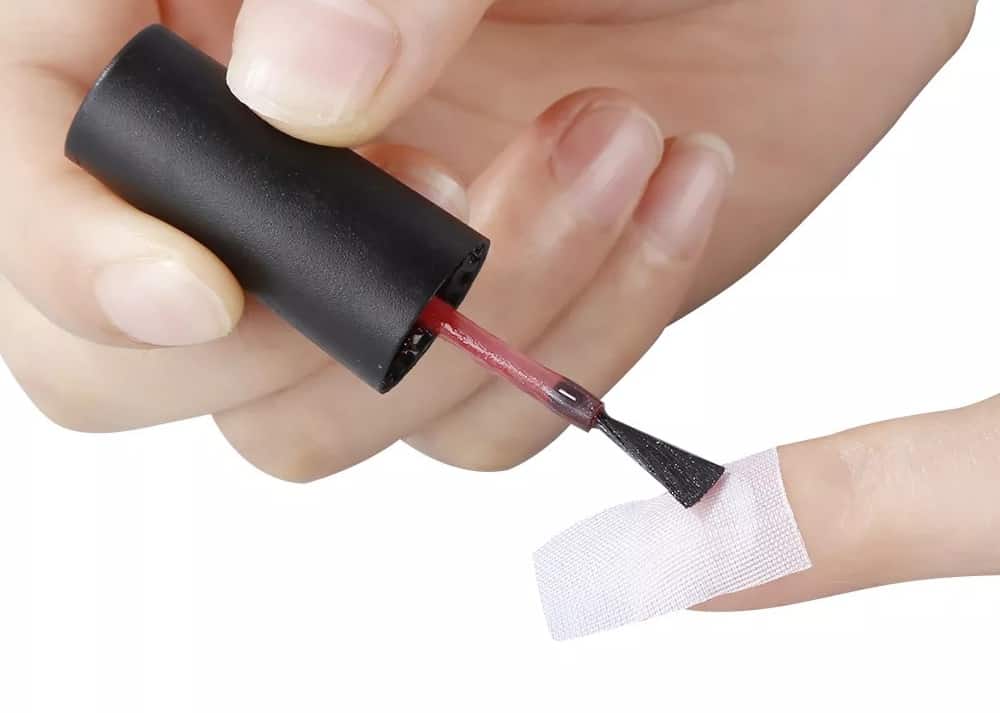
Step 1: Place A Tea Bag Over the Crack
The first thing you’ll need to do is seal up your nail’s crack. To do that, you’ll need to get a suitable material. The best household material you can use to seal a nail crack up is a teabag. Teabags are great because the material is thick and strong enough to withstand pressure.
All you need to do is cut the tea bag to the correct size and make sure it fits over the crack. Once you’ve done that, you can move to the next step.
Step 2: Secure the Tea Bag With Some Glue
Once you’ve cut your teabag to size, the next thing to do is secure it with glue. Take the teabag out of the crack and put a little glue on its surface. Gently replace the paper on its spot over the crack and let it dry.
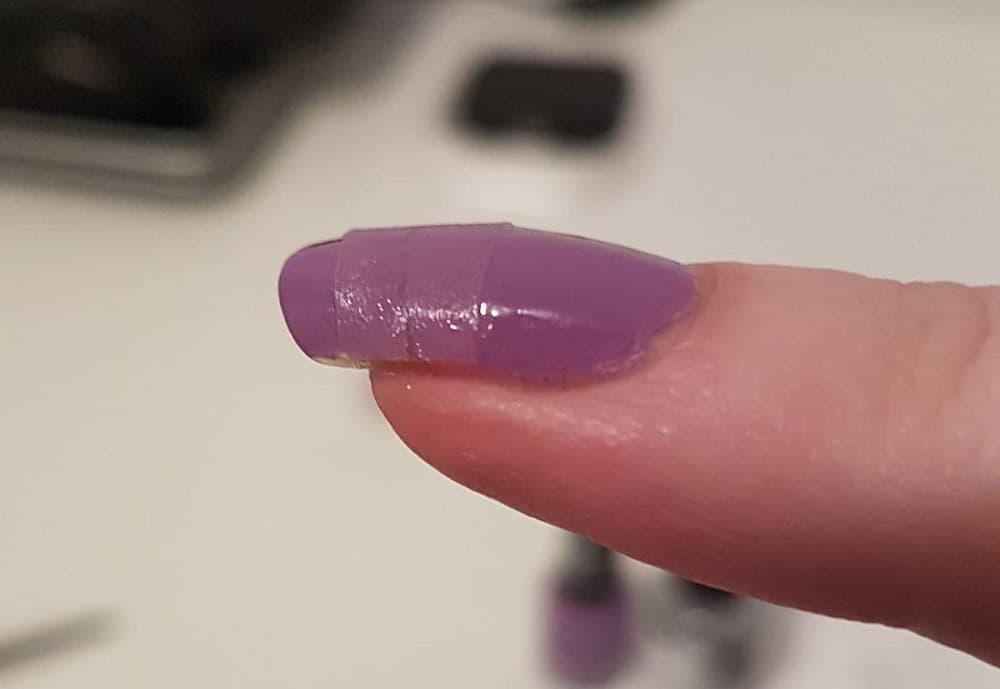
Step 3: File It Until It Becomes Even
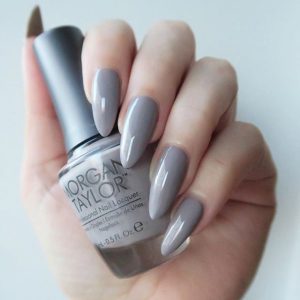
Once the paper dries, file it until it becomes even. You can even paint over acrylic nails if you want to. It’s not a perfect solution, but it will tide you over until your next nail appointment with your nail technician.
Why Does Acrylic Nail Keep Popping-off?
How to Fix a Cracked Acrylic Nail With a Healthy Natural Nail Below
If your acrylic nail is damaged, but your natural nail isn’t, trim and file the acrylic portion as close to the crack as possible. If the breakage is below the free edge, you can remove the acrylic close to the crack using acetone, leaving your natural nail tip visible. Make sure not to use acetone on an open cut since it can sting!
After that, it’s up to you to decide what you want to do. You can expand the acrylic back to the length of your other nails after preparing your natural nail. Alternatively, you can leave that nail shorter and trim the rest of your other nails to match. If you haven’t made acrylic nail extensions before, this is an excellent way to experiment.
How To Fix An Acrylic Nail Broken Below the Free Edge
If your acrylic nail is broken and the breakage also affects your natural nail, you may not be able to fix it without removing the acrylic nail. First and foremost, put some ice on the nail and take a pain reliever because these kinds of breaks are quite painful.
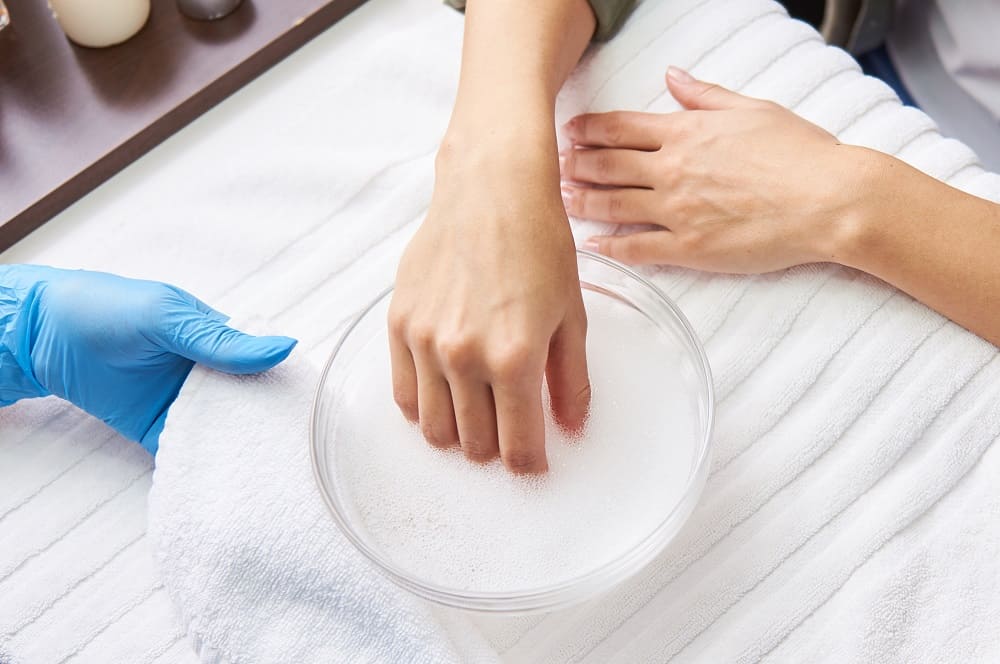
It is not a pleasant ordeal, but you should completely remove your acrylic nail to avoid infections if you don’t want an infection. If your natural nail is also damaged or broken, you are making it more susceptible to fungi and bacteria contamination in the wound, which would trigger an infection. Start by thoroughly cleansing the area with soap and water, followed by a skin disinfectant or alcohol.
You should not apply another artificial nail over a wound because you risk trapping fungi and bacteria between the acrylic nail and your actual nail, resulting in a green, diseased nail.
A cracked acrylic nail can be your worst nightmare, especially if it happens during a busy period. Whether you want to fix it at home or get it fixed at your nail technician’s place, this article has given you a rundown of the processes involved.