How to Shape Coffin Nails: A Quick Guide
Your nails can say a lot about you. You can never go wrong with a good color or pattern, but the even shape of your nails says so much about your personality.
One popular shape from the ’90s that is making a comeback these days is the coffin nails, also known as ‘ballerina nails’. It’s an excellent low-maintenance shape that flatters fingers of any length. This look is growing in popularity in part because it’s so easy to recreate at home.
While there are many videos, photos, and blogs about coffin nail shapes, this post explains what the coffin nail is, the reasons why people love this shape, and how to achieve it. Read on to find out more.
What Are Coffin Nails?

Ballerina nail shape got its sinister nickname due to its resemblance to a coffin.
Typically, coffin nails are a nail art style created with different colors and patterns, usually with a matte finish. The nail tapers towards the tip, but the tips themselves are flattened.
Usually, the cuticle is covered with accent nail art, and your natural nail extends beyond the design line.
Why Do People Like Coffin Nail Shapes?
There are many reasons why this classic shape is making such a comeback. Here are the top four:
- First of all, the coffin nail shape combines the sexy tapering of the stiletto nail shape with the more practical and easier-to-maintain flattened tip of the square nail shape. In that sense, it offers the best of both worlds.
- The length of the nail allows for less polish to be lost during the application process, which is perfect if you don’t want to spend time painstakingly cleaning up around your nails after painting them.
- The shape makes applying decals, stickers and nail art easier. Even if you don’t have experience with these things, you can achieve a professional look with just a little practice. This shape is also achievable with your natural nails as well as with acrylic nails.
- The shape is flattering in that it makes your fingers look slender.
If you’re a beginner, it may be challenging even to shape some of the most common nail styles. However, with a little effort and guidance, you’ll find that it’s easy to shape coffin nails.
Who Should Try Coffin Nails?
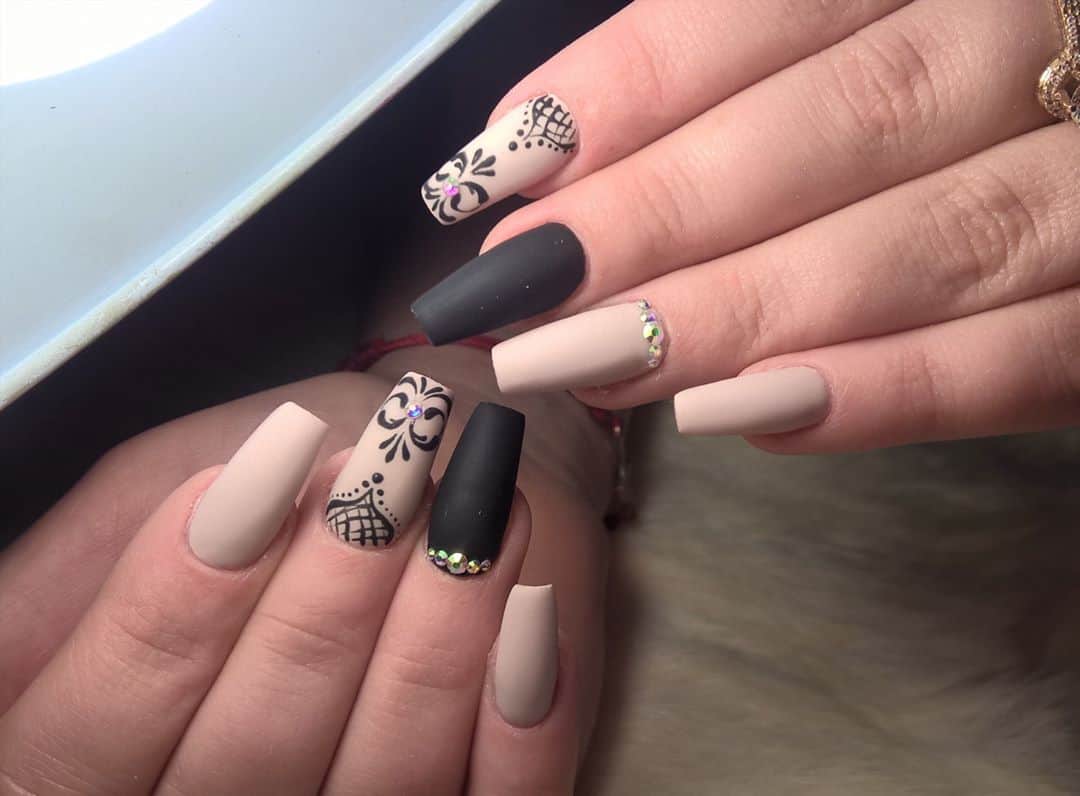
Coffin nail designs are for you if you are attracted by sharp pointy nails but want something more manageable! After all, this nail shape is a trendy and elegant variation that you can try instead of the usual square, squoval or oval nails.
Whether you prefer your nails long or short, coffin-shaped nails can look awesome on any nail length! Even if your fingers are leaning more towards the stubby side, you will find that this nail shape gives the illusion of longer and thinner fingers.
As a bonus, you wouldn’t need to worry too much about accidentally poking yourself as you might with stiletto nails designs. Coffin acrylic nails have just part of the sides filed off, so it’s definitely stronger and more durable than the stiletto type.
How to Shape Coffin Nails
Make sure you have all the necessary items before you begin. You also need to be patient! Achieving the perfect nail shape may require about an hour of careful work. Here is a step-by-step guide on how to shape coffin nails:
Preparation

Push back the nail cuticle. If you are using an artificial tip, apply it now, making sure you give it sufficient time to dry and stick to your natural nail.
Cut to Your Desired Length
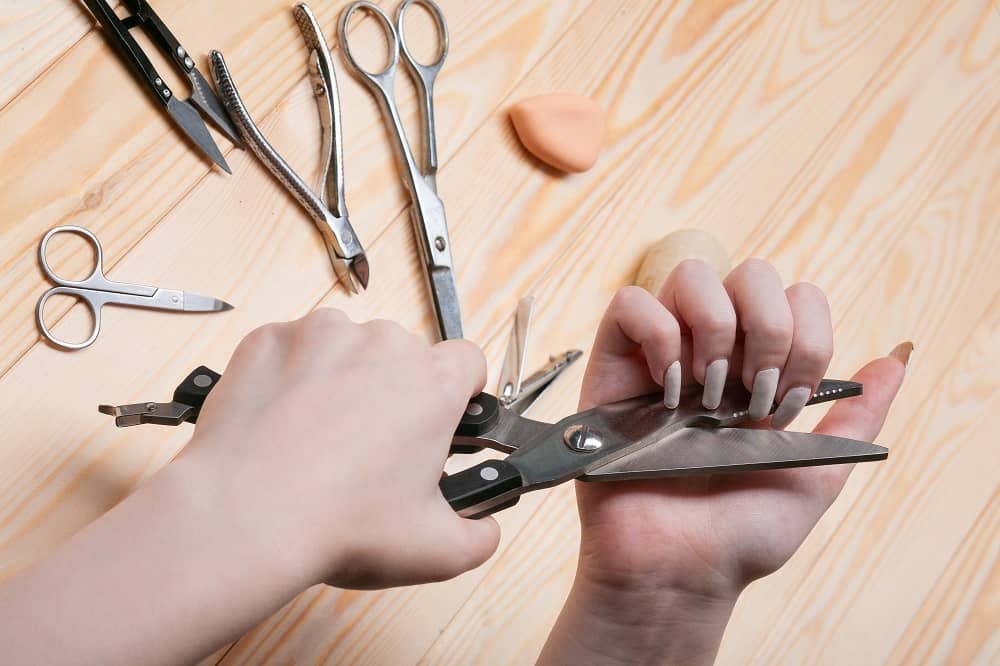
Decide how long you want your little coffins to be. The longer the nail, the sleeker and more slender appearance it will give your fingers—but it will also be harder to keep in good shape. Once you have decided on your length, cut the nail straight across using nail scissors.
Trim the Edges
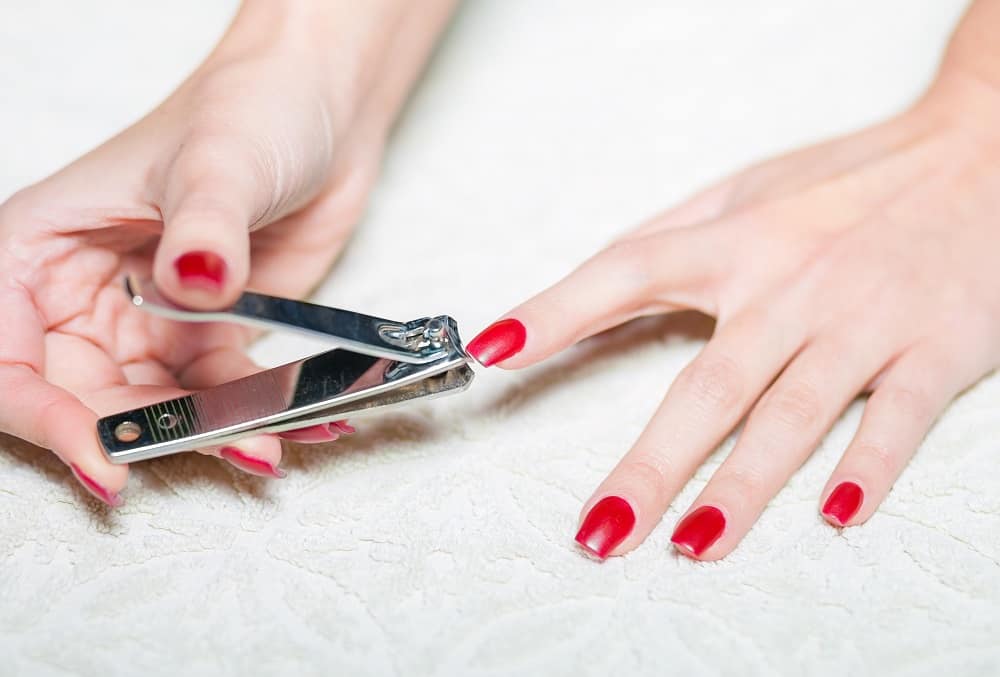
Imagine a line down the center of your nail. Trim a small amount away from either side of that center line starting at the edge of the nail sidewall and tapering up to the square edge of the tip. Slowly cut starting from the tip in the direction toward your finger. This will save you a little bit of time and effort that you would have otherwise spent on filing.
Filing Nail
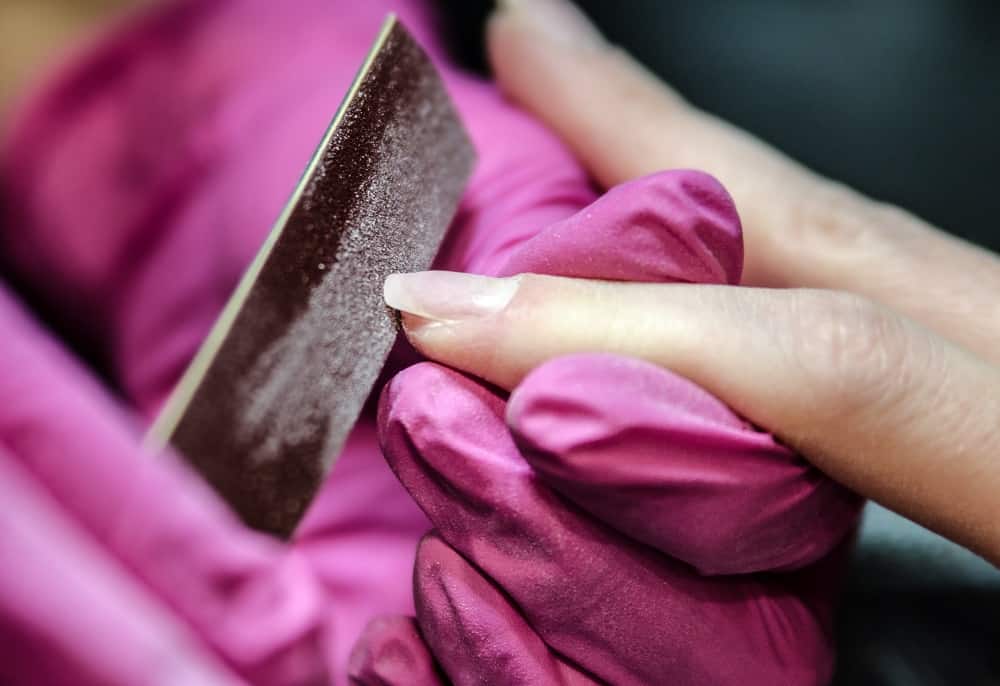
Use a nail file to keep tapering the coffin shape. File each side a little bit at a time, looking at the nail from different angles until you have straight and even edges. Lay your nail file in a straight line from the side of your cuticle to the flattened edge of the nail tip to ensure everything is even.
After cleaning your nails of any debris left over from filing, you are ready to complete your look with polish or any other nail decorations!
Note: Coffin nails may be prone to breakage depending on their length.
Watch the following video tutorial to learn how to shape coffin nails yourself.
How Much Do Coffin Nails Cost?
Rather than having an absolute value for each nail shape, the cost is usually set for types of nails, such as acrylic nails, gel nails, so on and so forth. Nail designs and shapes which are more complex will also require a higher cost, but simpler ones such as short oval nails and ballerina nails with basic designs are most likely to be cheaper.
If anything, you should try visiting a nail salon once to experience it! In some places, you might be able to get a basic manicure for around $20 in low-end stores, and perhaps somewhere around $30 at the lowest cost if you’re looking for full acrylic sets with certain nail shapes such as coffin.
The costs will soar up to the $100’s and more at times if you want some special decoration, French manicure or holiday themes on your nails. As a general guideline, the cost increases along with your specifications and requirements. Of course, the costs will also increase as you visit more and more popular nail salons!
The coffin nail shape is distinctive and on-trend. Luckily, this shape is simple to reproduce at home if you patiently apply the right techniques.
