How To Shape Oval Nails in 3 Easy Steps (Beginner Friendly)
The elegant oval-shaped nail is a classic favorite for a low-maintenance manicure that looks good at any length.
This shape is versatile, falling between a wider, round nail and a more pointed almond shape. Are you wondering how to shape oval nails at home?
Here are some tips for choosing your manicure tools, learning the proper technique, and creating oval nail designs that work well on oval nails.
Choosing the Right File For Shaping Oval Nails
Before learning how to shape oval nails, you have to have the right tools for the job.
Fortunately, it only takes one high-quality nail file to bring out your inner manicurist and achieve the oval nails of your dreams.
Take into account the state of your nails. If you’re working with gel polish or acrylics, choose a stronger material. Otherwise, you’ll spend a lot longer achieving your desired shape.
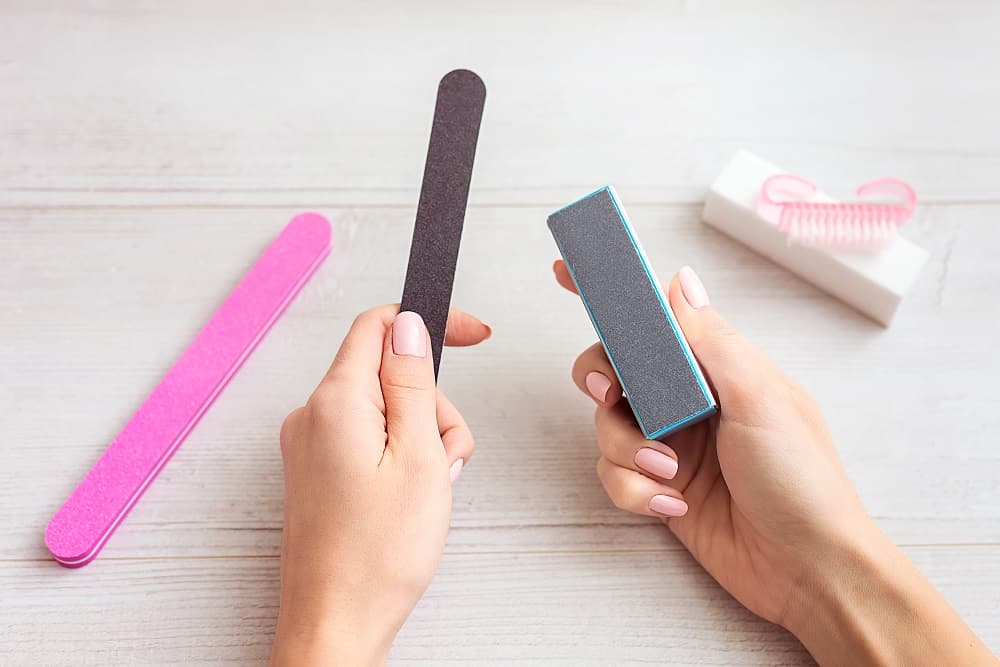
Materials
- Glass files are incredibly durable and easy to sanitize. They’re strong enough to shape artificial nails, gels, and dip powders without breaking down or losing their grit.
- Metal files are not recommended. The tiny teeth trap bacteria and tend to grind the nail. This leaves it more susceptible to splitting.
- Emery boards are best for natural nails because they are much gentler than glass or metal files. They are inexpensive and disposable, so you don’t have to worry about keeping them sterilized.
Grit
- You should only use extra coarse on artificial nails, UV gels, and extensions. They are very rough and can cause breakage on natural nails.
- Coarse grit files are rugged enough to “break the seal” on topcoats, but they’re not your best bet when learning how to shape oval nails.
- Medium is a must for creating the coveted oval shape. They’re strong enough to get the job done efficiently without creating strain on the nail.
- Fine files are best for short nails that won’t need a lot of filing. They are also used to clean up any rough edges once you’re done shaping.
- Extra fine is typically reserved for those who have delicate nails that can’t handle a higher grit. Because they are so gentle, they can even buff out the nail without causing damage.
How to Shape Oval Nails
You can have gorgeous, oval-shaped nails in just three simple steps:
Step 1: Clean Your Hands and Tools
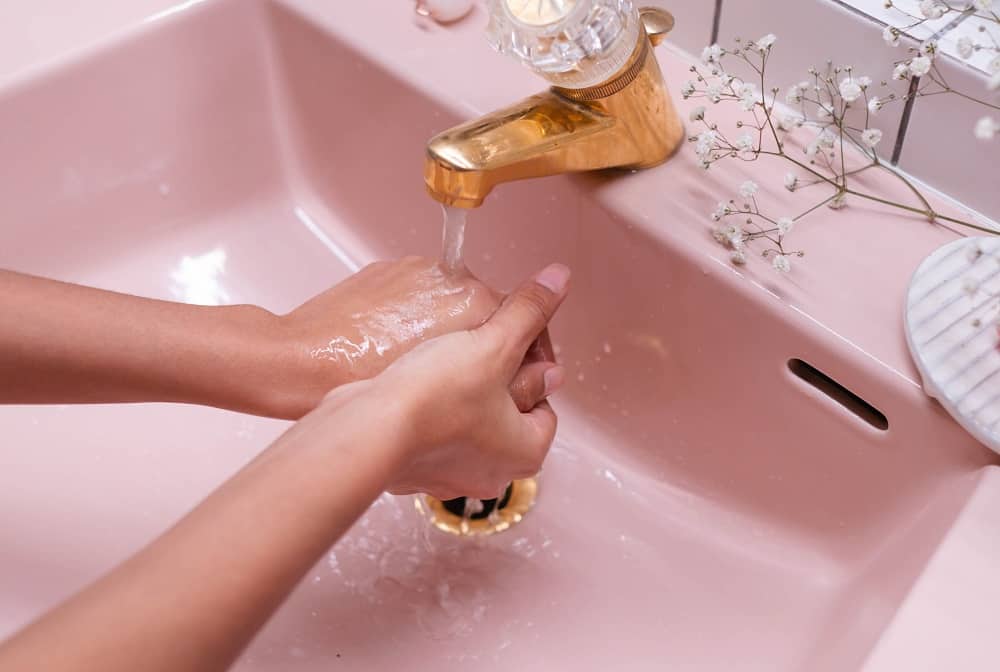
Even if you sterilized your file the last time you touched up your manicure, it’s essential to do it again when working on your nails.
Thoroughly wash your hands and tools with antibacterial soap.
You can also use isopropyl alcohol for glass and metal files. If using an emery board, just grab a fresh one from the pack.
Step 2: Cutting the Nails
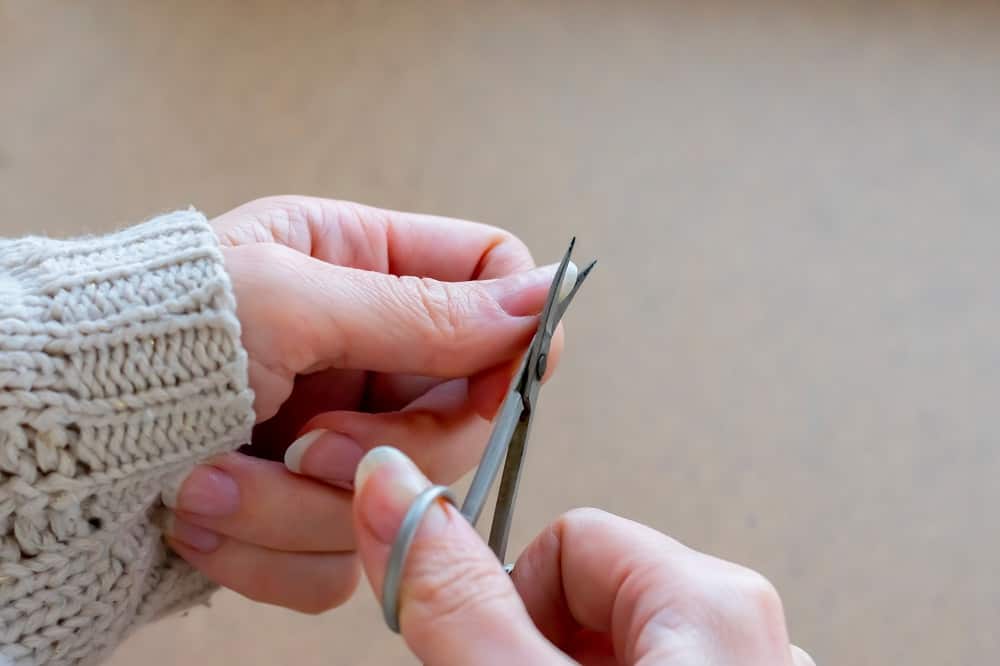
Cut the nail tips to give shape. Start gently and slowly, taking in the sides of the nail by filing at a 45-degree angle upwards. Check your progress every 2-3 strokes so that you don’t take too much off.
As you near the top, taper inwards slightly. Do too little tapering, and you’ll accidentally end up with square or squoval nails. Do too much, and your nails will be more almond than oval.
Be sure to file upwards, and avoid dragging the file back down. This weakens the nails and can cause them to splinter or crack.
Step 3: Round the Top
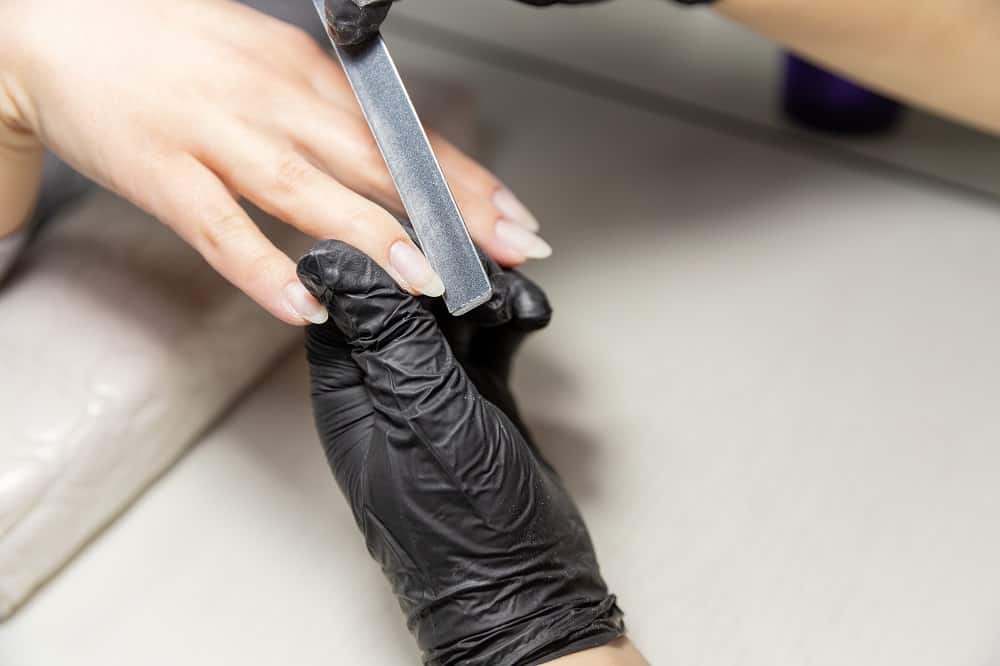
Continue filing over the top of your nail. Aim for an “egg” shape, with a softly tapered edge more narrow than the sides.
Go around the entire edge in the same direction, following the natural shape of your fingertip as much as possible.
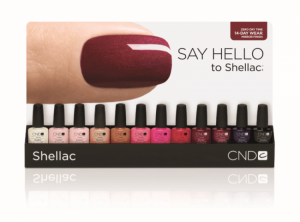
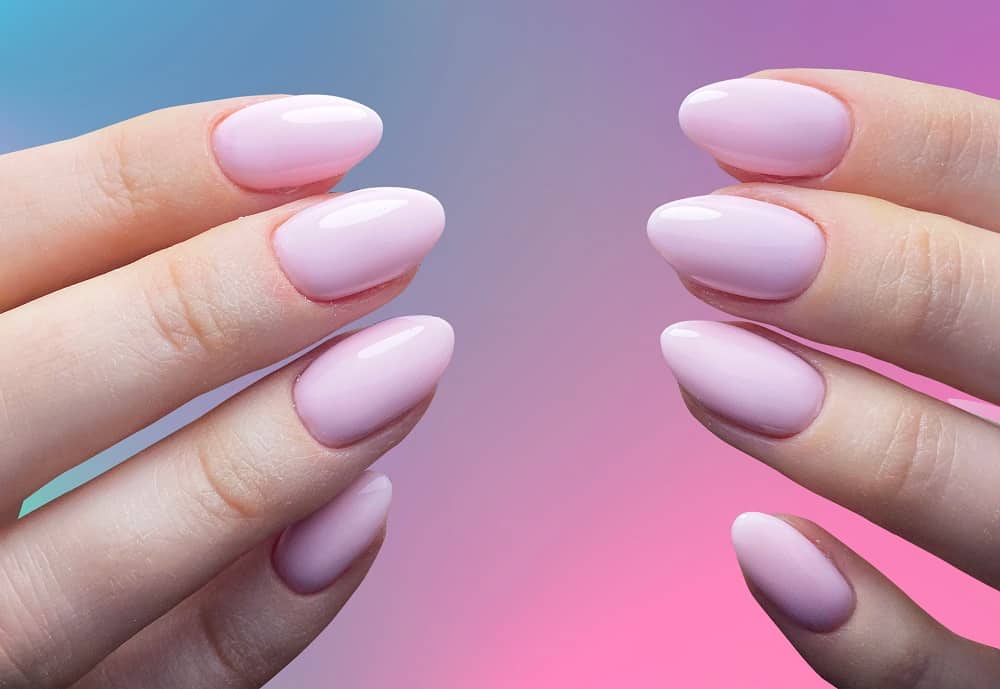
The result should be a classic, feminine oval nail that elongates your fingers and complements all polish colors, from soft, delicate neutrals to bold, moody jewel tones.
Watch the following tutorial to learn how to shape your nails oval.
How to Style Oval Nails
Now that you’ve learned how to shape oval nails, it’s time to give them a fresh coat of polish.
Because they are so versatile and simple in shape, oval nails serve as an ideal canvas for virtually limitless combinations of colors and styles.
Pastel Gradient

Perfect for springtime, try shades of pink nails in a gradient across each hand. You can also mix things up with other soft shades, like lavender or mint.
It’s an ultra-girly look that works well with oval-shaped nails.
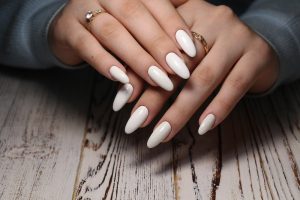
Barely There
If you prefer a natural manicure, an ultra-pale pink or tan gives your nails a healthy glow without being too vibrant.
This style works well in professional work environments, where bolder colors might not be appropriate.
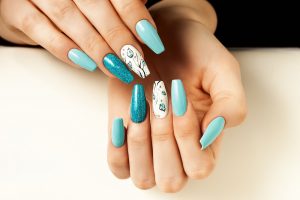
Gold and Green
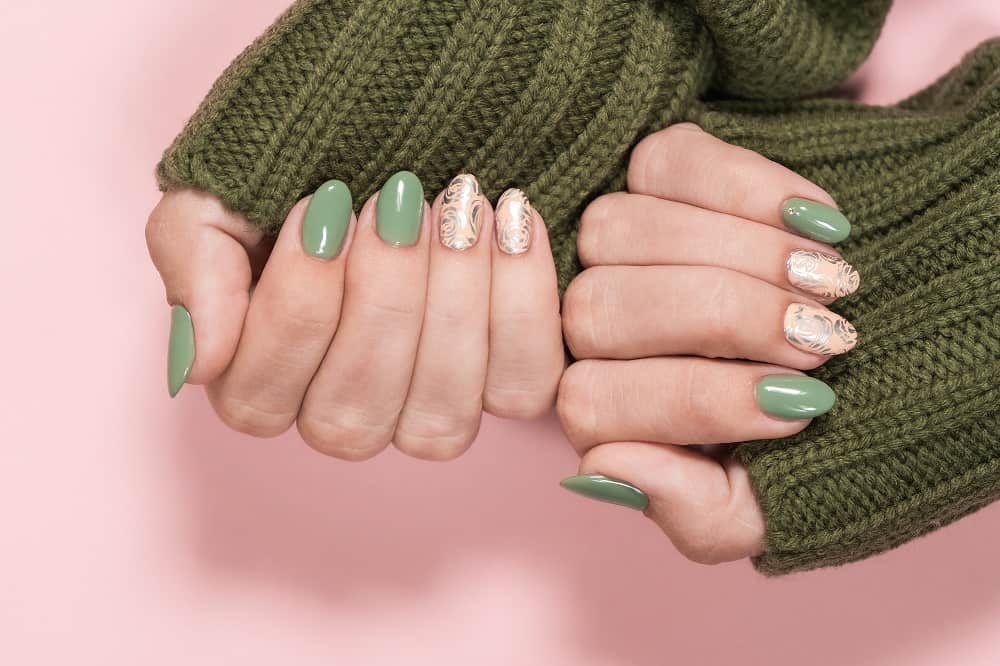
Jewel tones like burgundy, navy, and mustard are all the rage for autumn.
Try out the trend with olive green nail design paired with glittering gold accents. It’s a winning combination that brings together more muted tones with fun pops of color that look stunning on oval nails.
For aspiring DIY manicurists, oval nails are an easy-to-maintain shape that resists breaking and looks good at any length.
You can confidently sport flashy oval designs that make a statement or add your twist to classic styles by learning how to shape oval nails.