How to Shape and File Press-On Nails for a Natural Look
When you think of press-on nails, you may think of cheesy French tip manicures of the early 2000s. Well, things have changed, and press-on nails are back in vogue. And even better, they now come in a wide variety of attractive and fashionable designs.
If you want to get in on this trend, but are hesitant about revisiting prior experiences of sticky fingers and fake-looking nails, have no fear! Below are all the tips and tricks you need for how to shape your press-on nails to make them look as real and classy as a professional manicure.
What are Press-On Nails?
Press-on nails are artificial nails that are made of materials such as acrylic or resin and are painted with nail polish. Depending on the nails’ design, they can either be applied to the fingernail with glue or an adhesive tab.
In decades past, these types of artificial nails weren’t that aesthetically pleasing and could make a big mess during the application. Today’s iteration of press-ons offer stunning designs with a simple (and longer-lasting) adhesion process.
How To Apply Press-On Nails
It only takes a few easy steps to apply press-on nails and get the luxurious look of an expensive manicure at a fraction of the price.
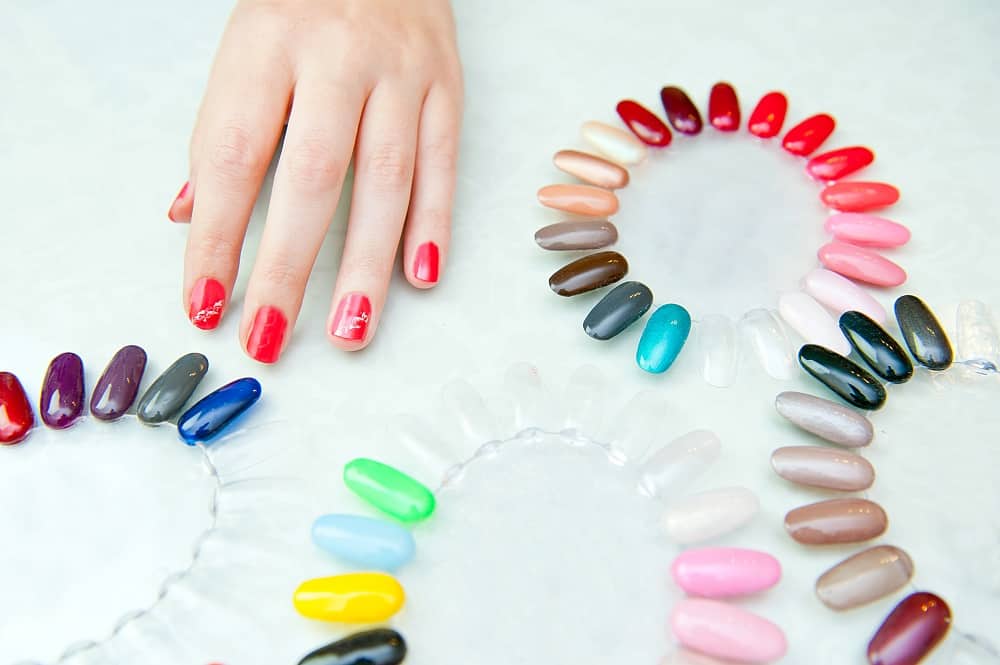
Choose the Right Size

To start, you’ll need to be precise when selecting the size and shape of the nails you want to wear. Press-on nails come in a range of sizes, so you should make sure that you choose a size that aligns with the proportions of your fingernails.
If it’s between a press-on nail that’s too big or too small, pick the nail that’s a little smaller than your actual fingernail—it’s better to have some extra space on your nail than have the press-on nails sticking to your skin.
Clean Your Nails First
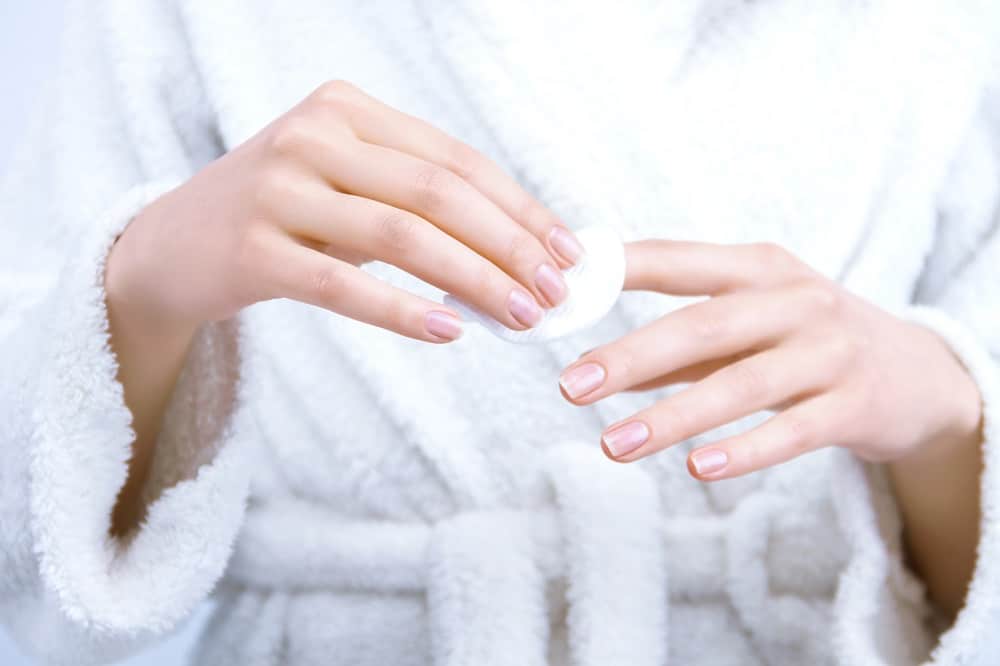
This may go without saying, but like any manicure, make sure your fingernails are clean before applying the press-on nails. Trim the cuticles and apply some alcohol cleanser to get rid of any dirt and oils.
Getting your under nails clean before a manicure is important for health and hygiene—you don’t want bacteria lingering underneath the fake nails. In addition, having a clean nail will make it a lot easier to get the press-on nail to adhere to the surface.
Adhering the Nails
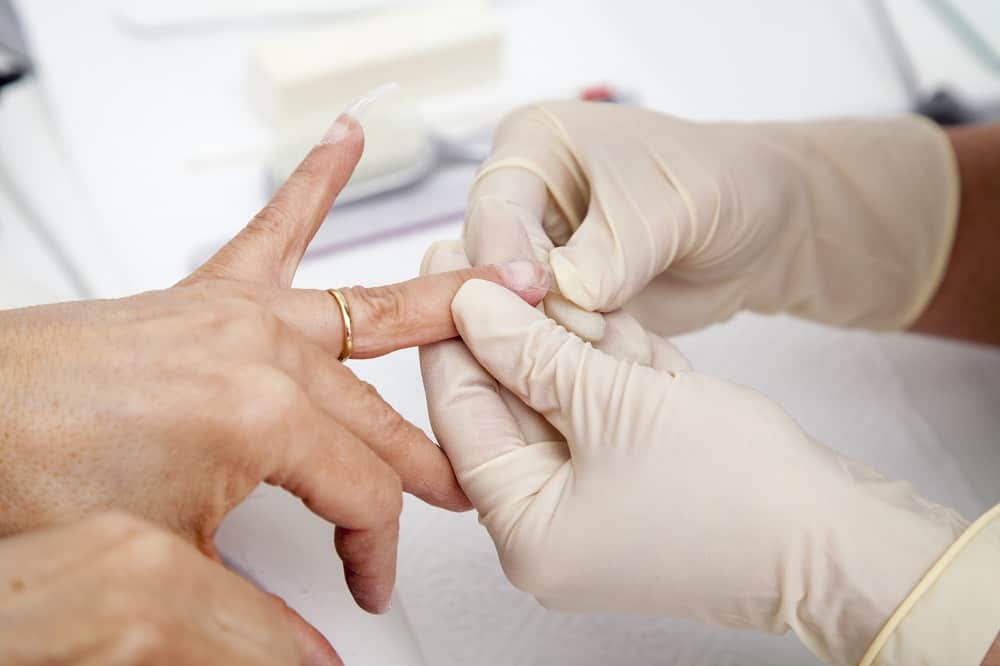
Now that your natural fingernails are nice and clean, you can attach the press-ons. If you are looking for a quick manicure for a special event, the sticky tabs that come with the press-on nail kit should work just fine.
If you are planning on a longer-lasting manicure, applying nail glue to your fingernails (brushing on from cuticle to tip) will be a good idea.
Lining the nail upright against your cuticle, press down at an angle, gently squeezing the sides to ensure full adhesion, and voila: you now have a beautiful manicure.
The Best Ways to Shape Press-On Nails
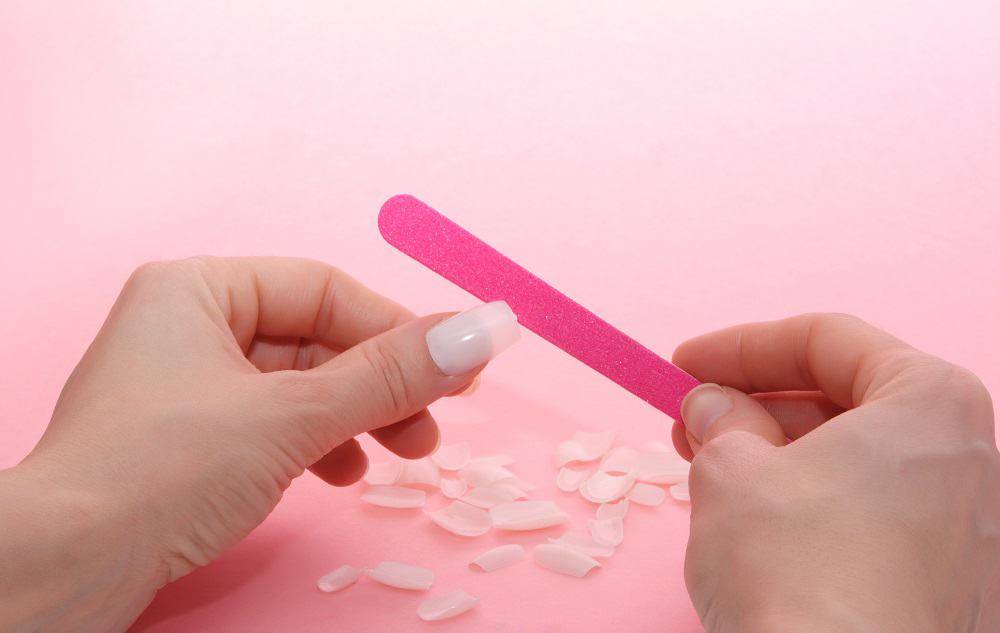
Now that you’ve applied press-on nails to all of your fingers, it’s time to shape them. When thinking about how to shape press-on nails, the key is to consider the dimensions of your nail bed. Using a nail file, contour the sides of the nails to align with the natural shape of your real fingernails.
By filing along the sides of the nails, you will create a tapered natural appearance and avoid the thick, clunky look that fake nails can easily take on. When you look at your fingers from the side, the curve of the press-on nail should match the curve of the natural nail underneath. If it is sticking up too much, continue filing the side to smooth it out some more.
Once you are done shaping the nails to your liking, adding a clear topcoat can be a good idea. This can smooth out any roughness from filing and creates an extra professional touch (and some additional shine) to your manicure.
Check the video below to know more
FAQs
How Long Do Press-On Nails Last?
If you’re only using adhesive tabs, your nails can last for a few days, which is the perfect amount of time for a weekend wedding or other special event. With quality nail glue, these fake nails can last for ten days or more.
How Do You Remove Press-On Nails?
Removal of press-on nails is relatively easy. If you’ve only used the adhesive tabs, warm water and oil should do the trick. However, if you’ve used nail glue, you will probably need to soak your nails in acetone remover for a few minutes before removing the fake nails.
How Long Can You Keep on Press on Nails?
The main idea of press-on nails is to press the fake nails on your natural nails and let them go as they go on. A quality glue can give you at most two weeks hold of press-on nails. That doesn’t mean you have to apply press-on nails regularly after each two-weeks. Give your nails space to breathe. Take a break for two weeks then apply the fake nails again.
Can Press on Nails Damage Your Nails?
If you can remove the fake nails in the right ways, there is minimal chance of any harm. The only thing you are applying to your natural nails is glue here. So, any possible damage depends on the appropriate removal of the nails. Never pull or pry the fake nails, it may cause injury to the underlying skin of your nails. Use acetone or nail polish remover to avoid any sort of damages.
Remove Nail Polish Without Damaging Nails
Press-on Nail Design Ideas
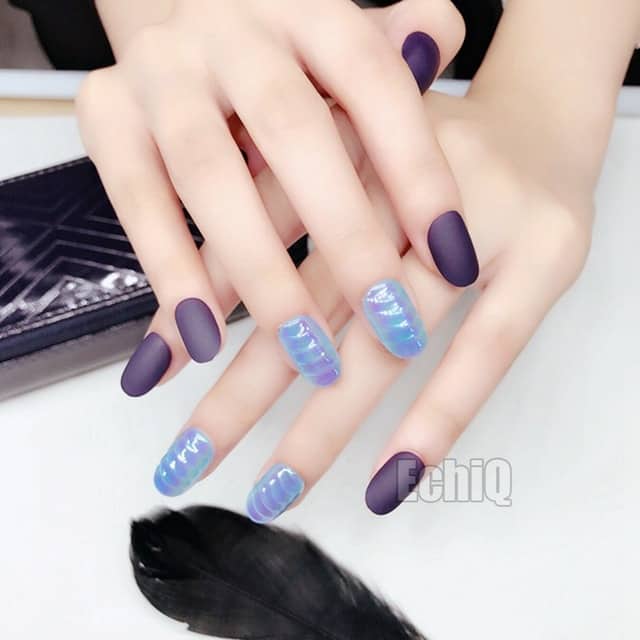
#1. Blue Matte Press on Nails
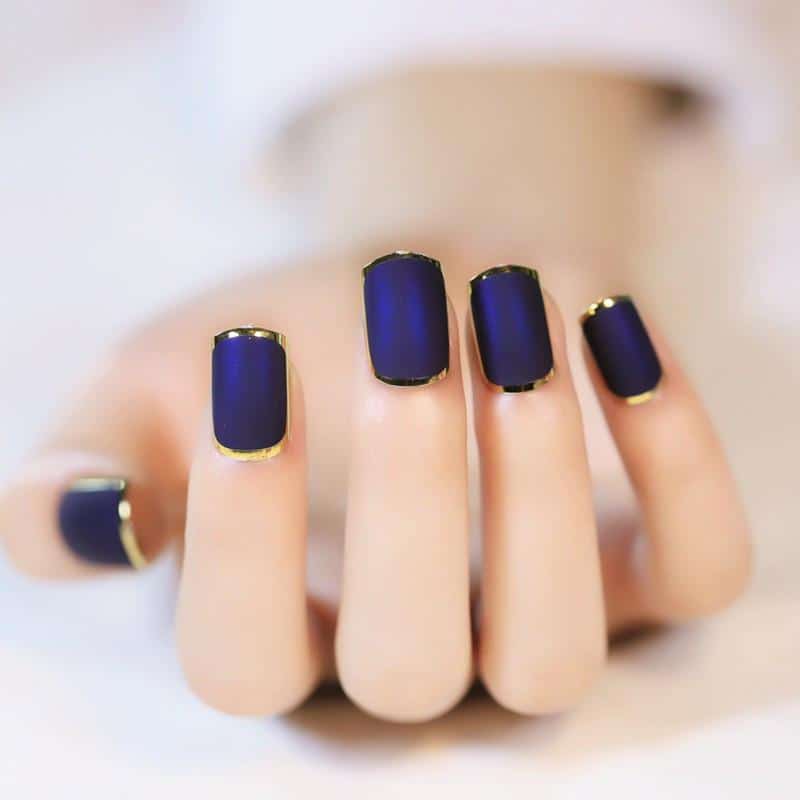
Buy a blue matte kit to have nails like these ones. The blue matte looks delicate with the simple stripes of gold.
These Blue Nails Will Blow Away Your Monday Blues
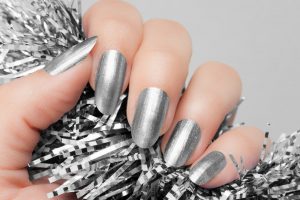
#2. Glittery Designs
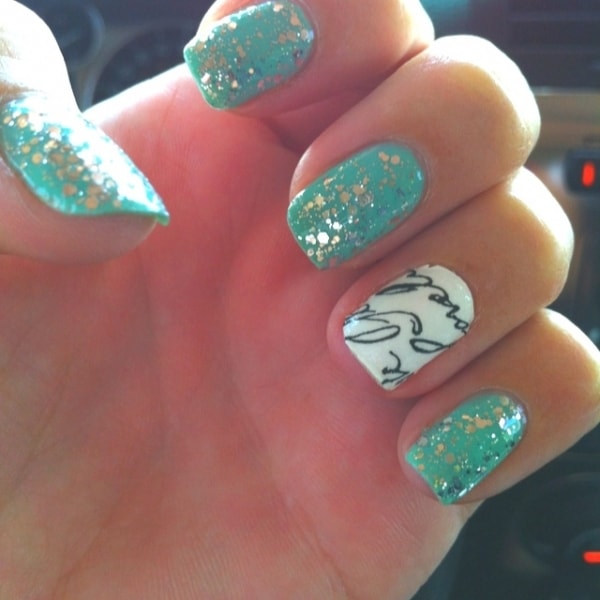
You can apply readymade glittery nails to your fingertips to have press on nails. There might be a set of accent nails too if you buy the kits accordingly.
#3. Press on Stiletto Nails
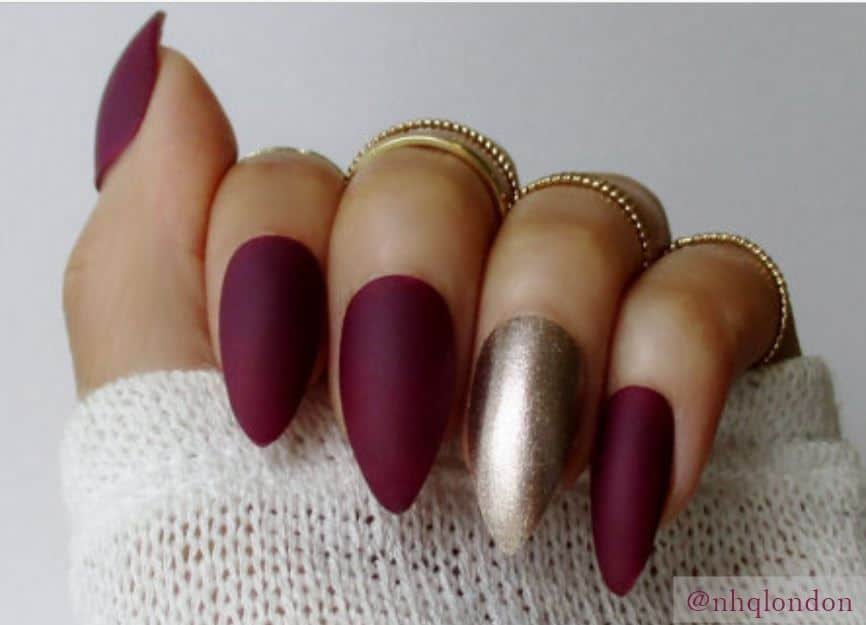
You can have the charm of stiletto nails on your natural nailbeds within a minute with the help of press-on nails. Just make sure you will find perfect fake nail sizes compatible with your nails.
#4. More Than One Design
There is no limit to press-on nails. They come in a variety of nail designs. You can apply two or more designs if you want.
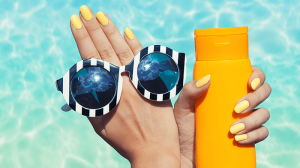
#5. Fancy Press on Nails
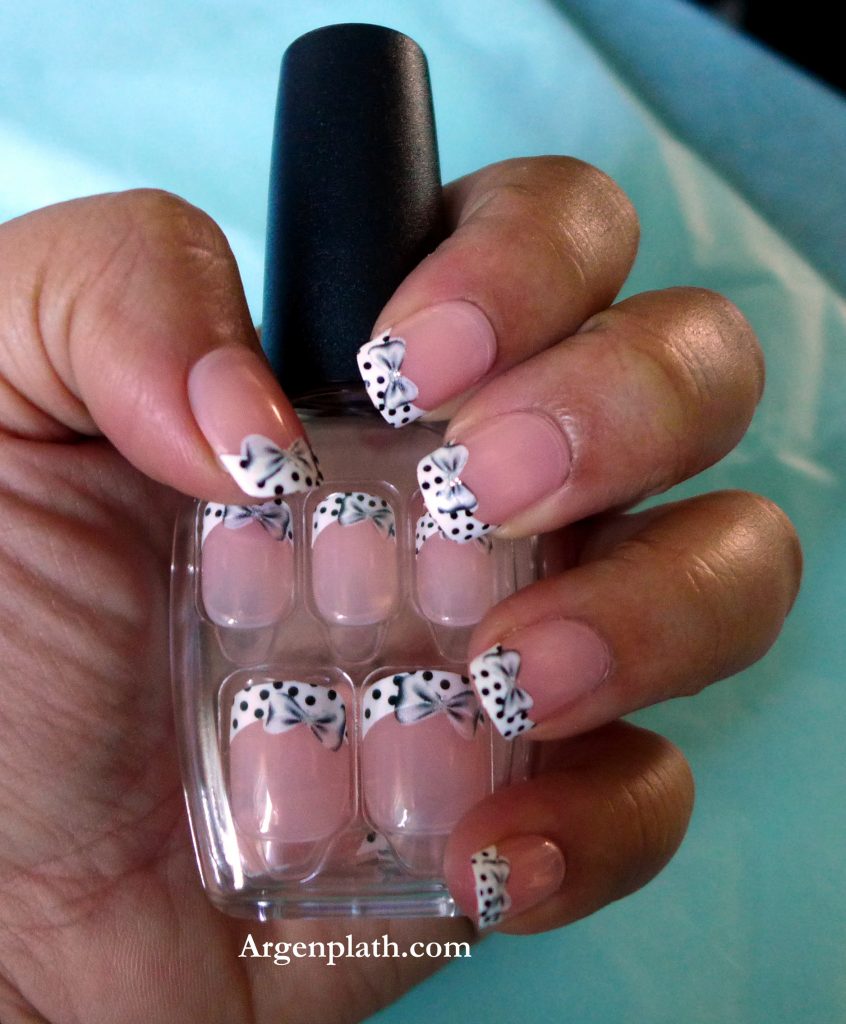
There are hundreds of fancy press on nail designs available in the stores. You can apply any of those as per your choice and the events which you are going to attend. This press-on nail design with polka dots and bow is cute as a button.
Fake Nail Designs for Real Pretty Nails
We all are more or less busy in our day-to-day life. Press-on nails are like a blessing for busy fashionistas. Now, they can easily get a trendy look on their fingernails. Use press-on nails which are convenient for you and compatible with your nails.